Category Archives: restoration
Today we are presenting The Italian Job, a Series 1 1965 Jaguar E-Type Fixed Head Coupé that was originally ordered new in Italy and delivered in New York.
This bright red car has spent a large portion of its life in Boulder, Colorado where it was loving preserved and cared for 65,000 miles. Fortunately, the Colorado weather has preserved this car far better than most. For instance there is none of the typical corrosion and every body panel is original.
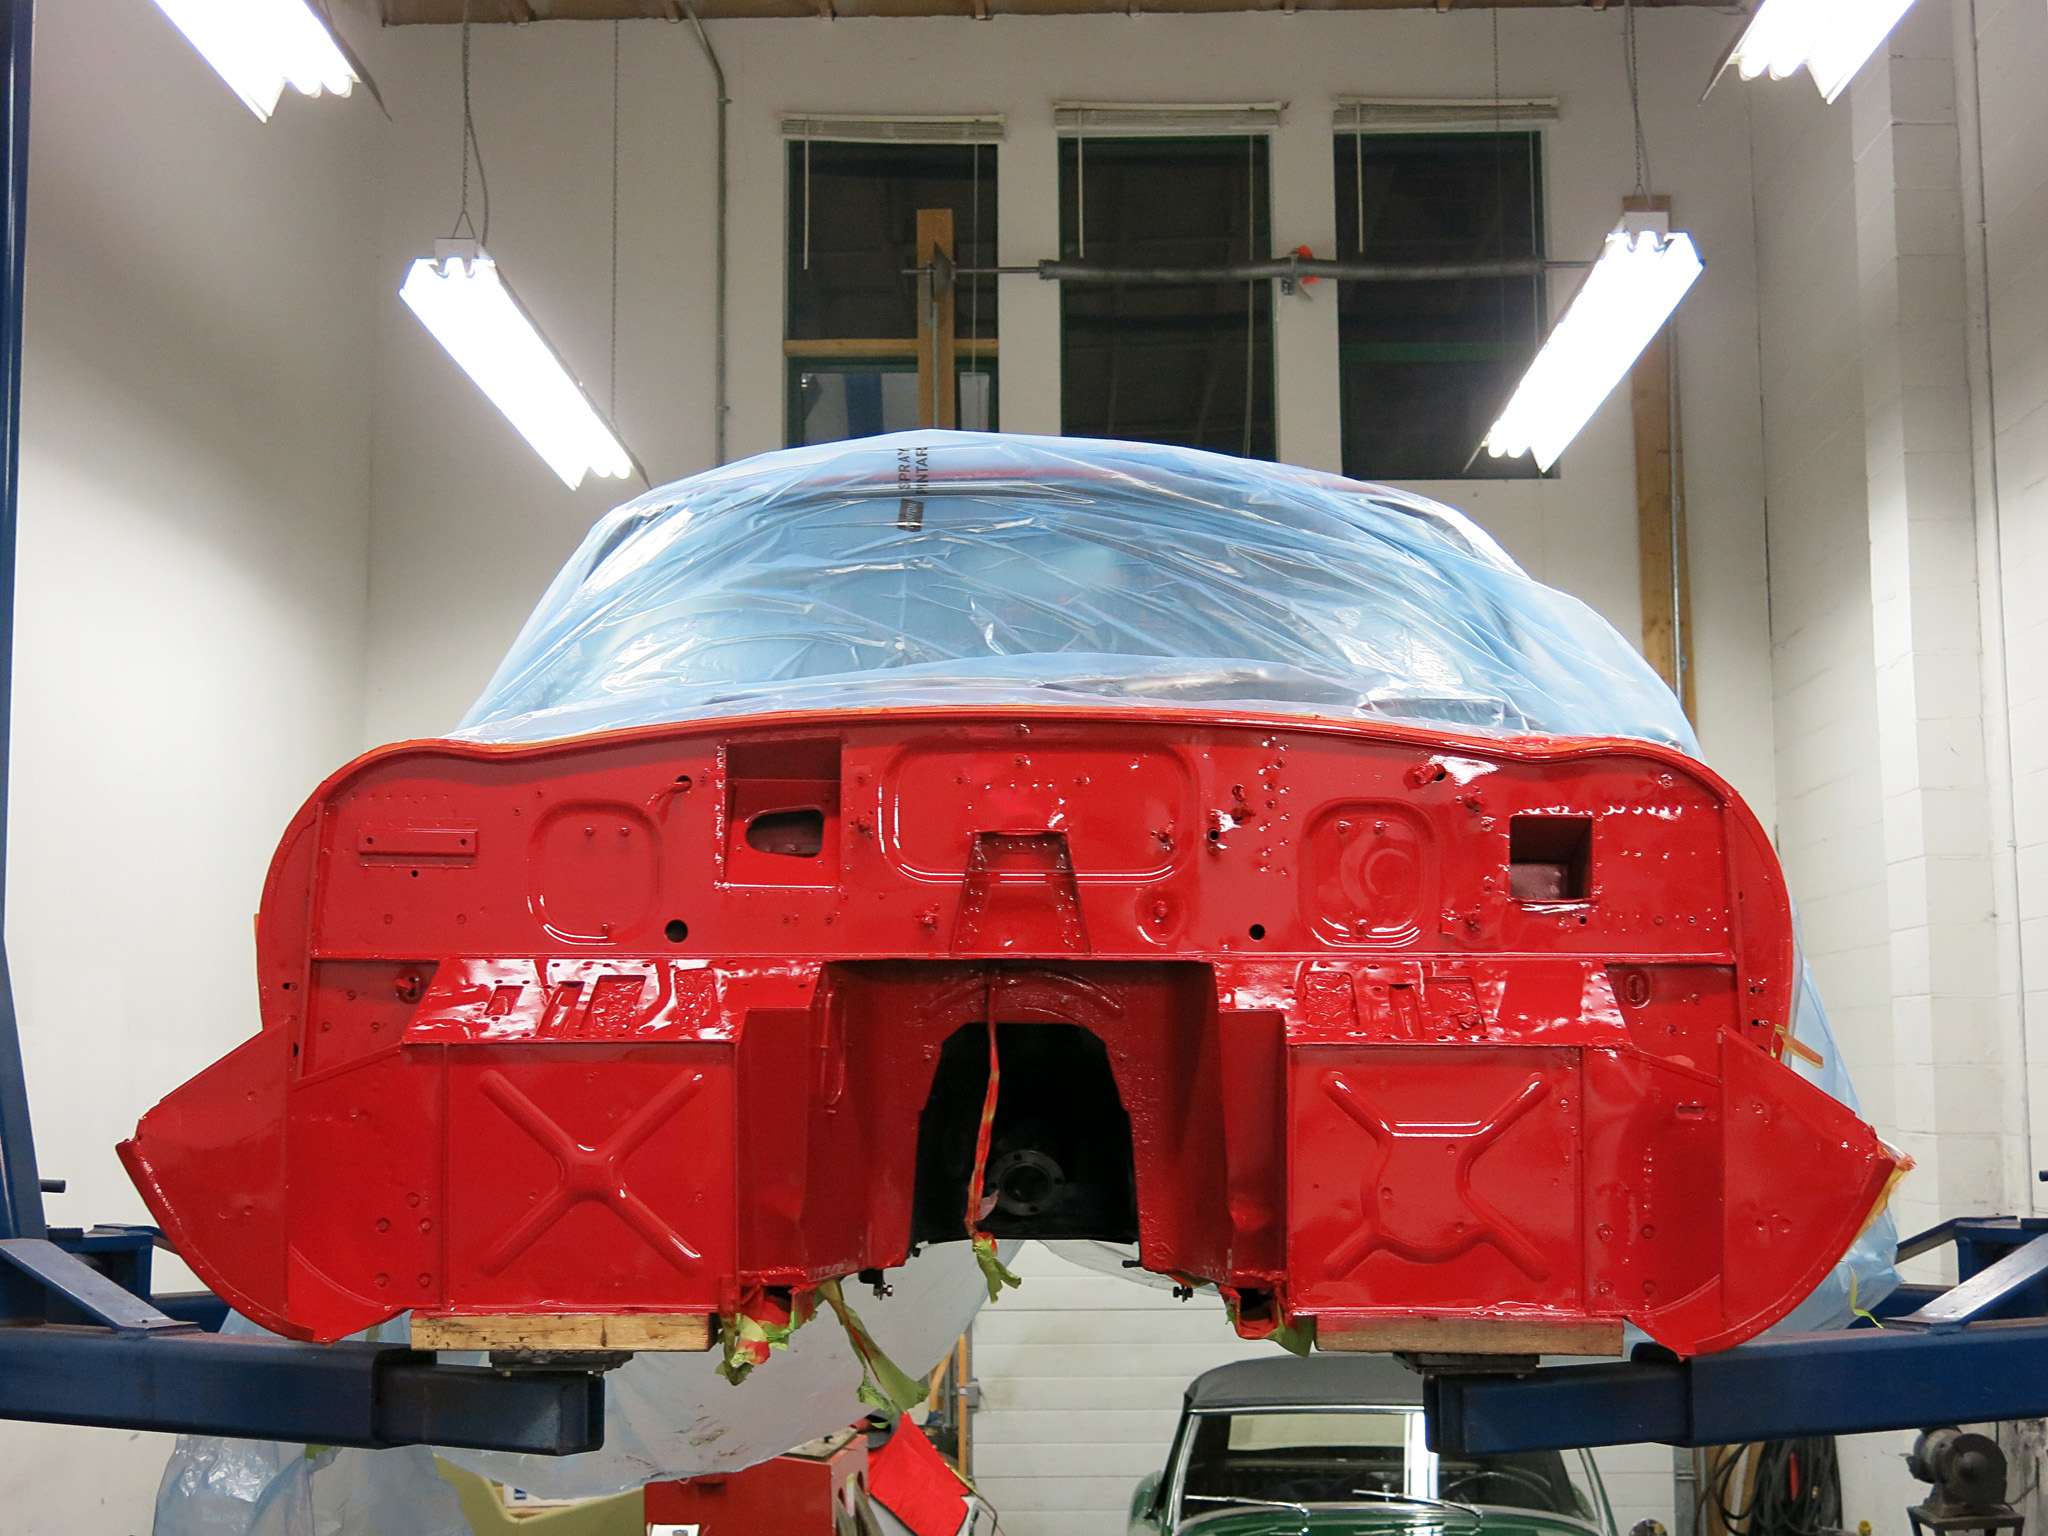
The intention with this job is to refresh the front-end of the Jaguar. This means giving the engine, suspension, brakes, steering box and cooling a mechanical and cosmetic restoration.
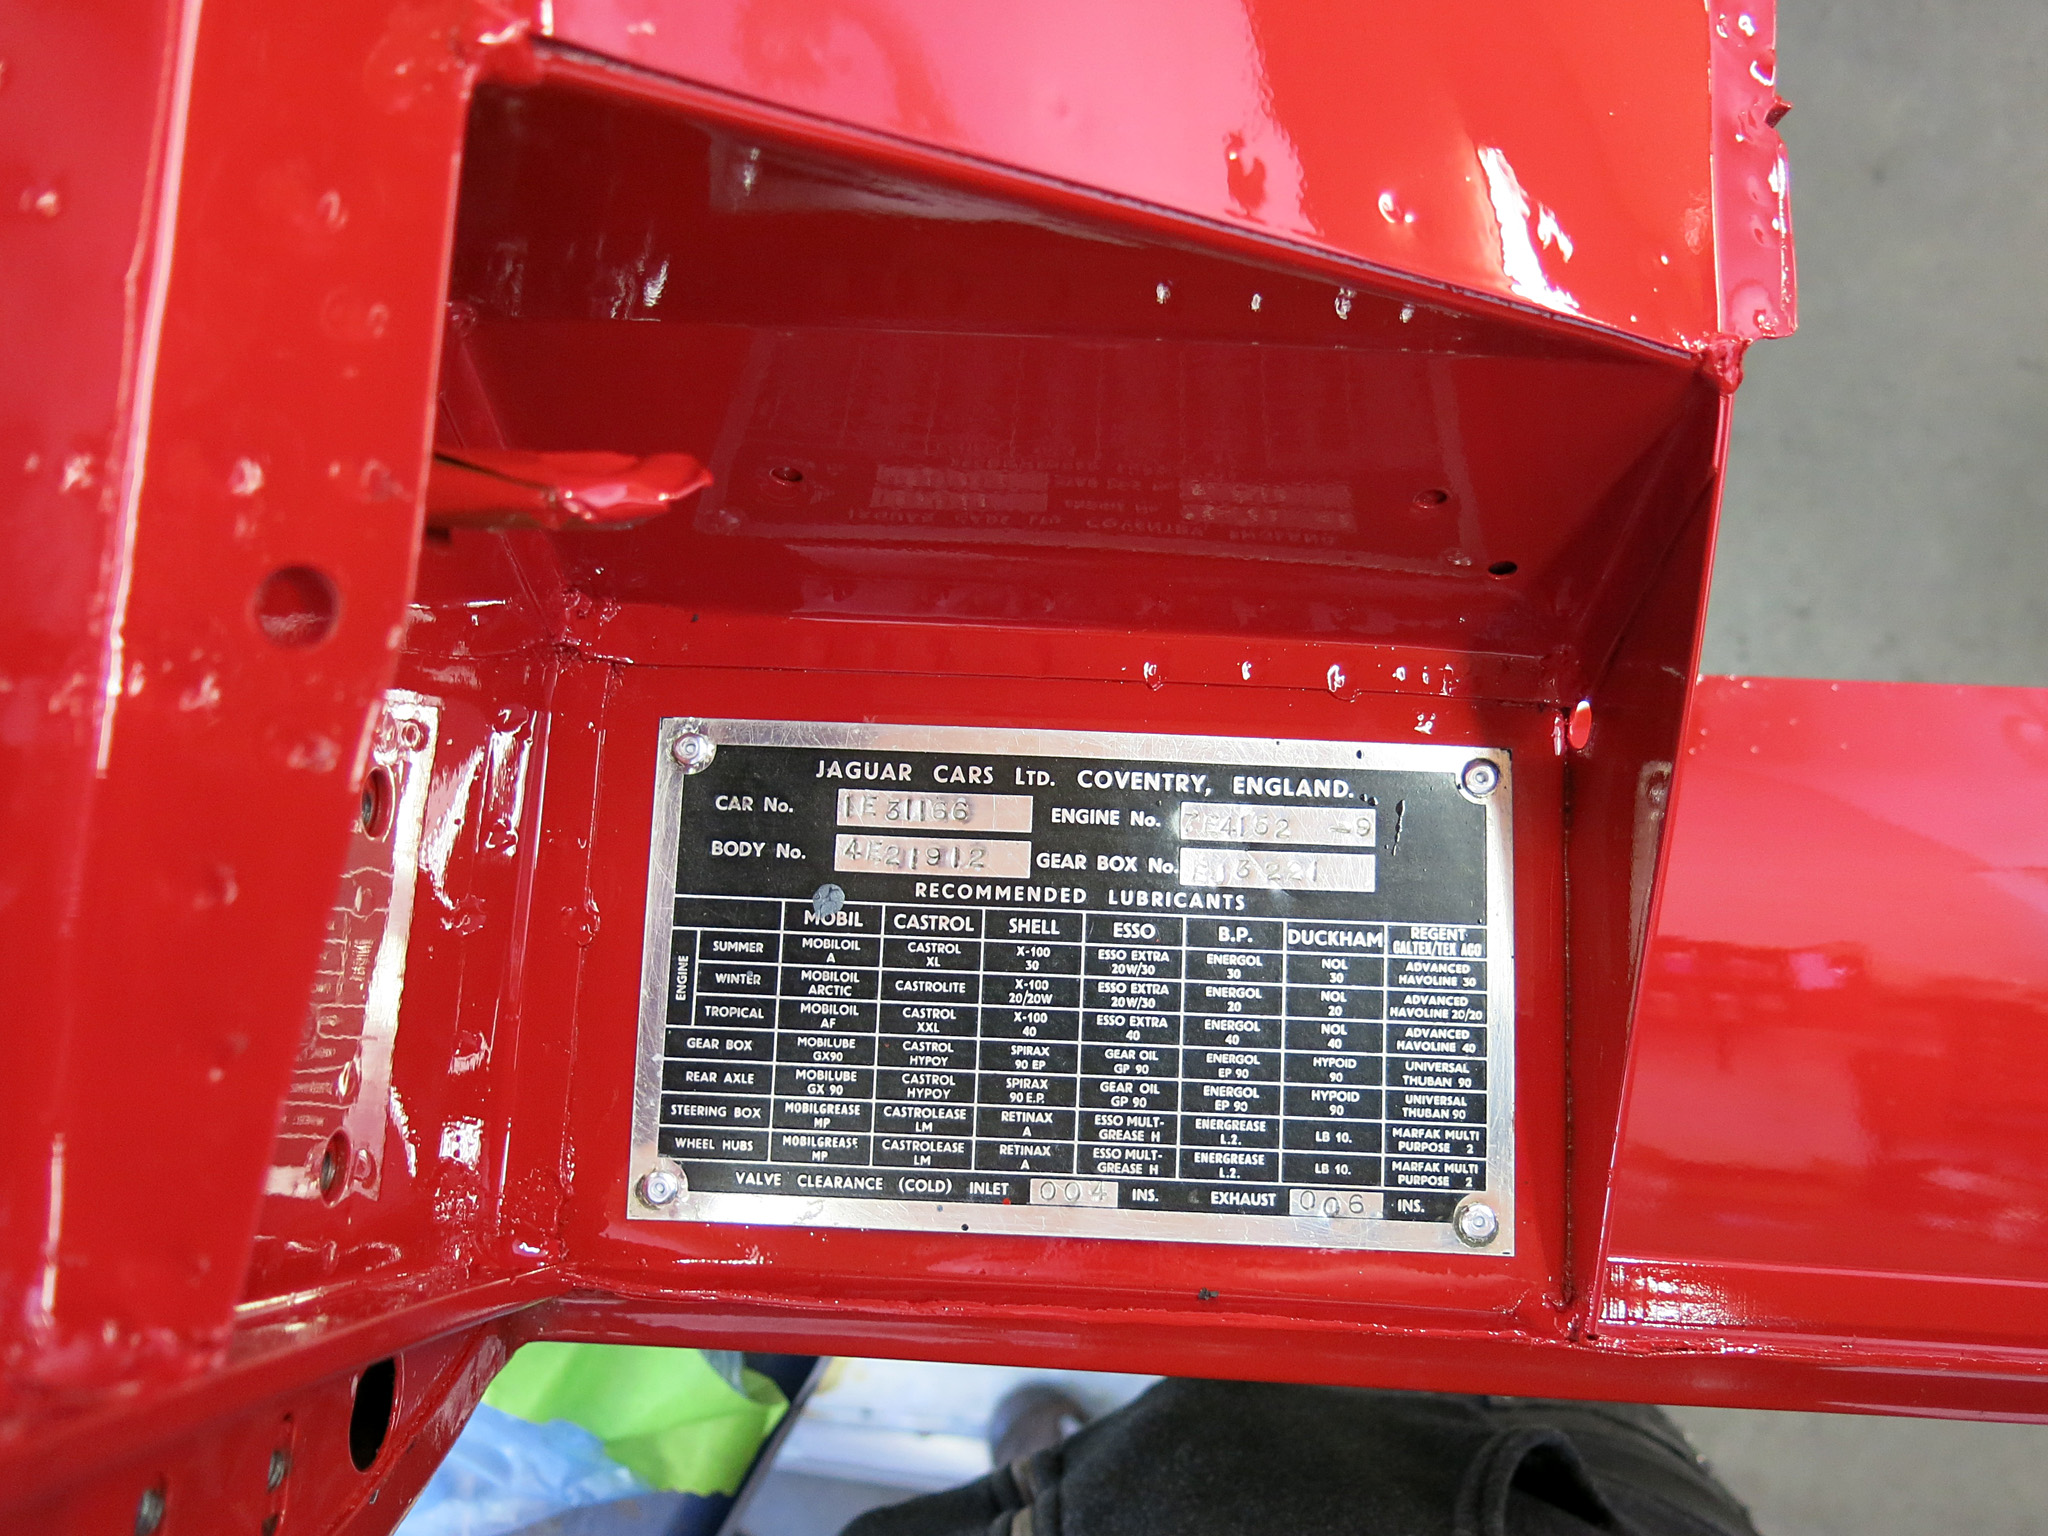
Exemplifying the preservation of 1E31166 is the original and unblemished serial number plate

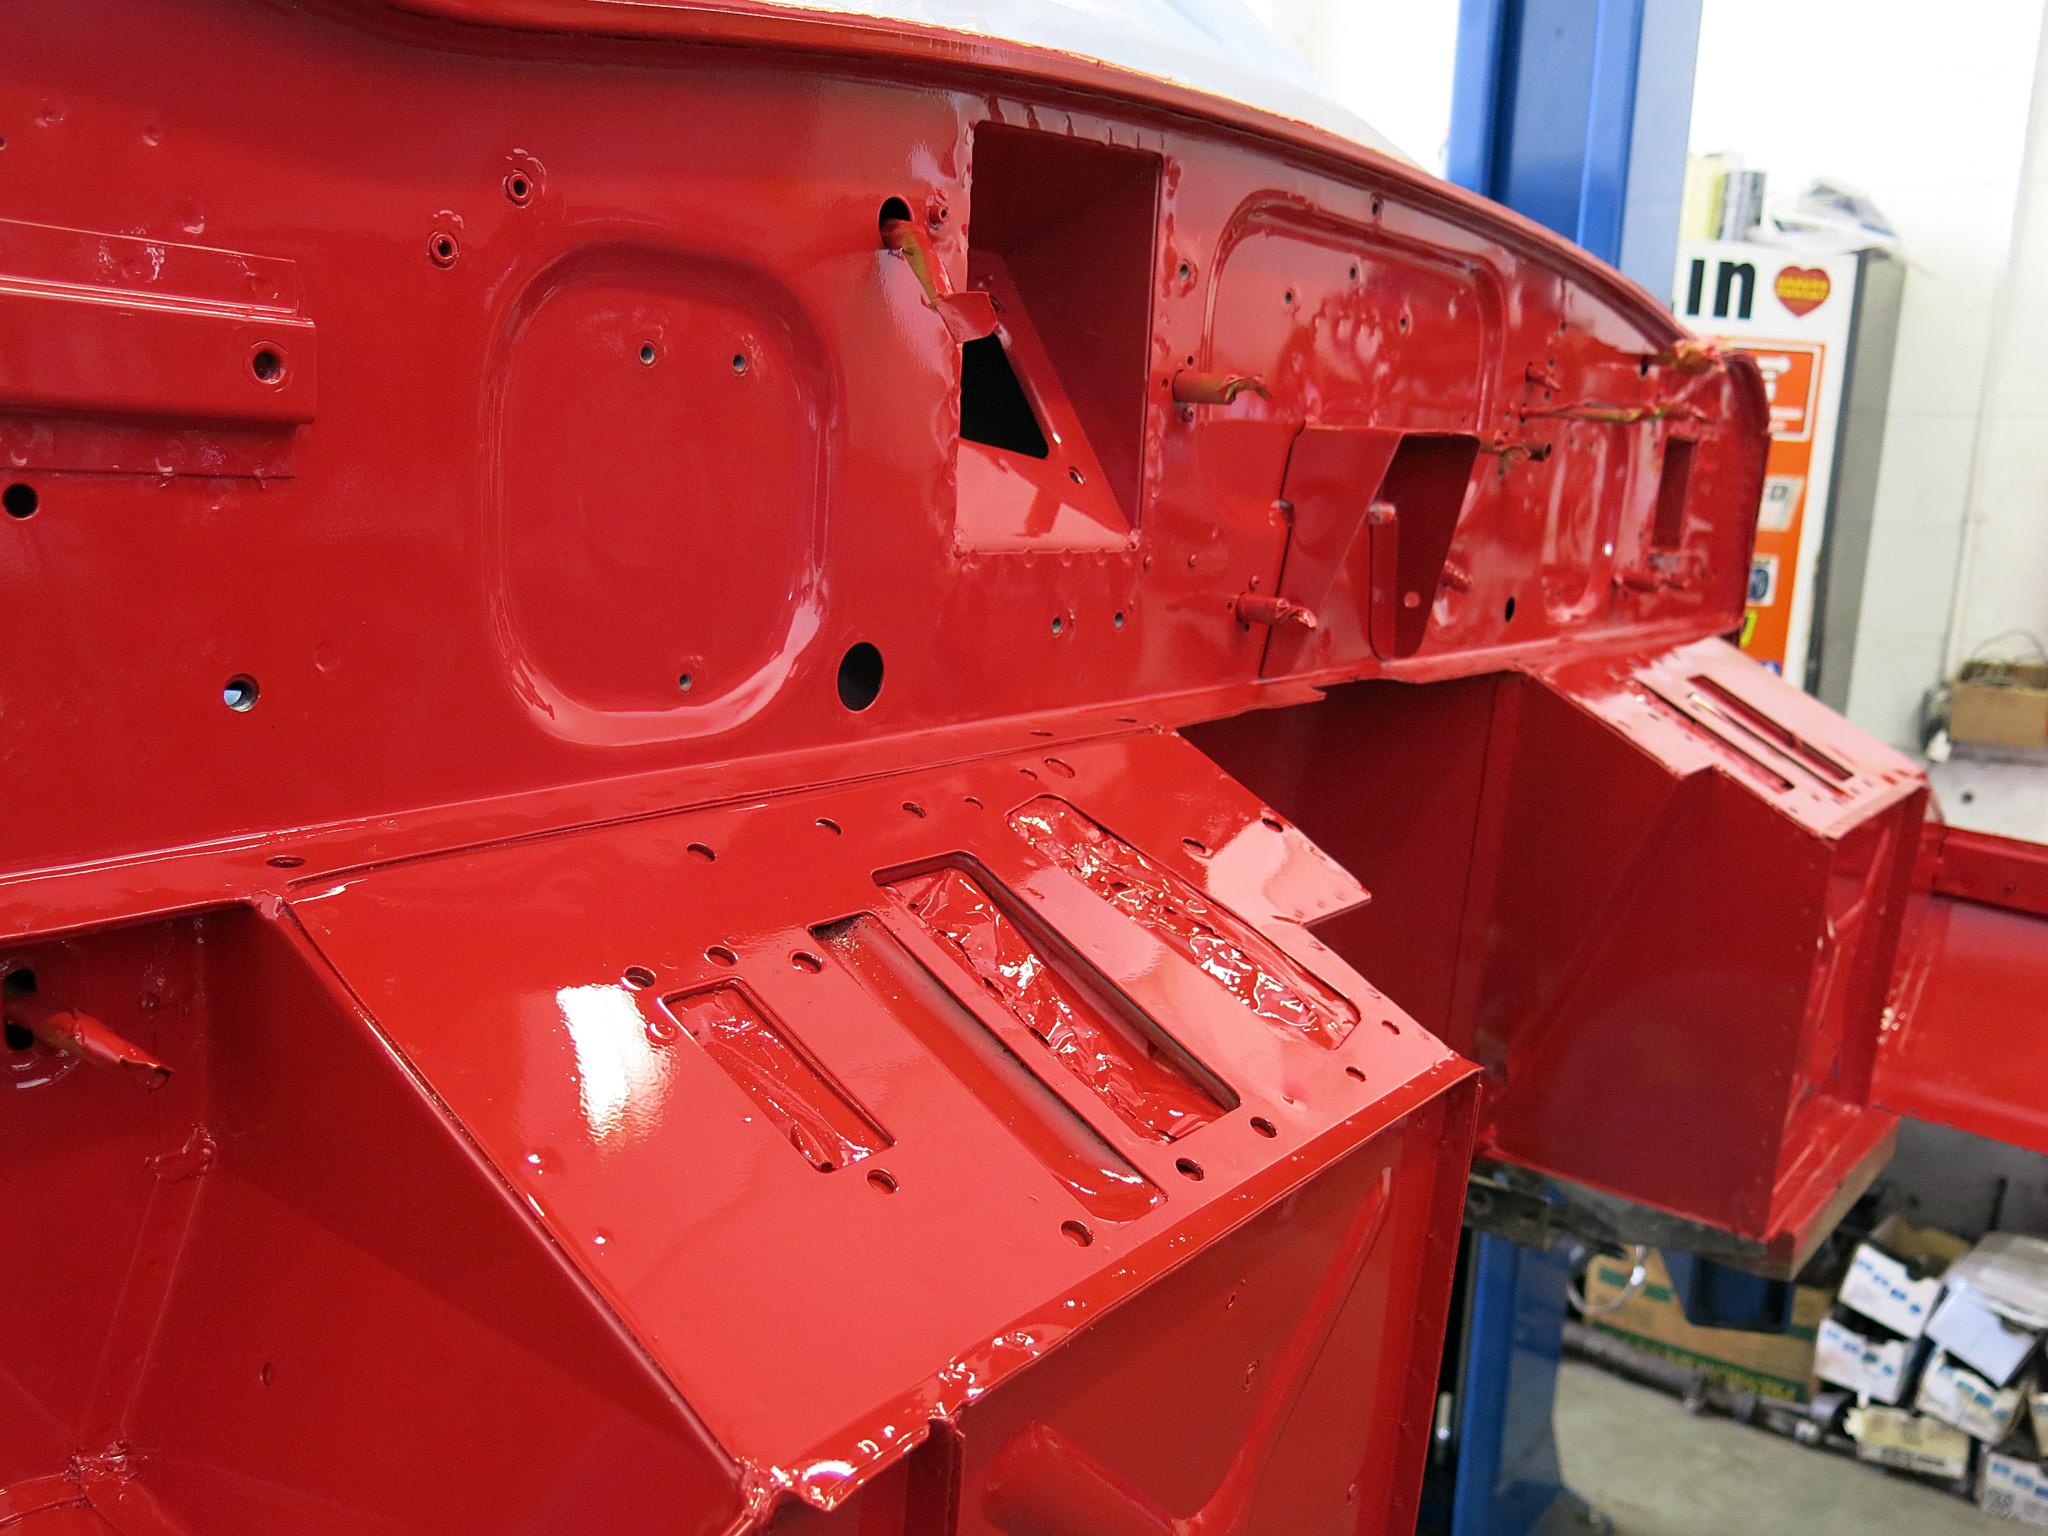
We stripped the entire firewall and manually etched it prior to a layer the Epoxy primer. Original and straight panels are free of rust.
Carefully stripping the firewall revealed the honest spot welds.
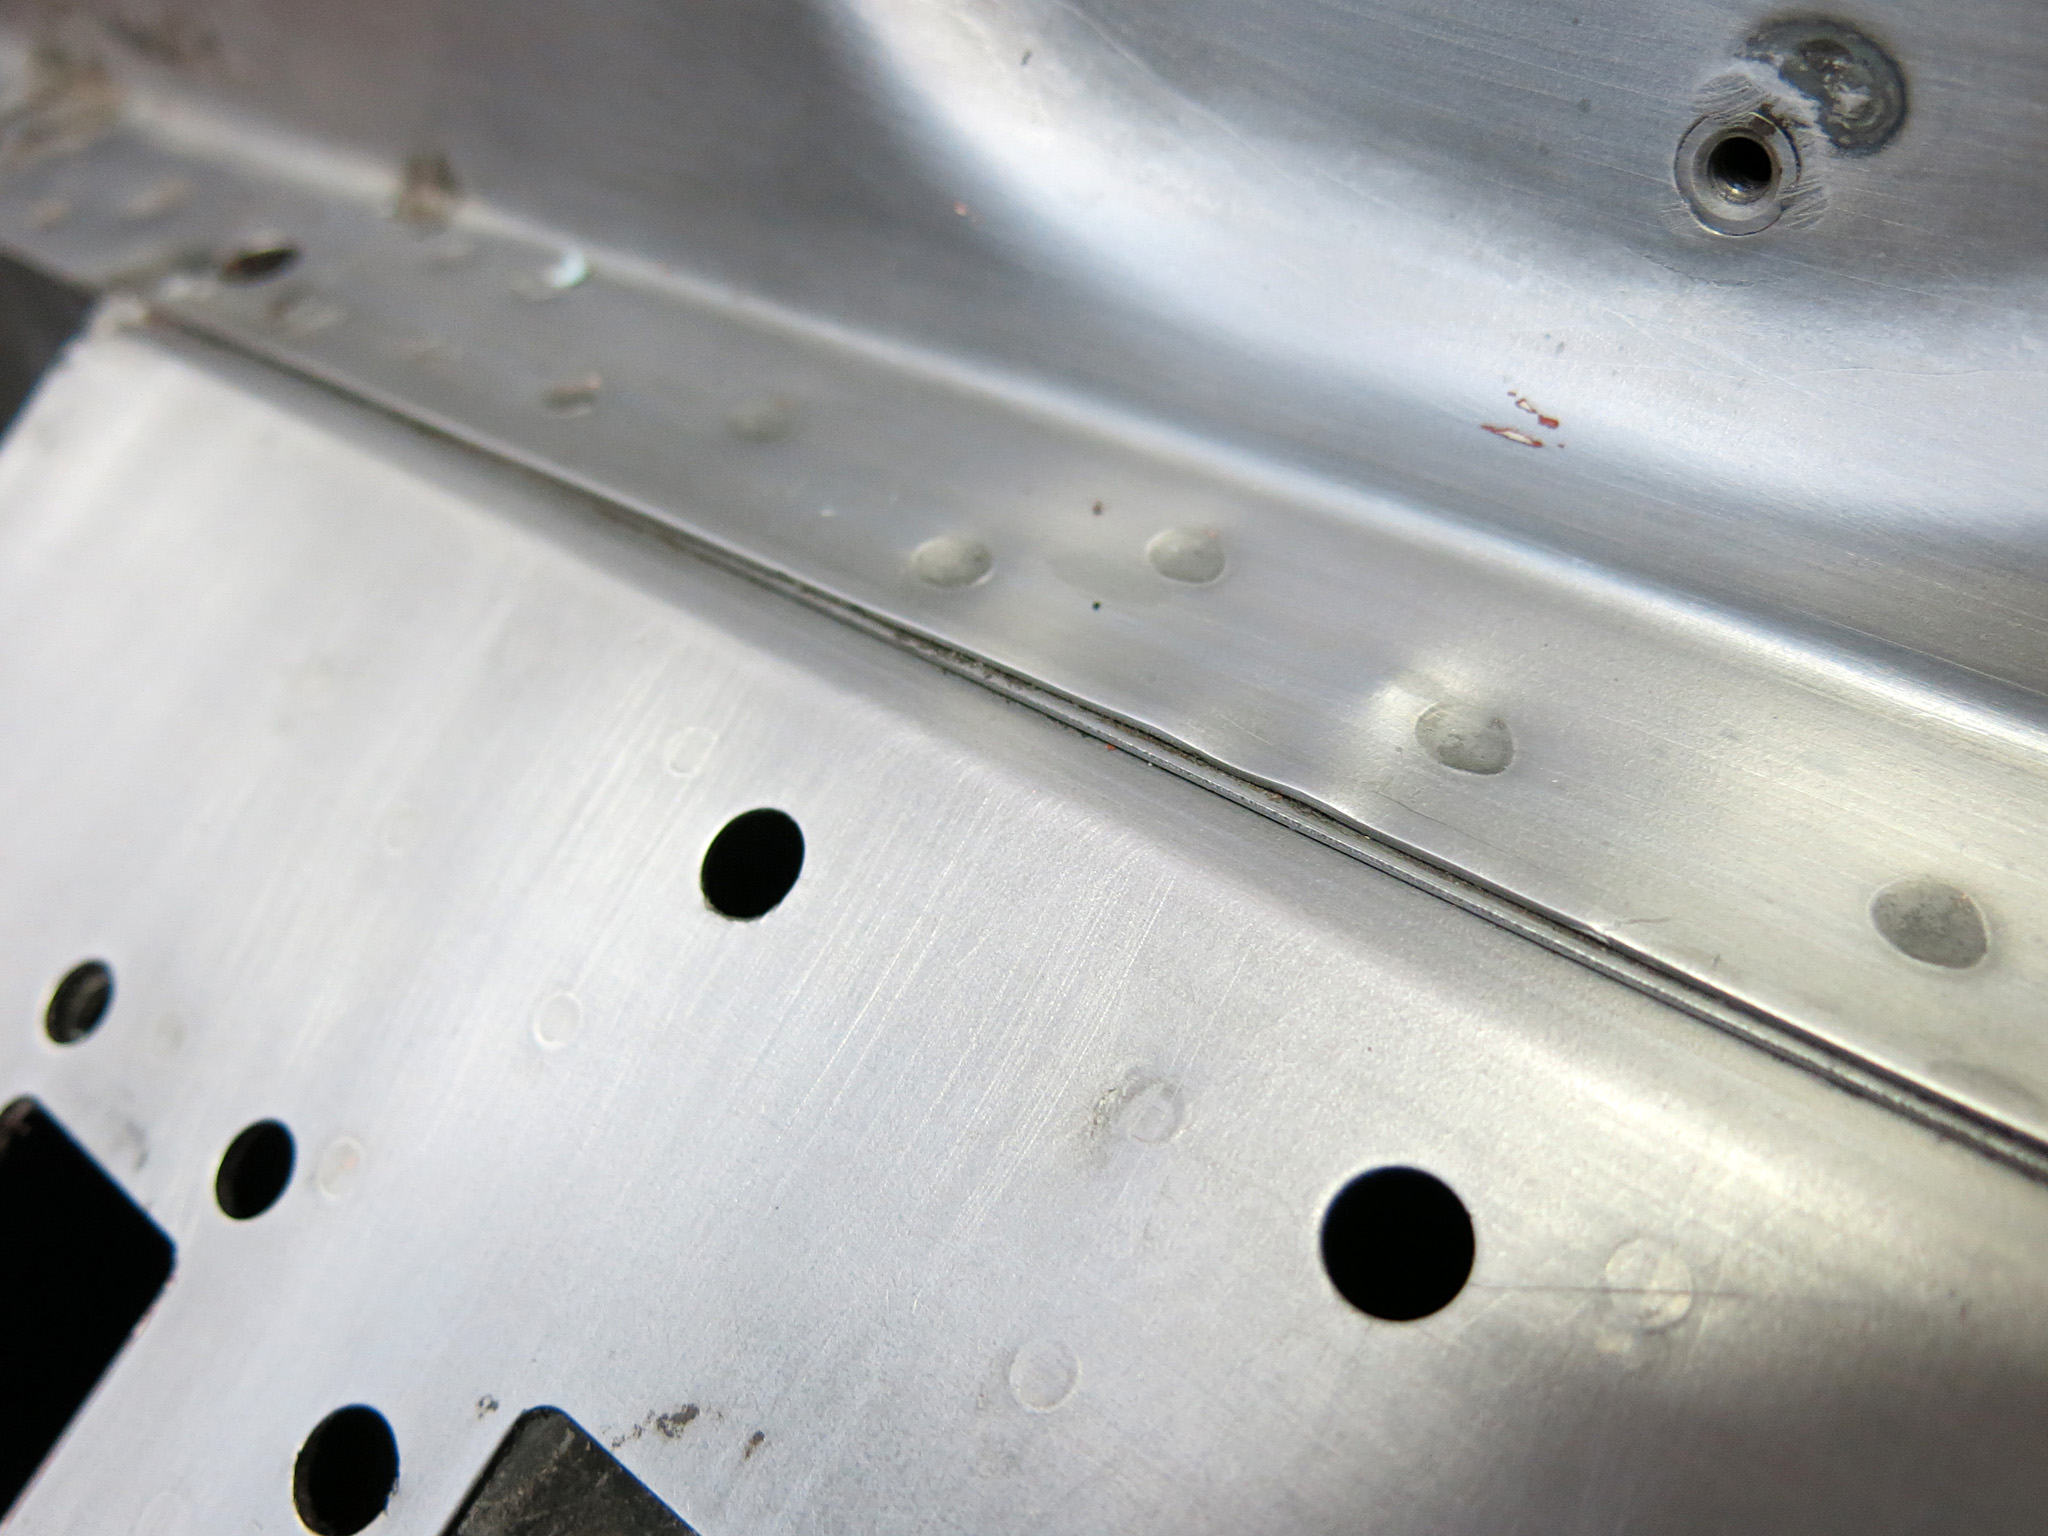
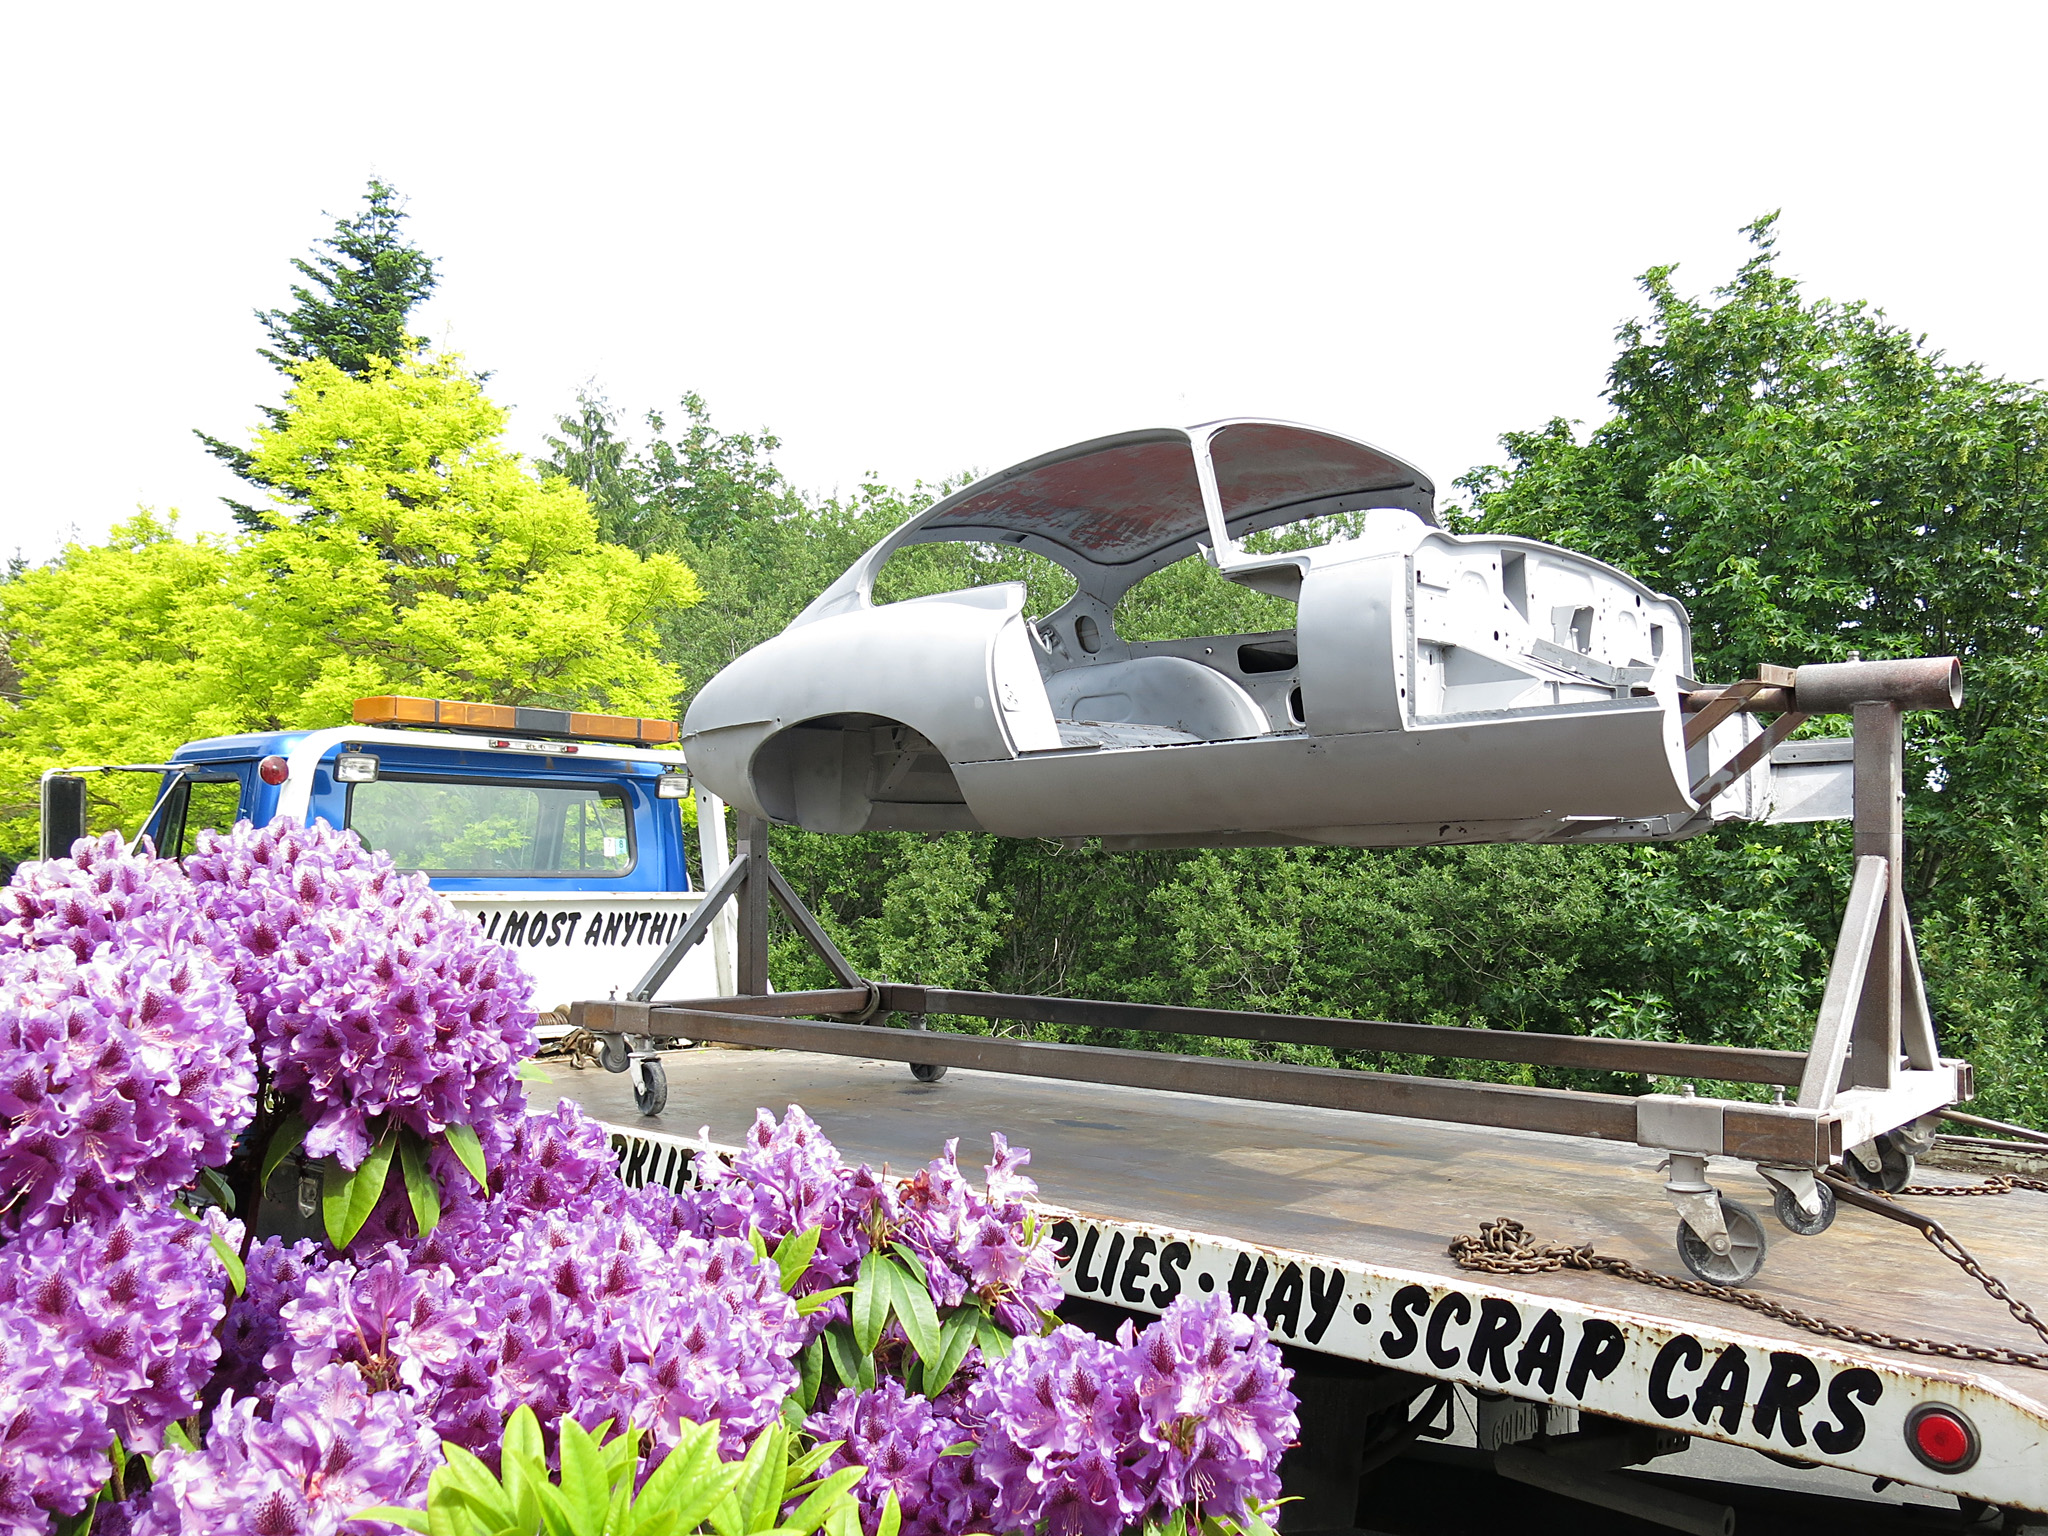
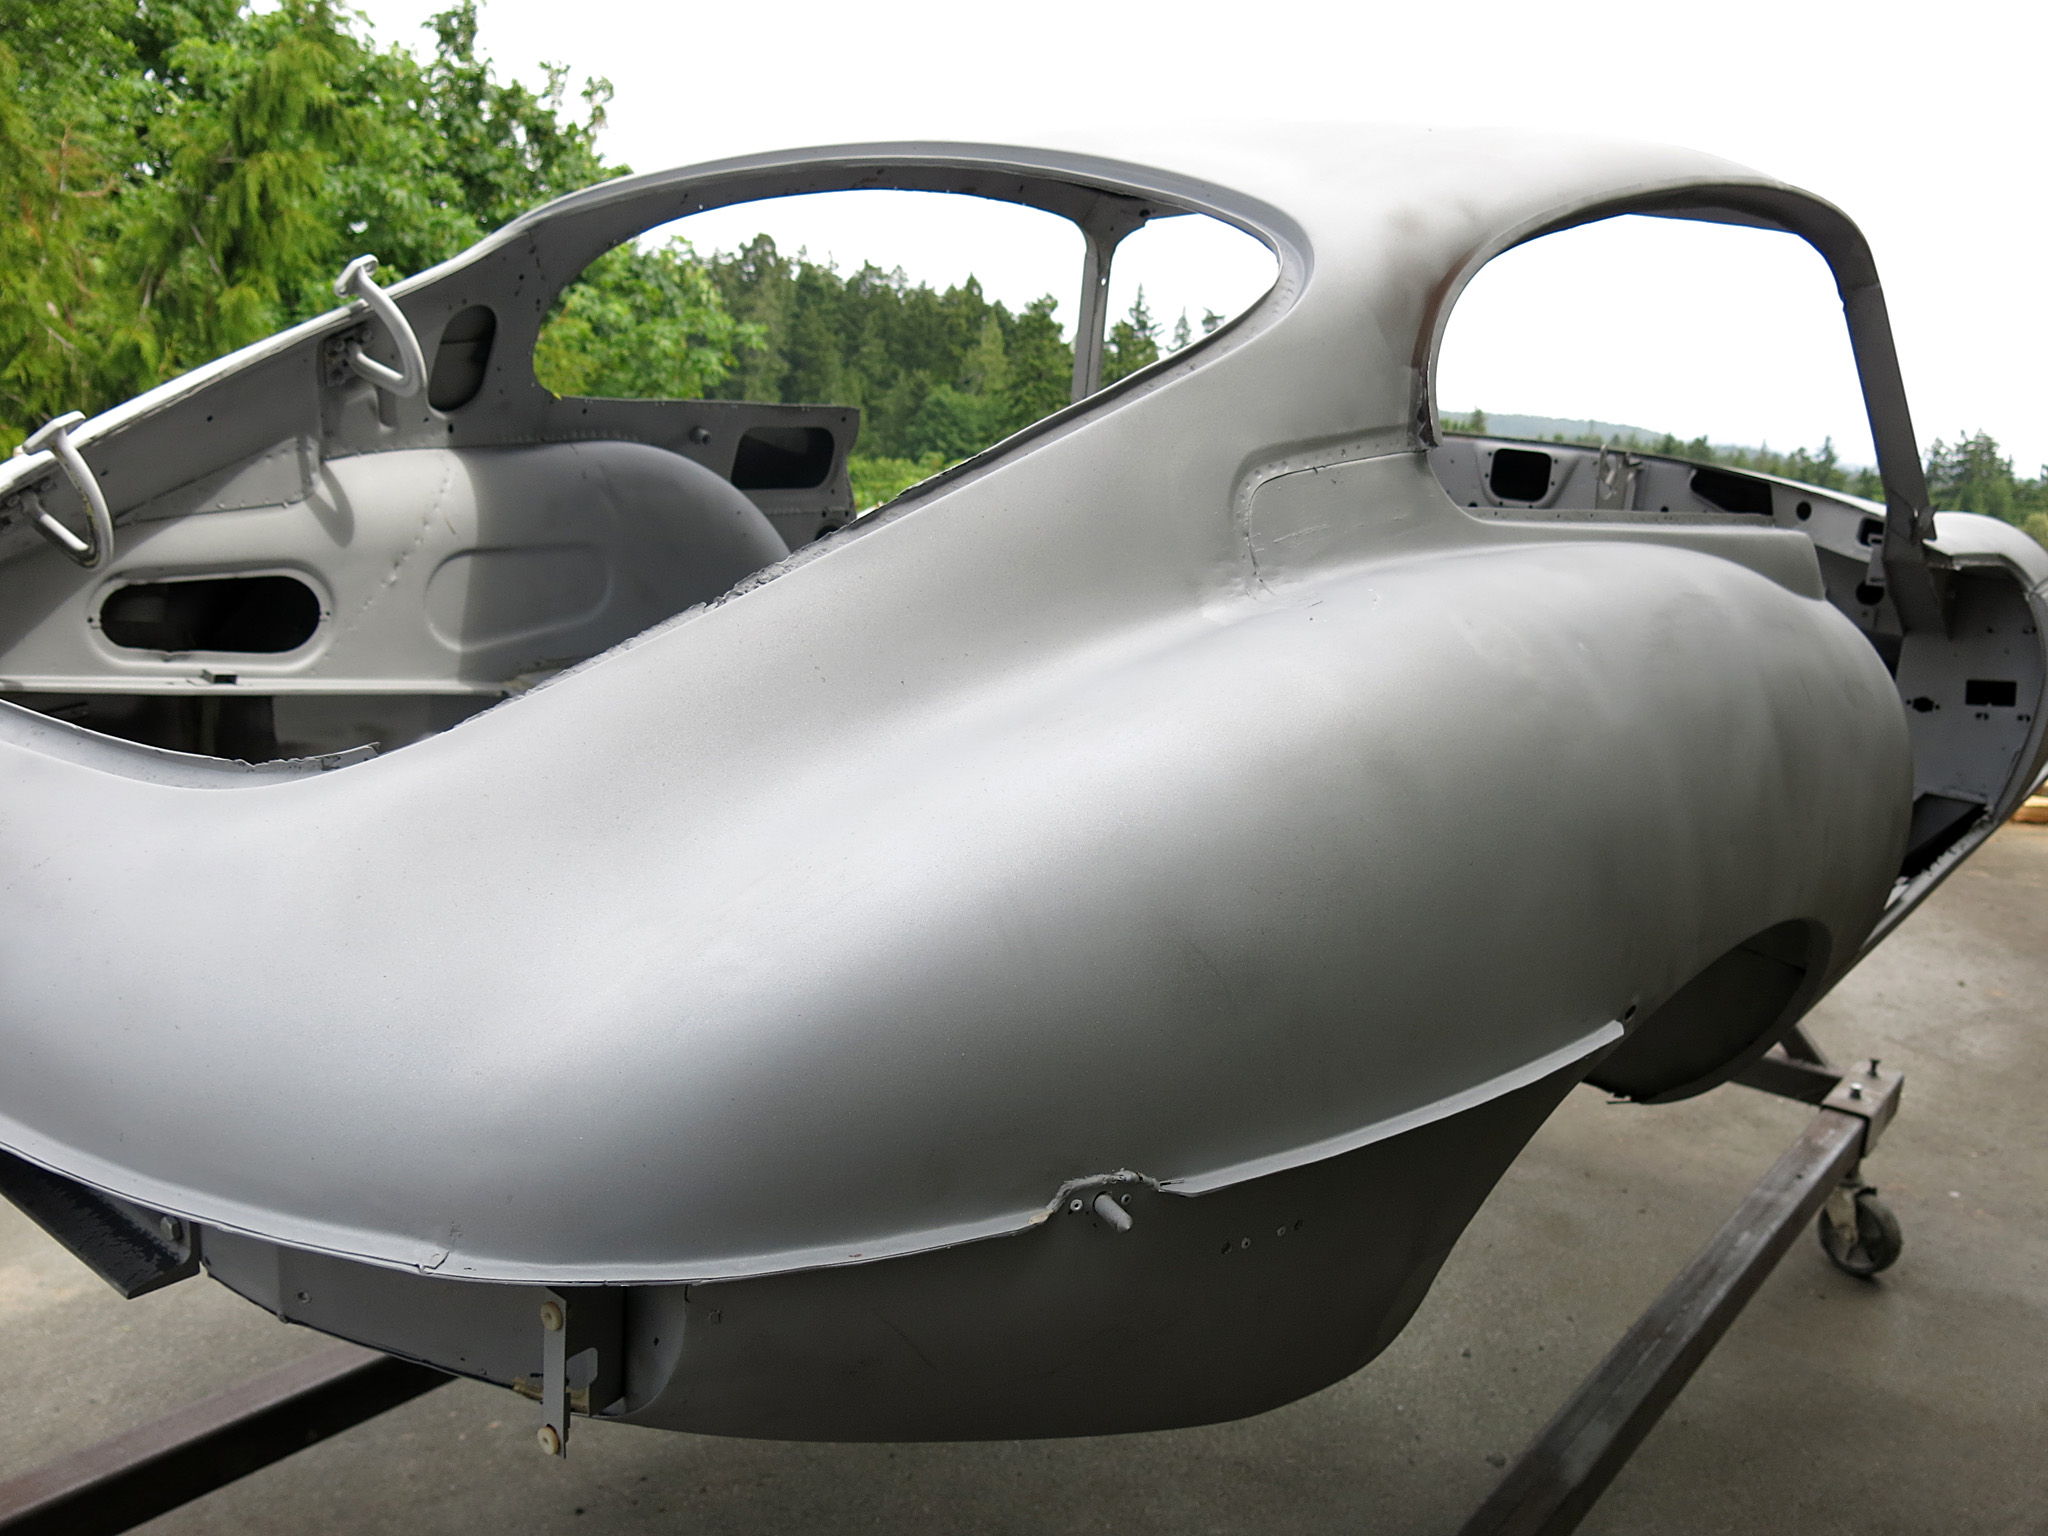
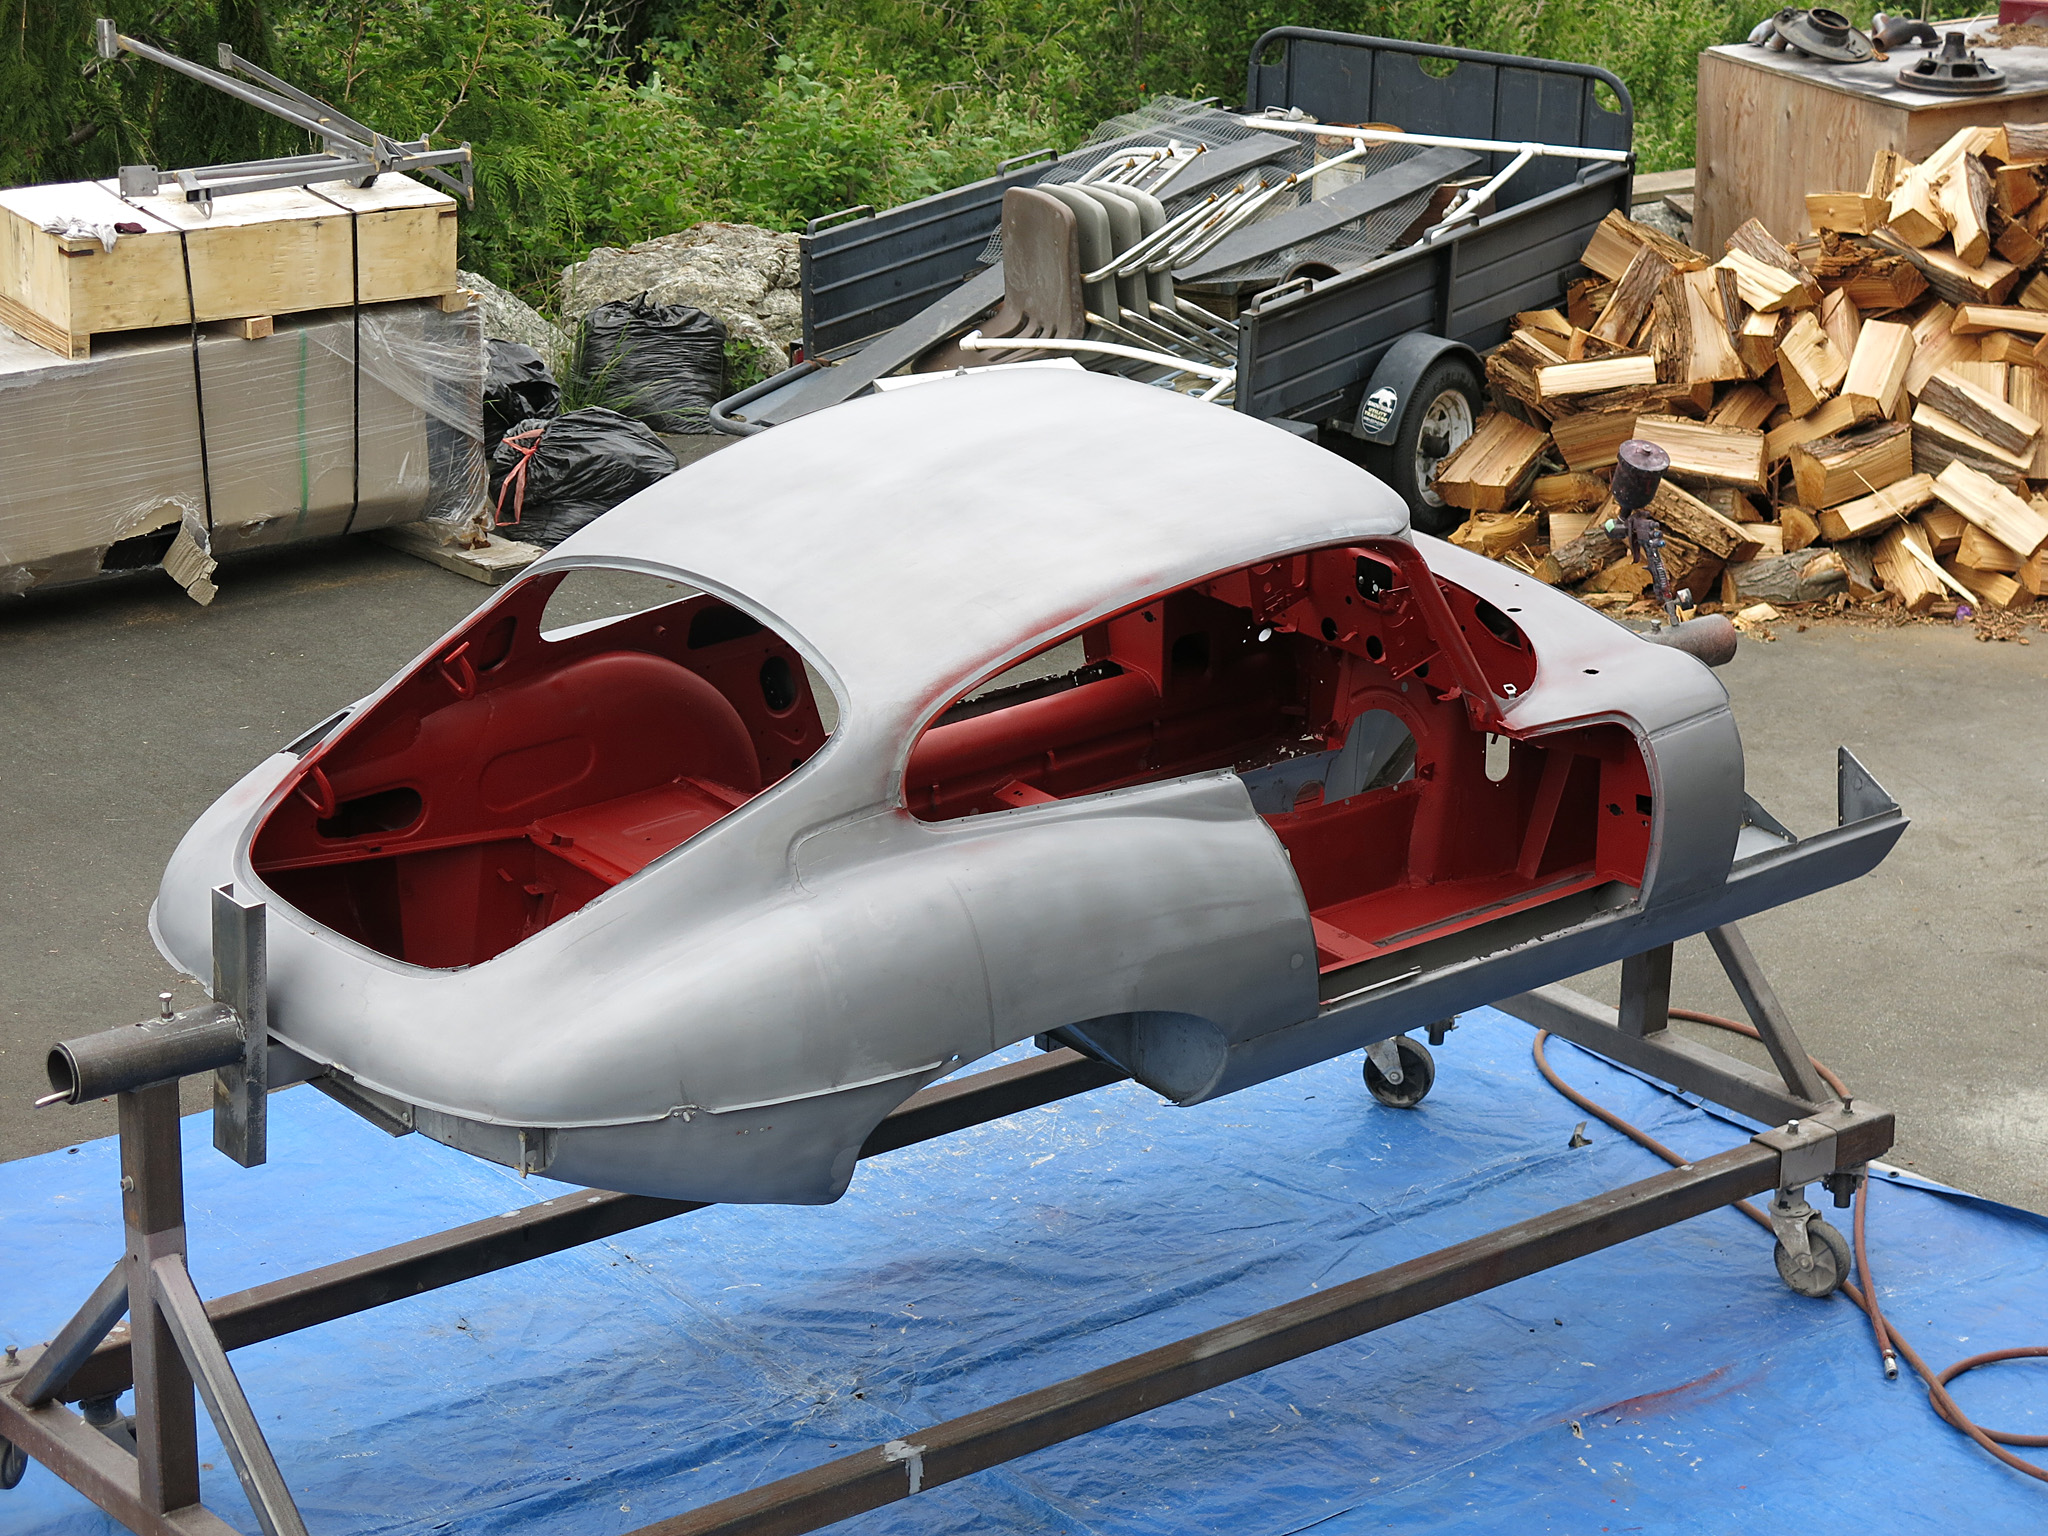
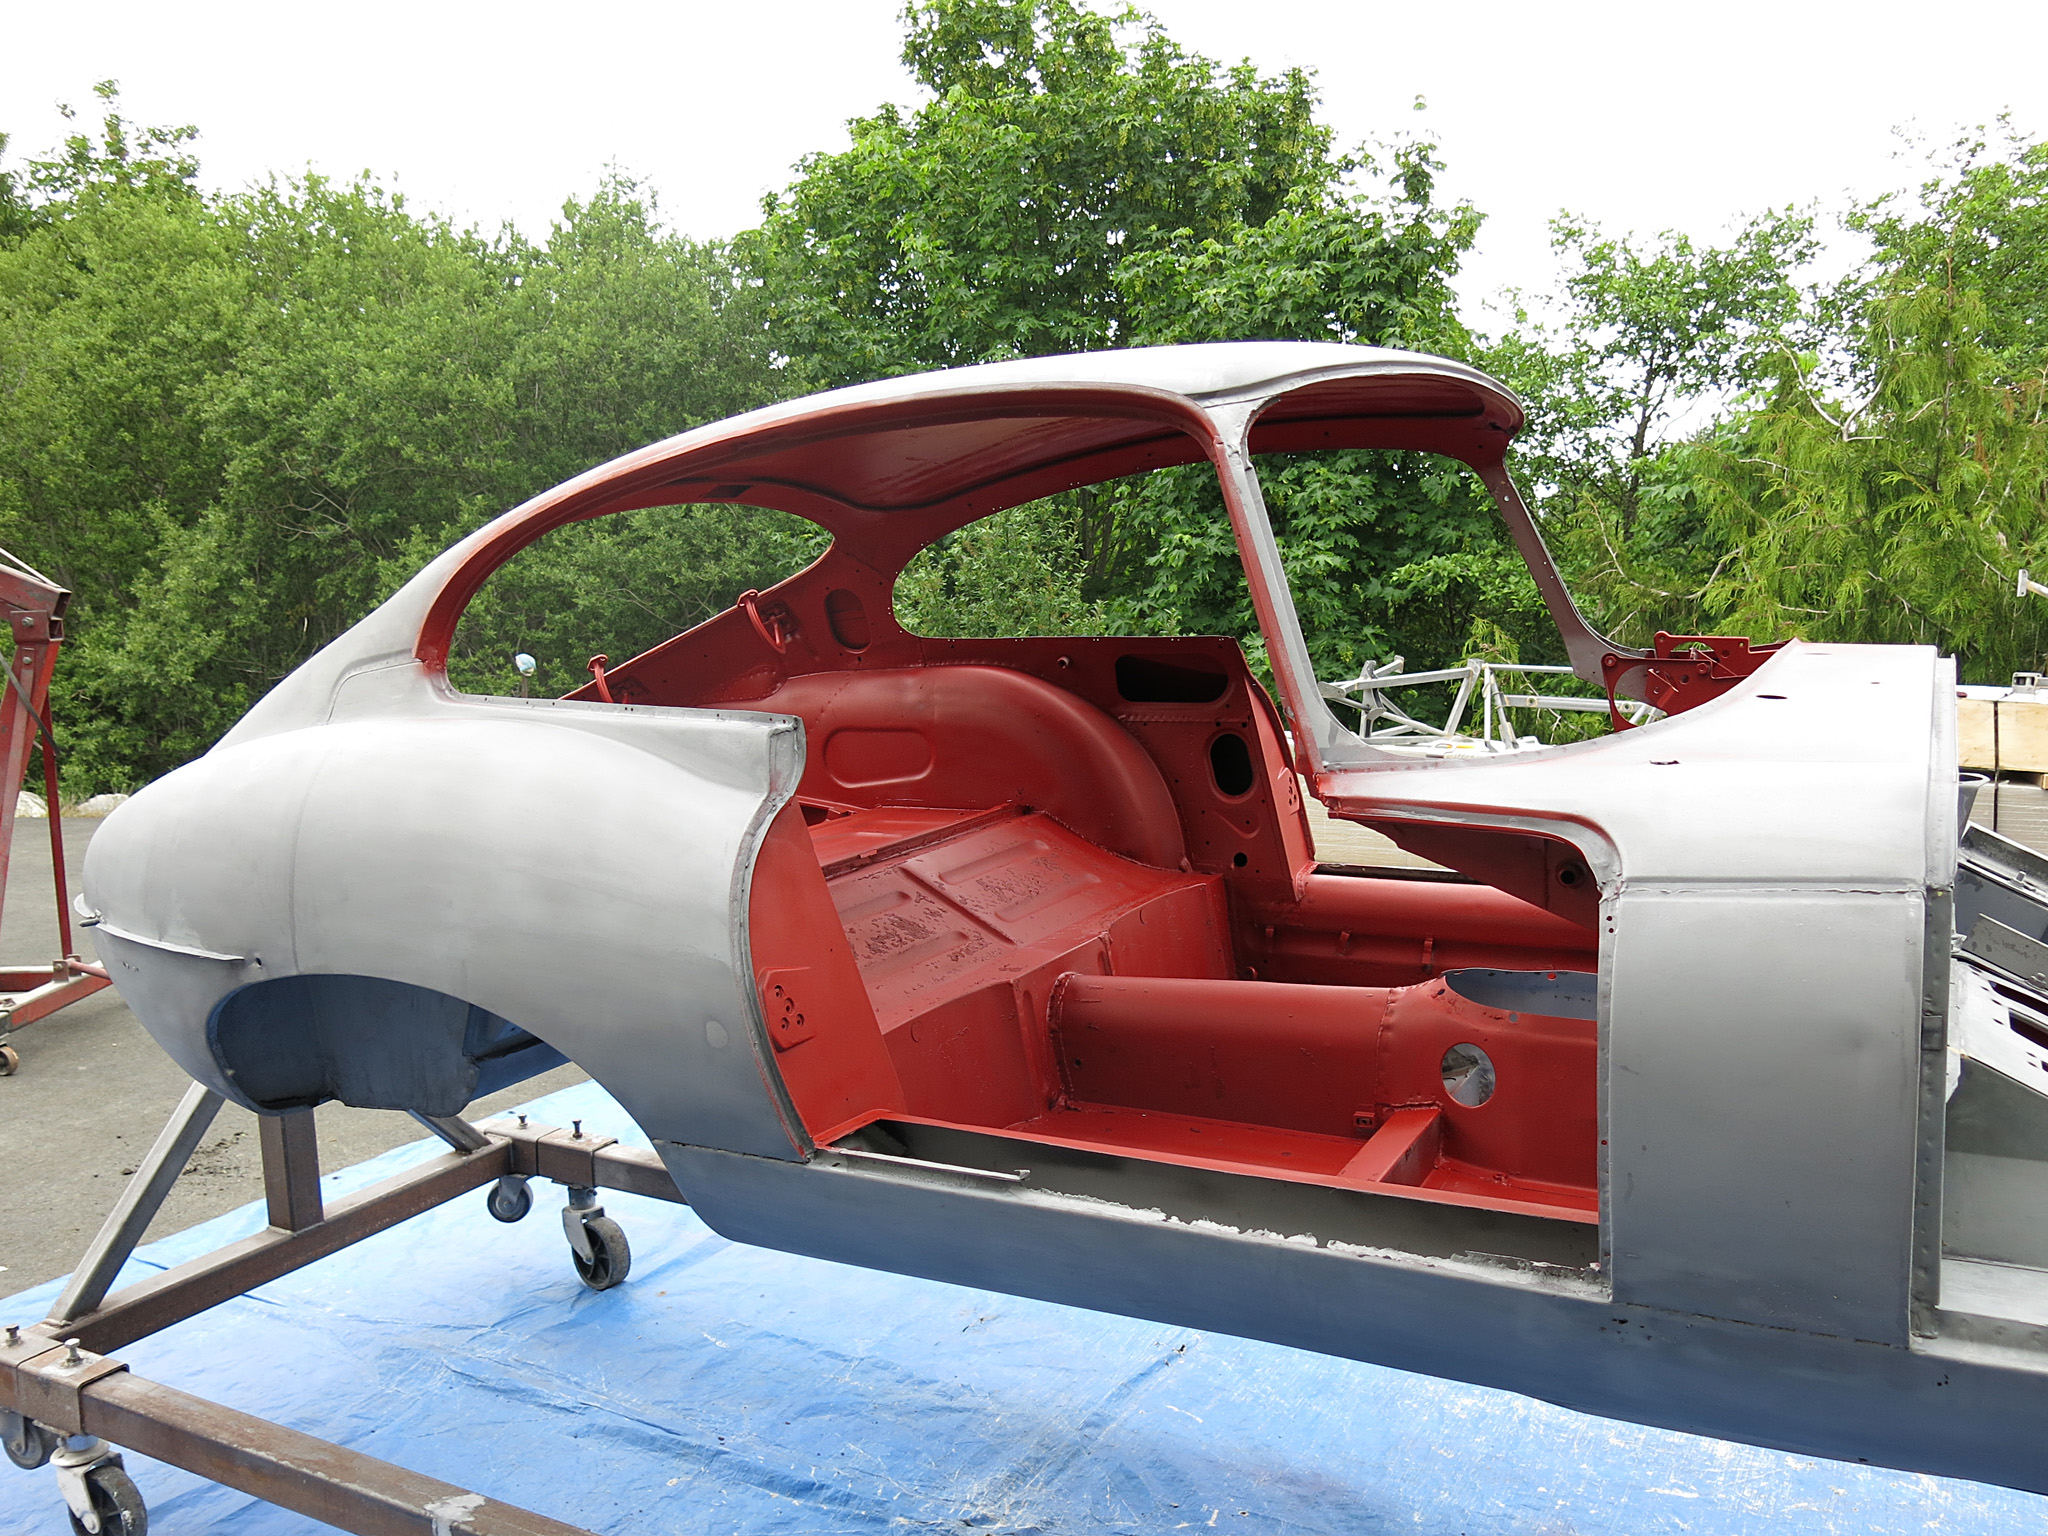
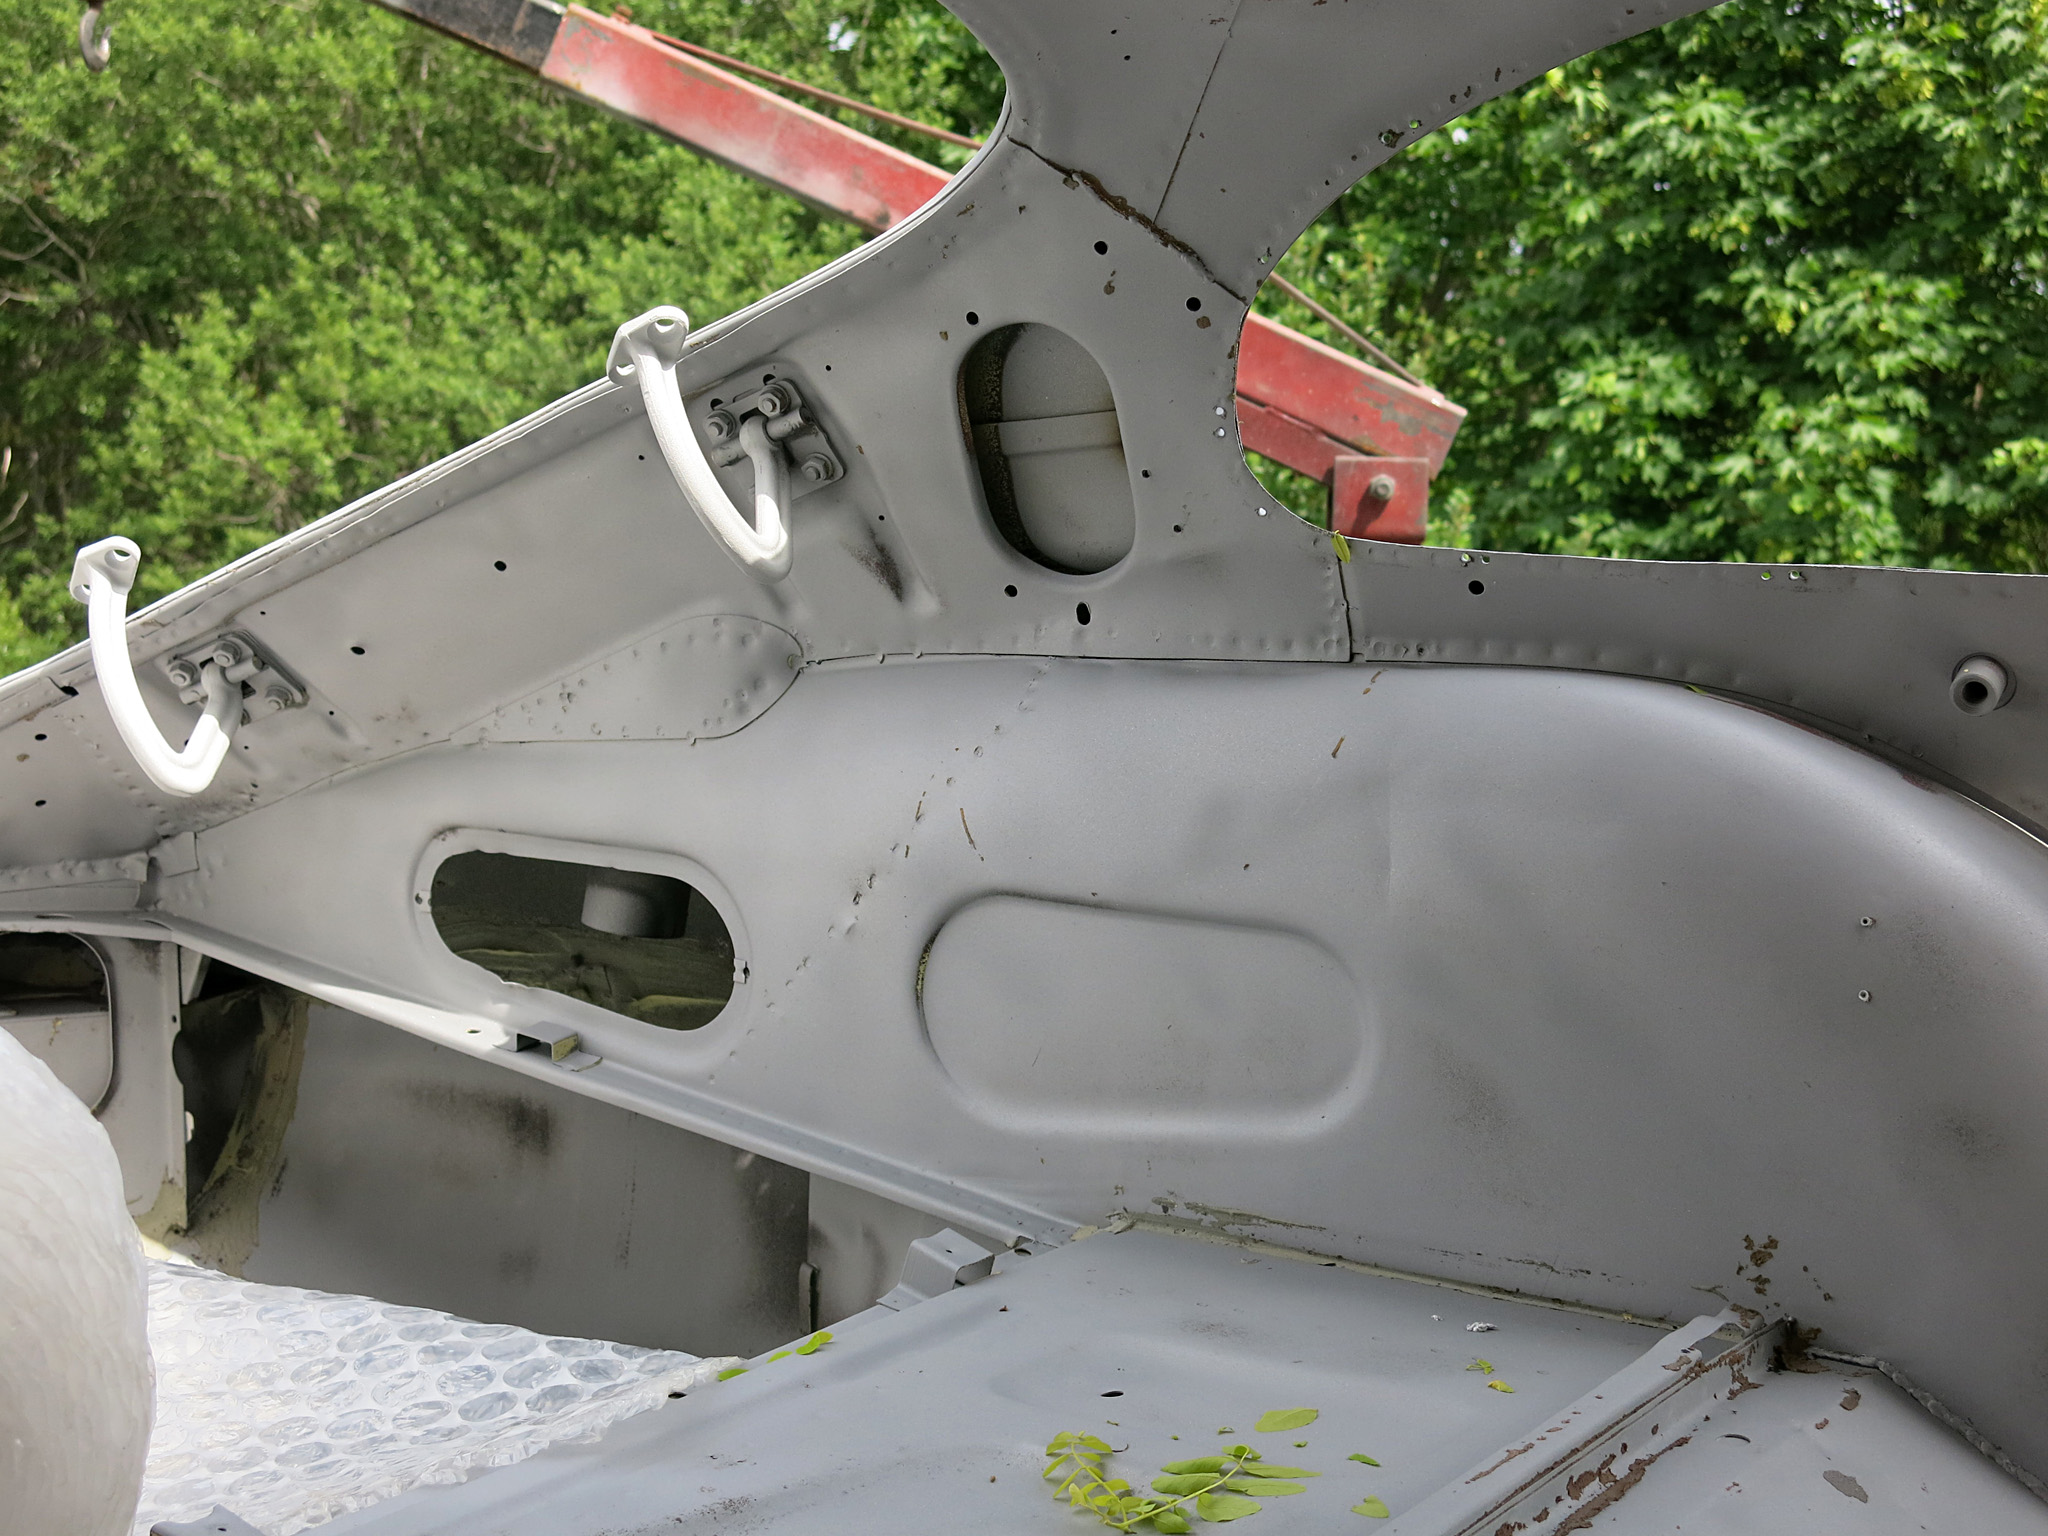
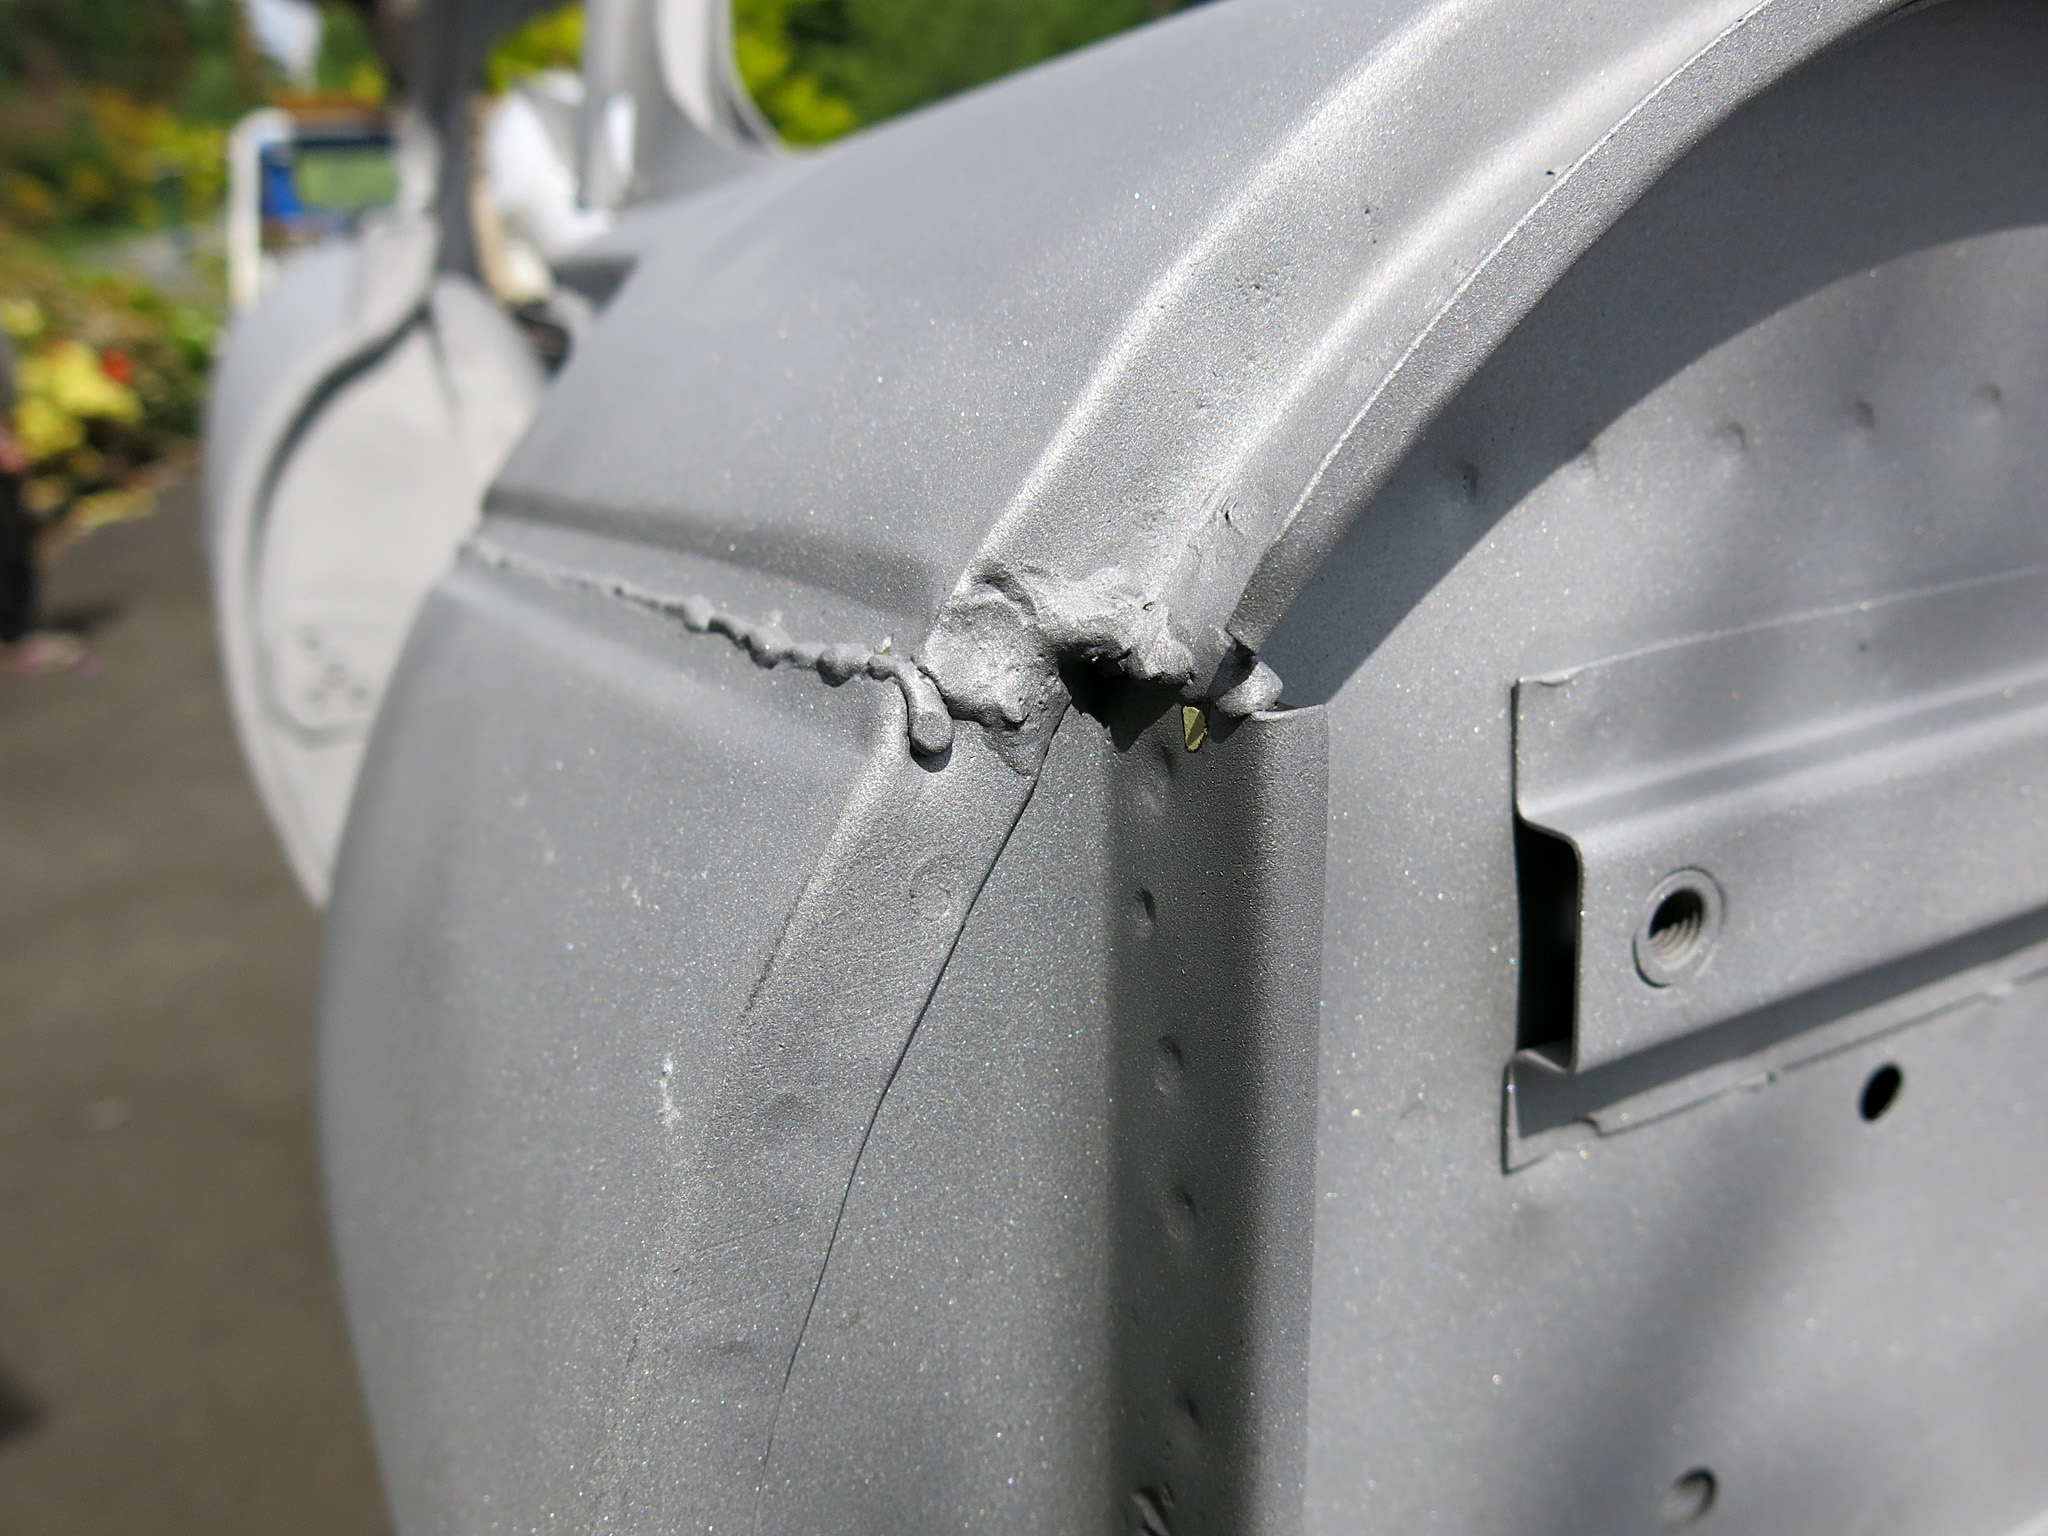
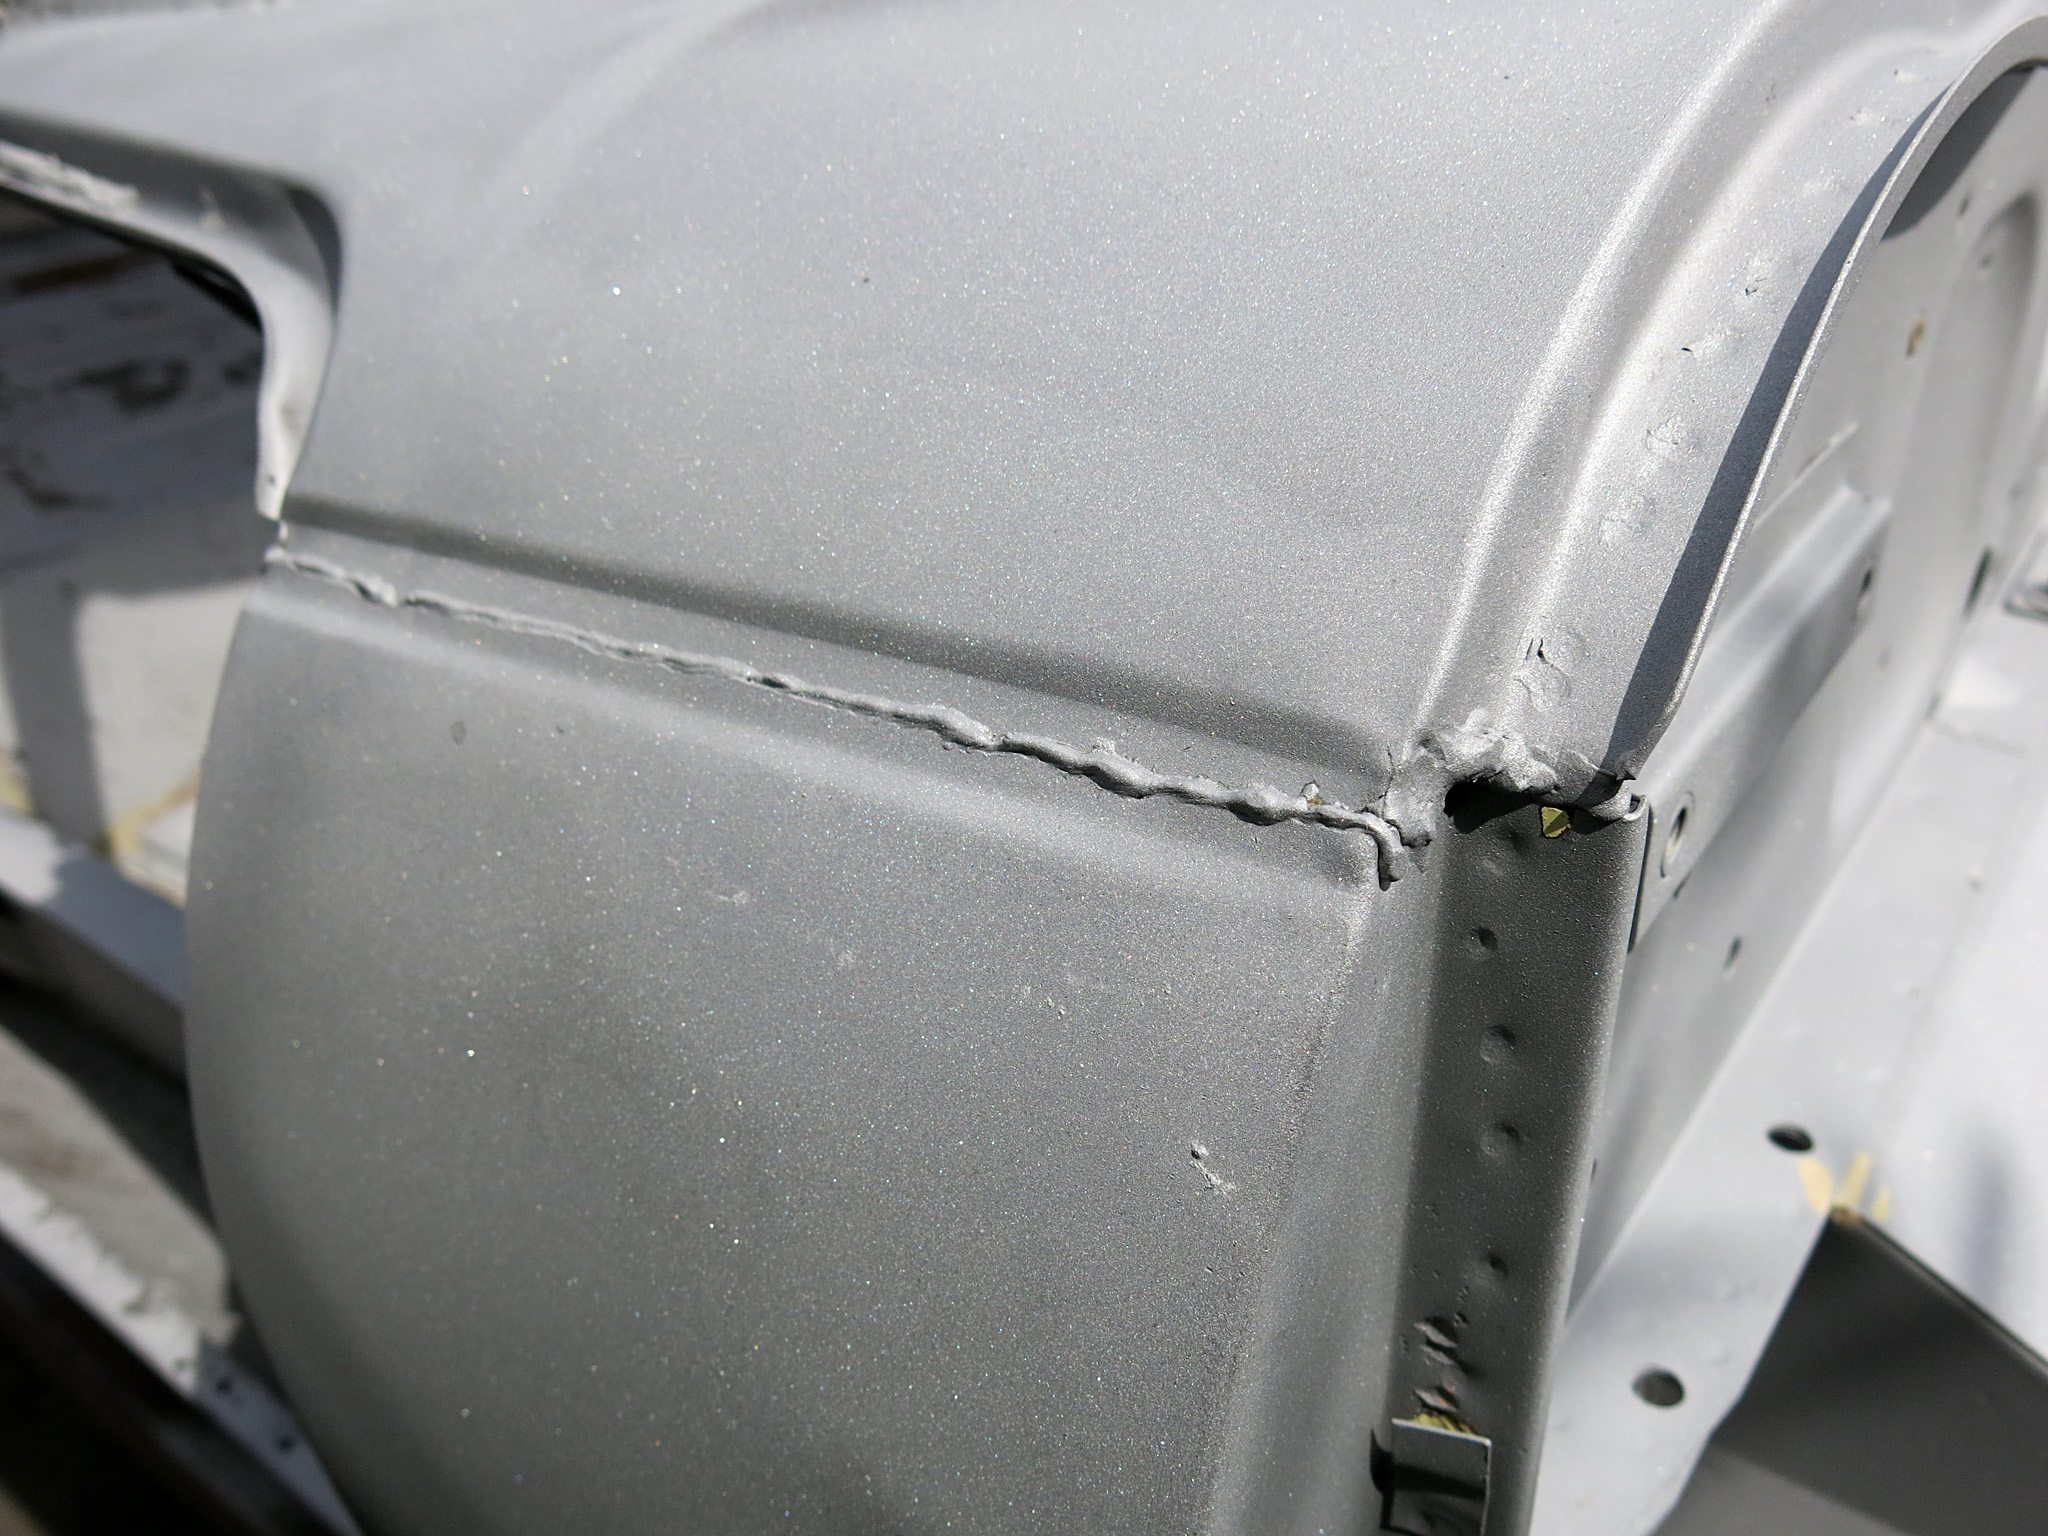
Our client’s 1969 FHC is coming along nicely, the body was manually stripped and Todd from Fox Customs carefully touched up the tight areas with media blasting.
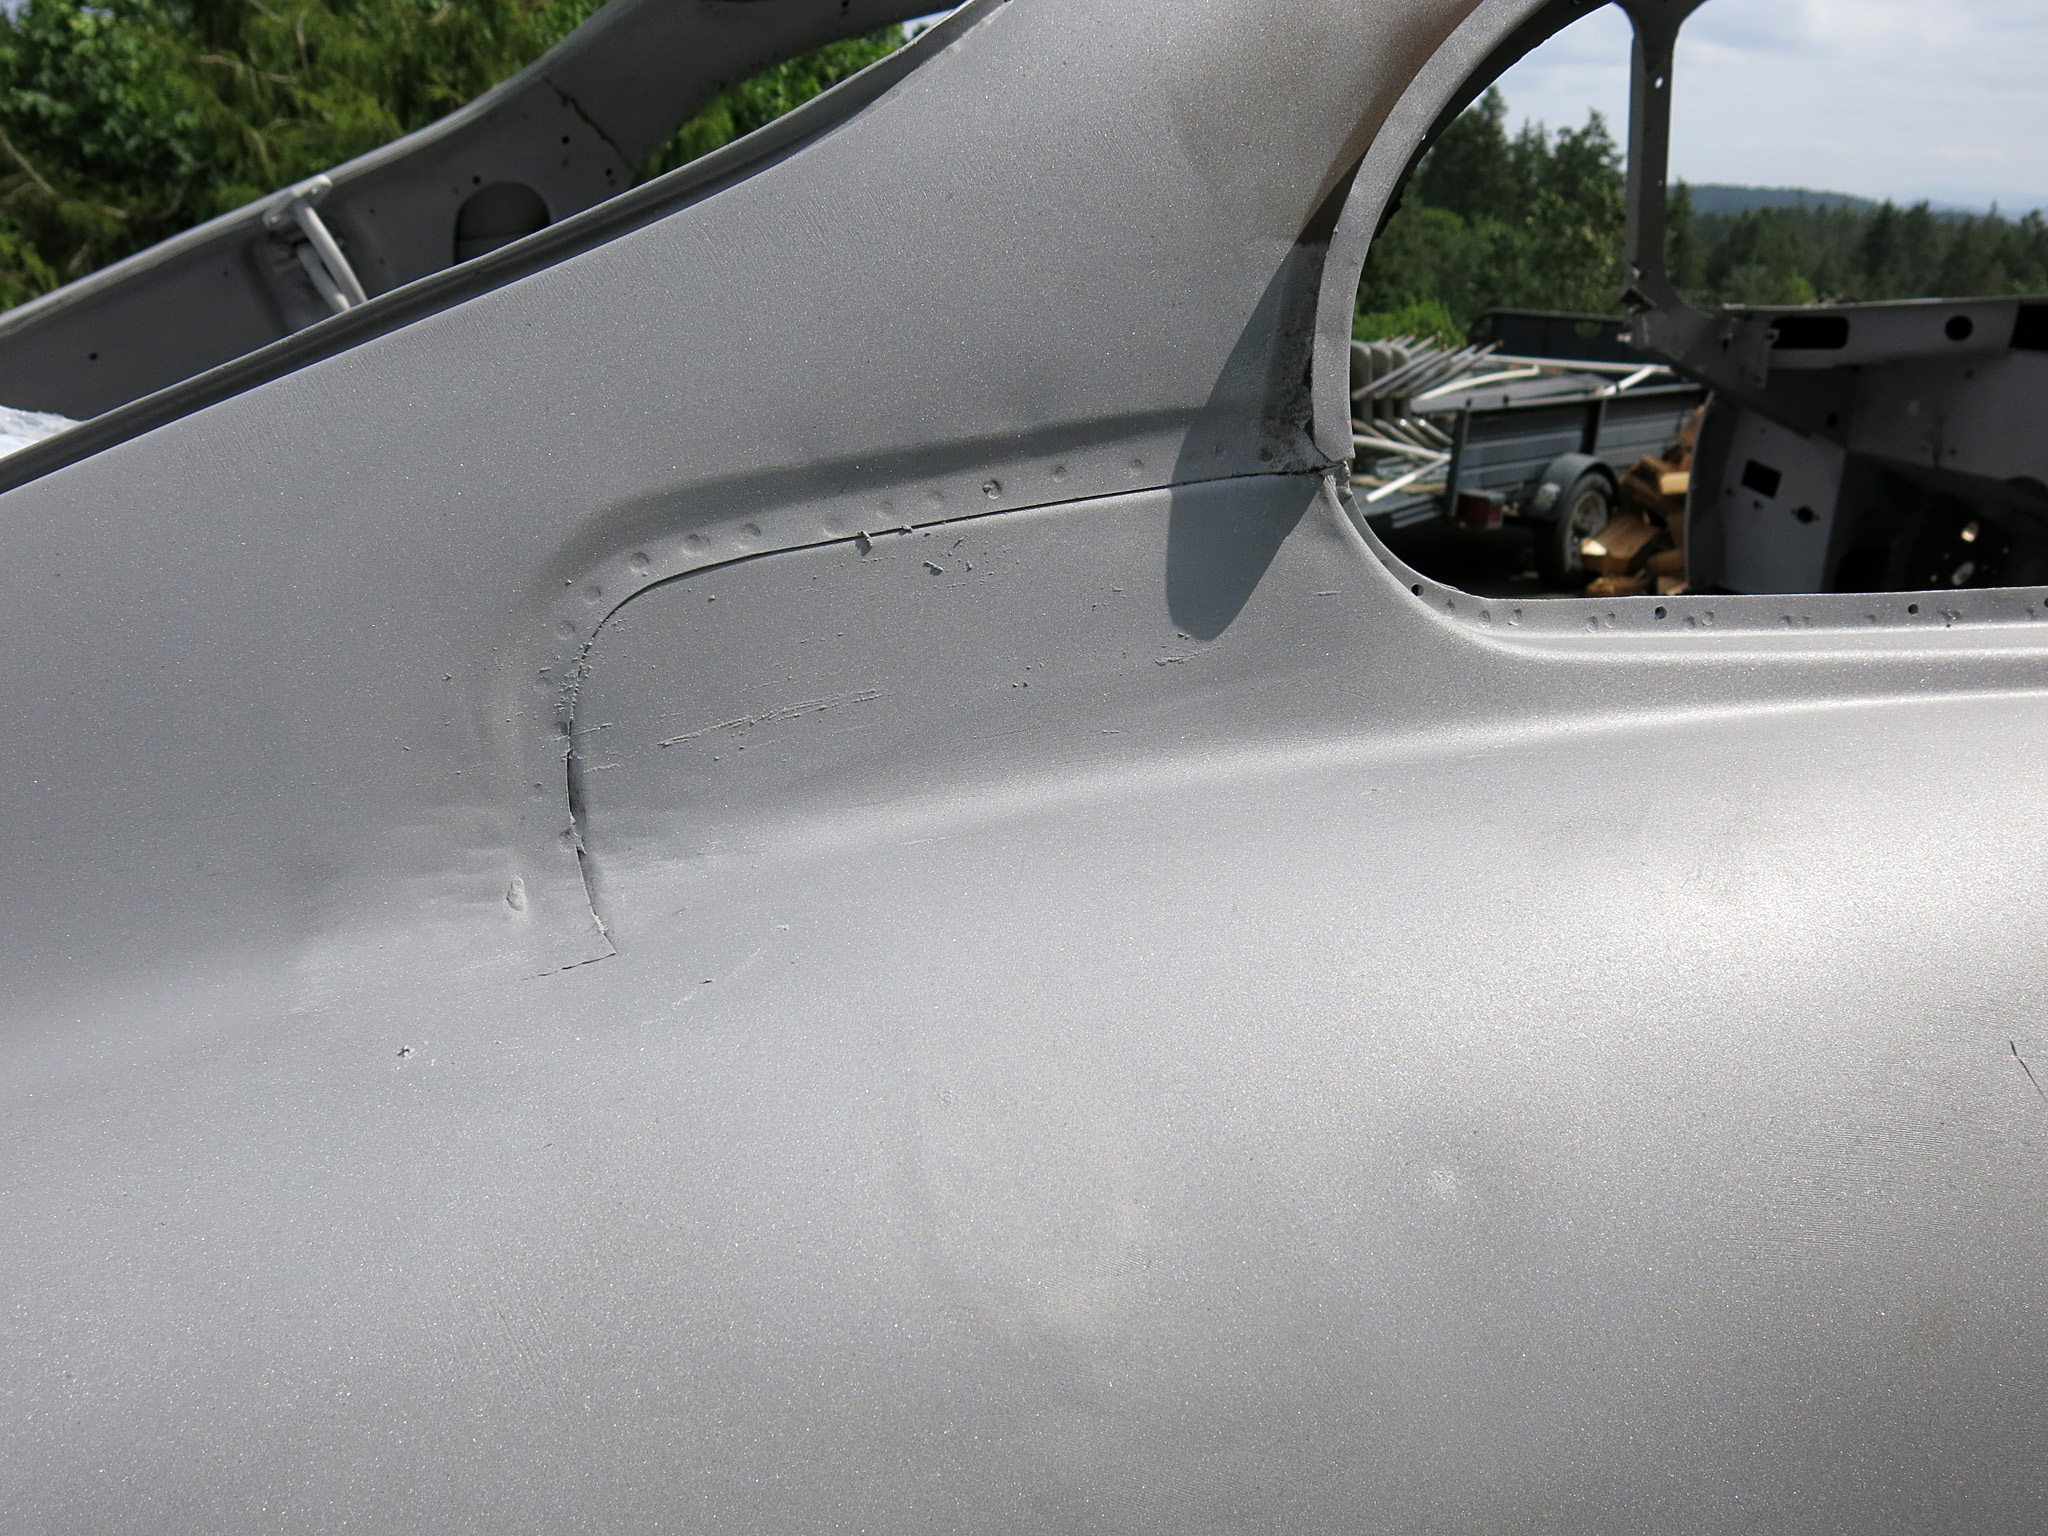
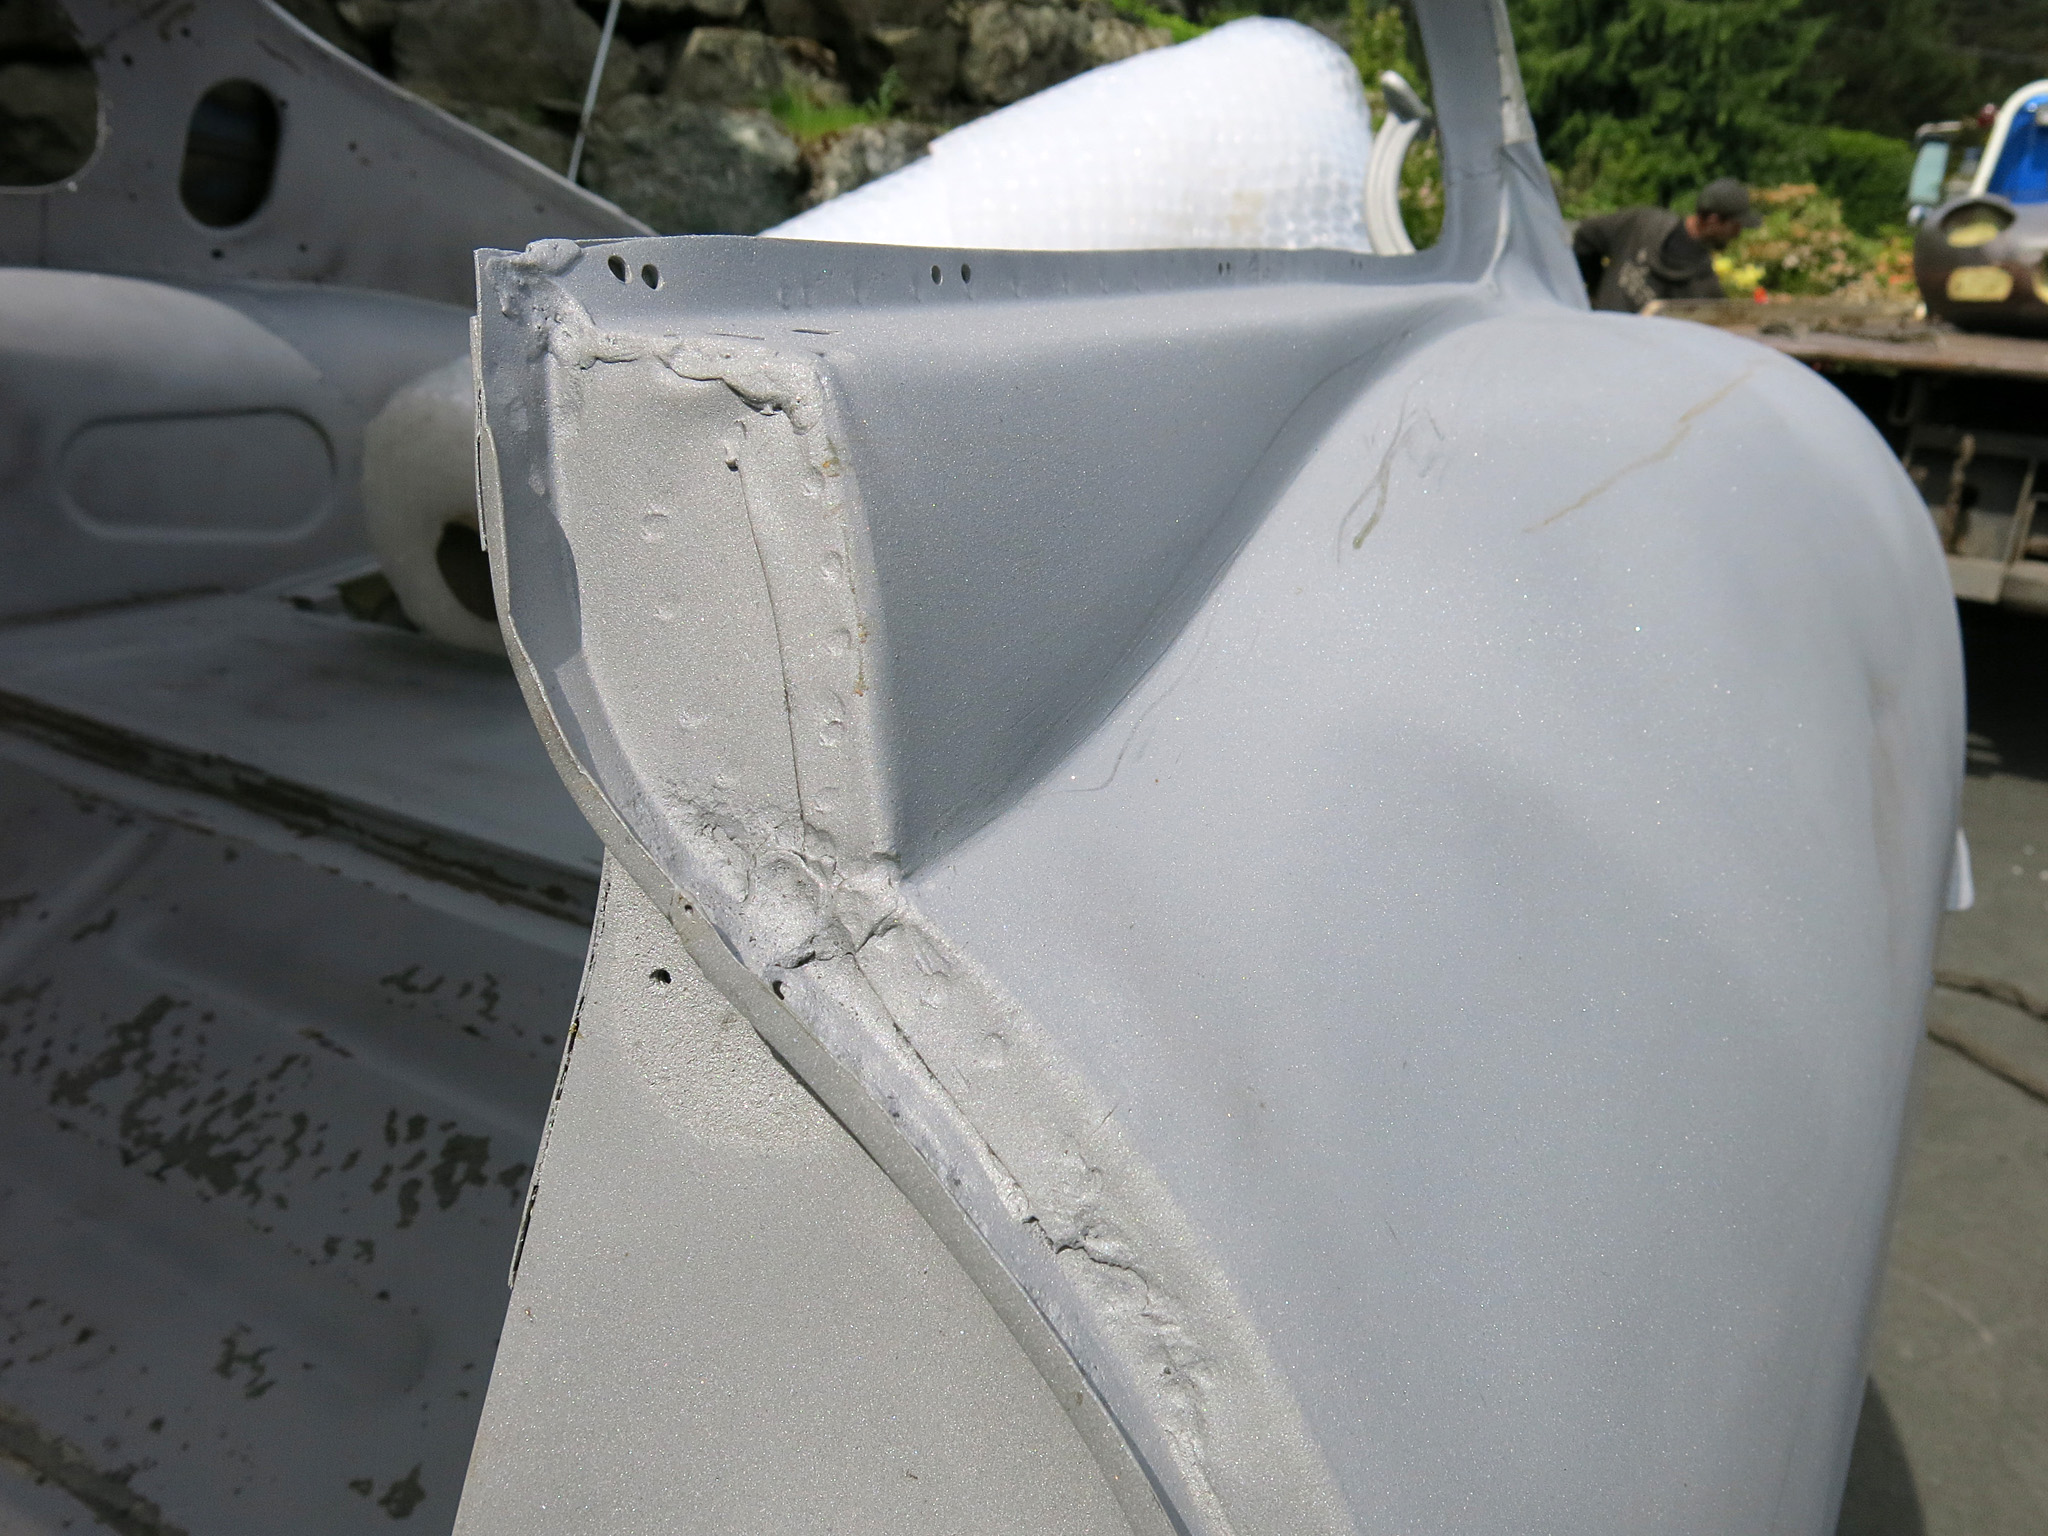
Todd also removed the lead which gave us a unique inside look into the real joints that lie beneath. The results are posted.
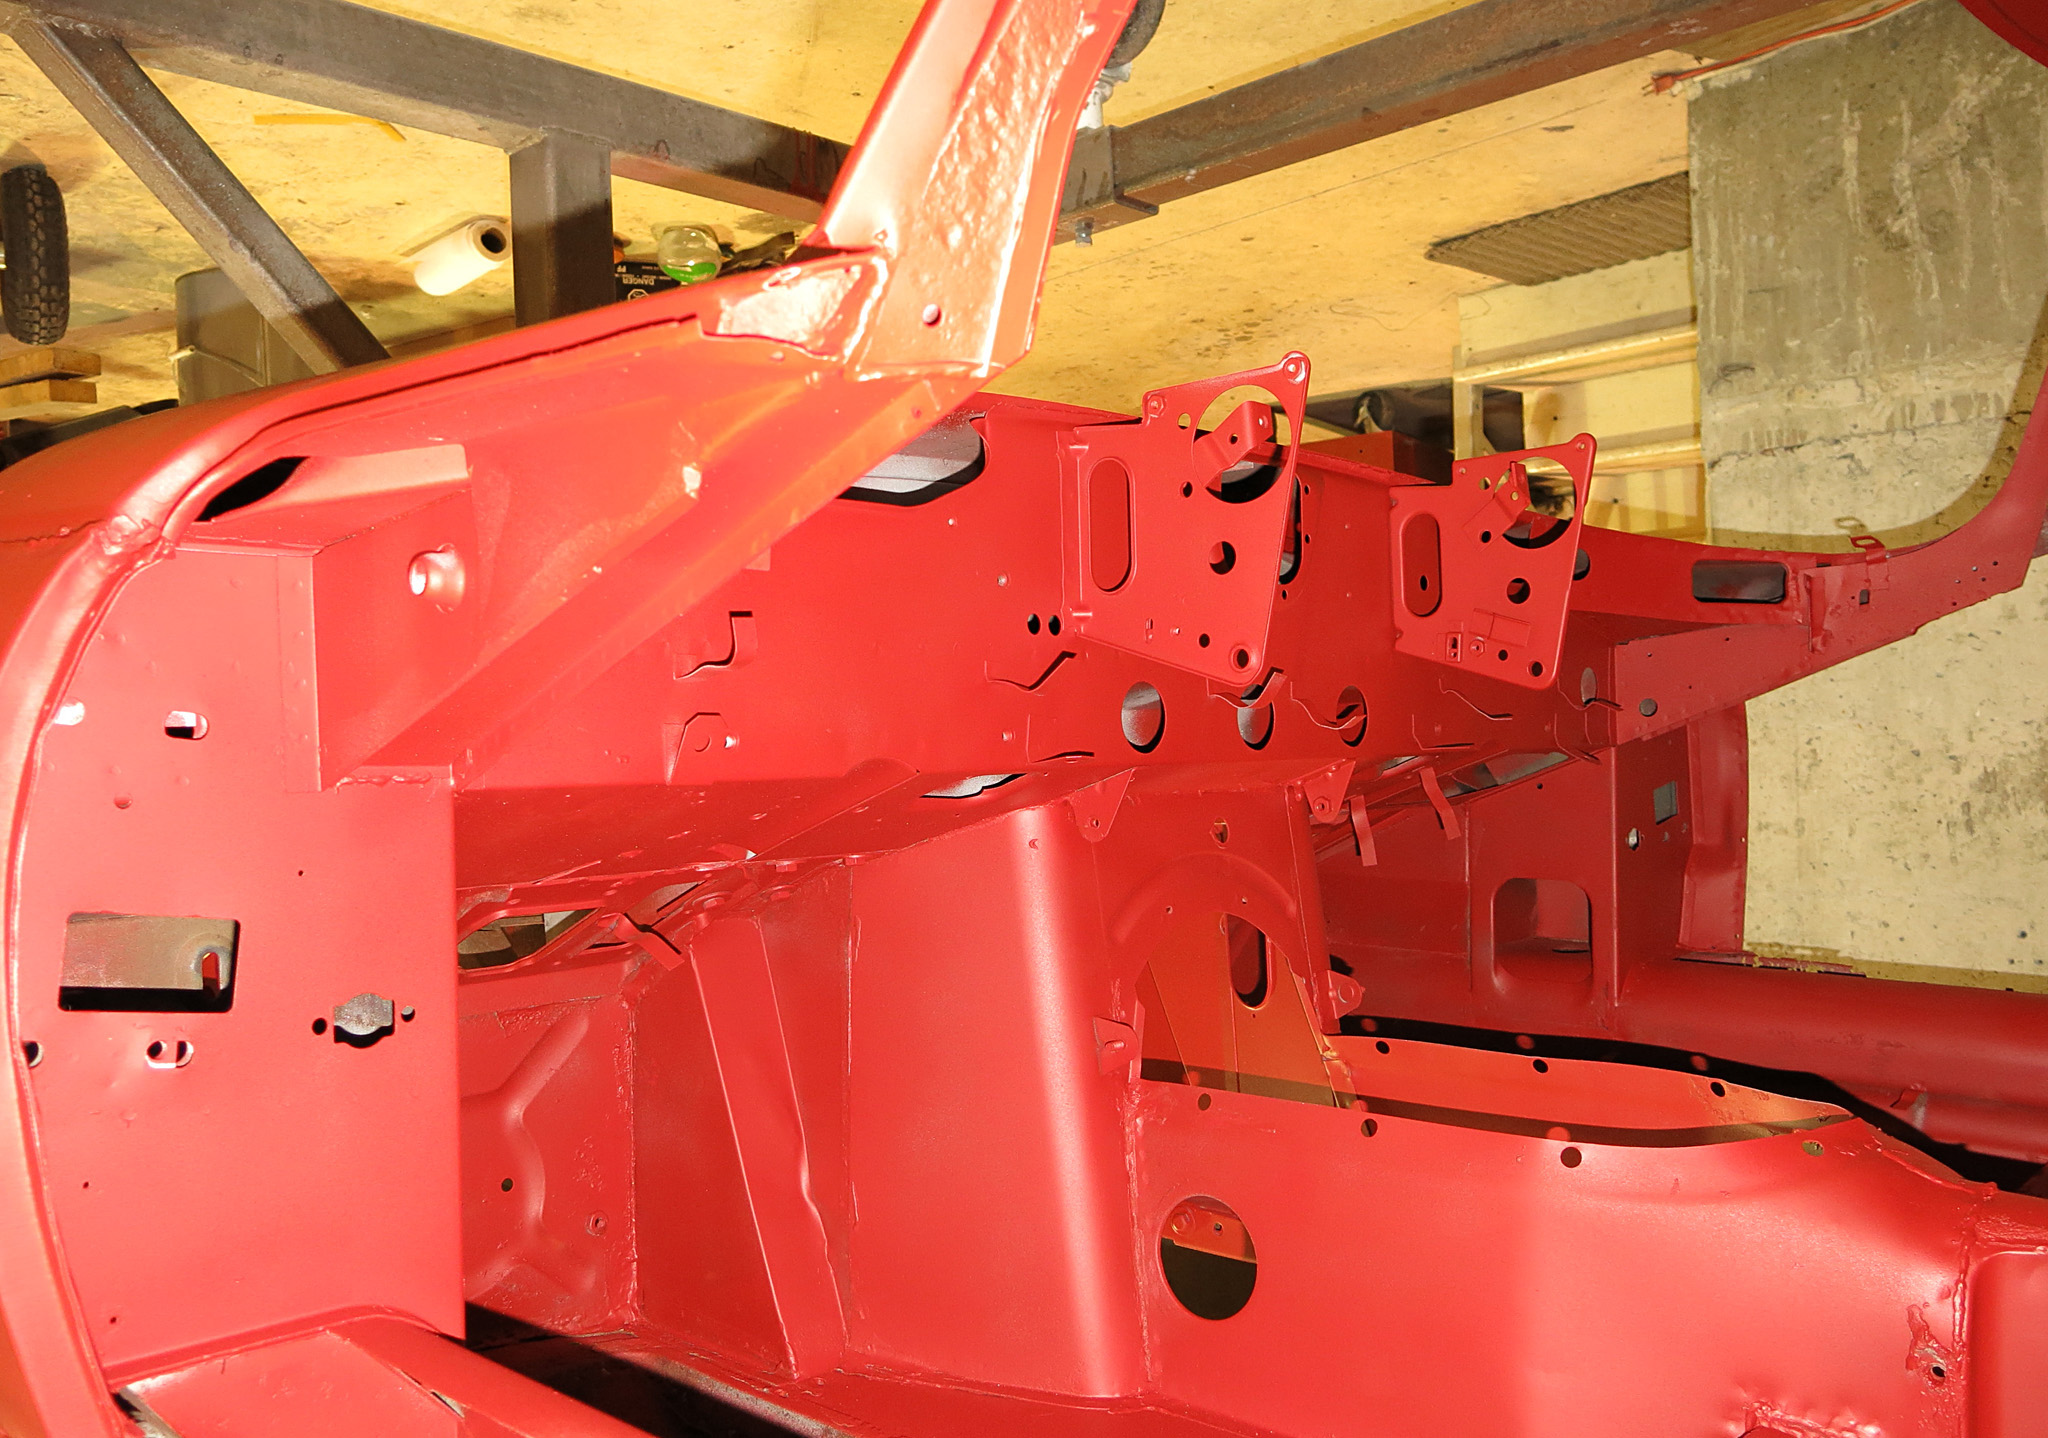
Also included is some of the expoy primer in red which was the original hue that jaguar used on this particular car.

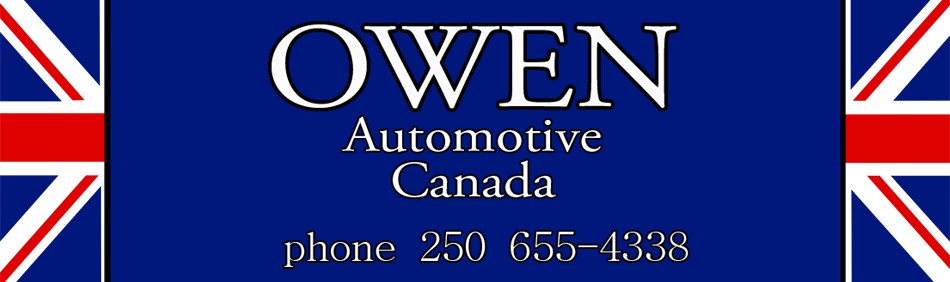
Today we delivered a new engine-bay restoration which will be at the 9th Annual Restoration Fair & Swap Meet held by the OECC tomorrow.
This particular job took 100 hours, which included a strip to bare metal, etching, epoxy primer, careful seam-sealing and a polyurethane top-coat.
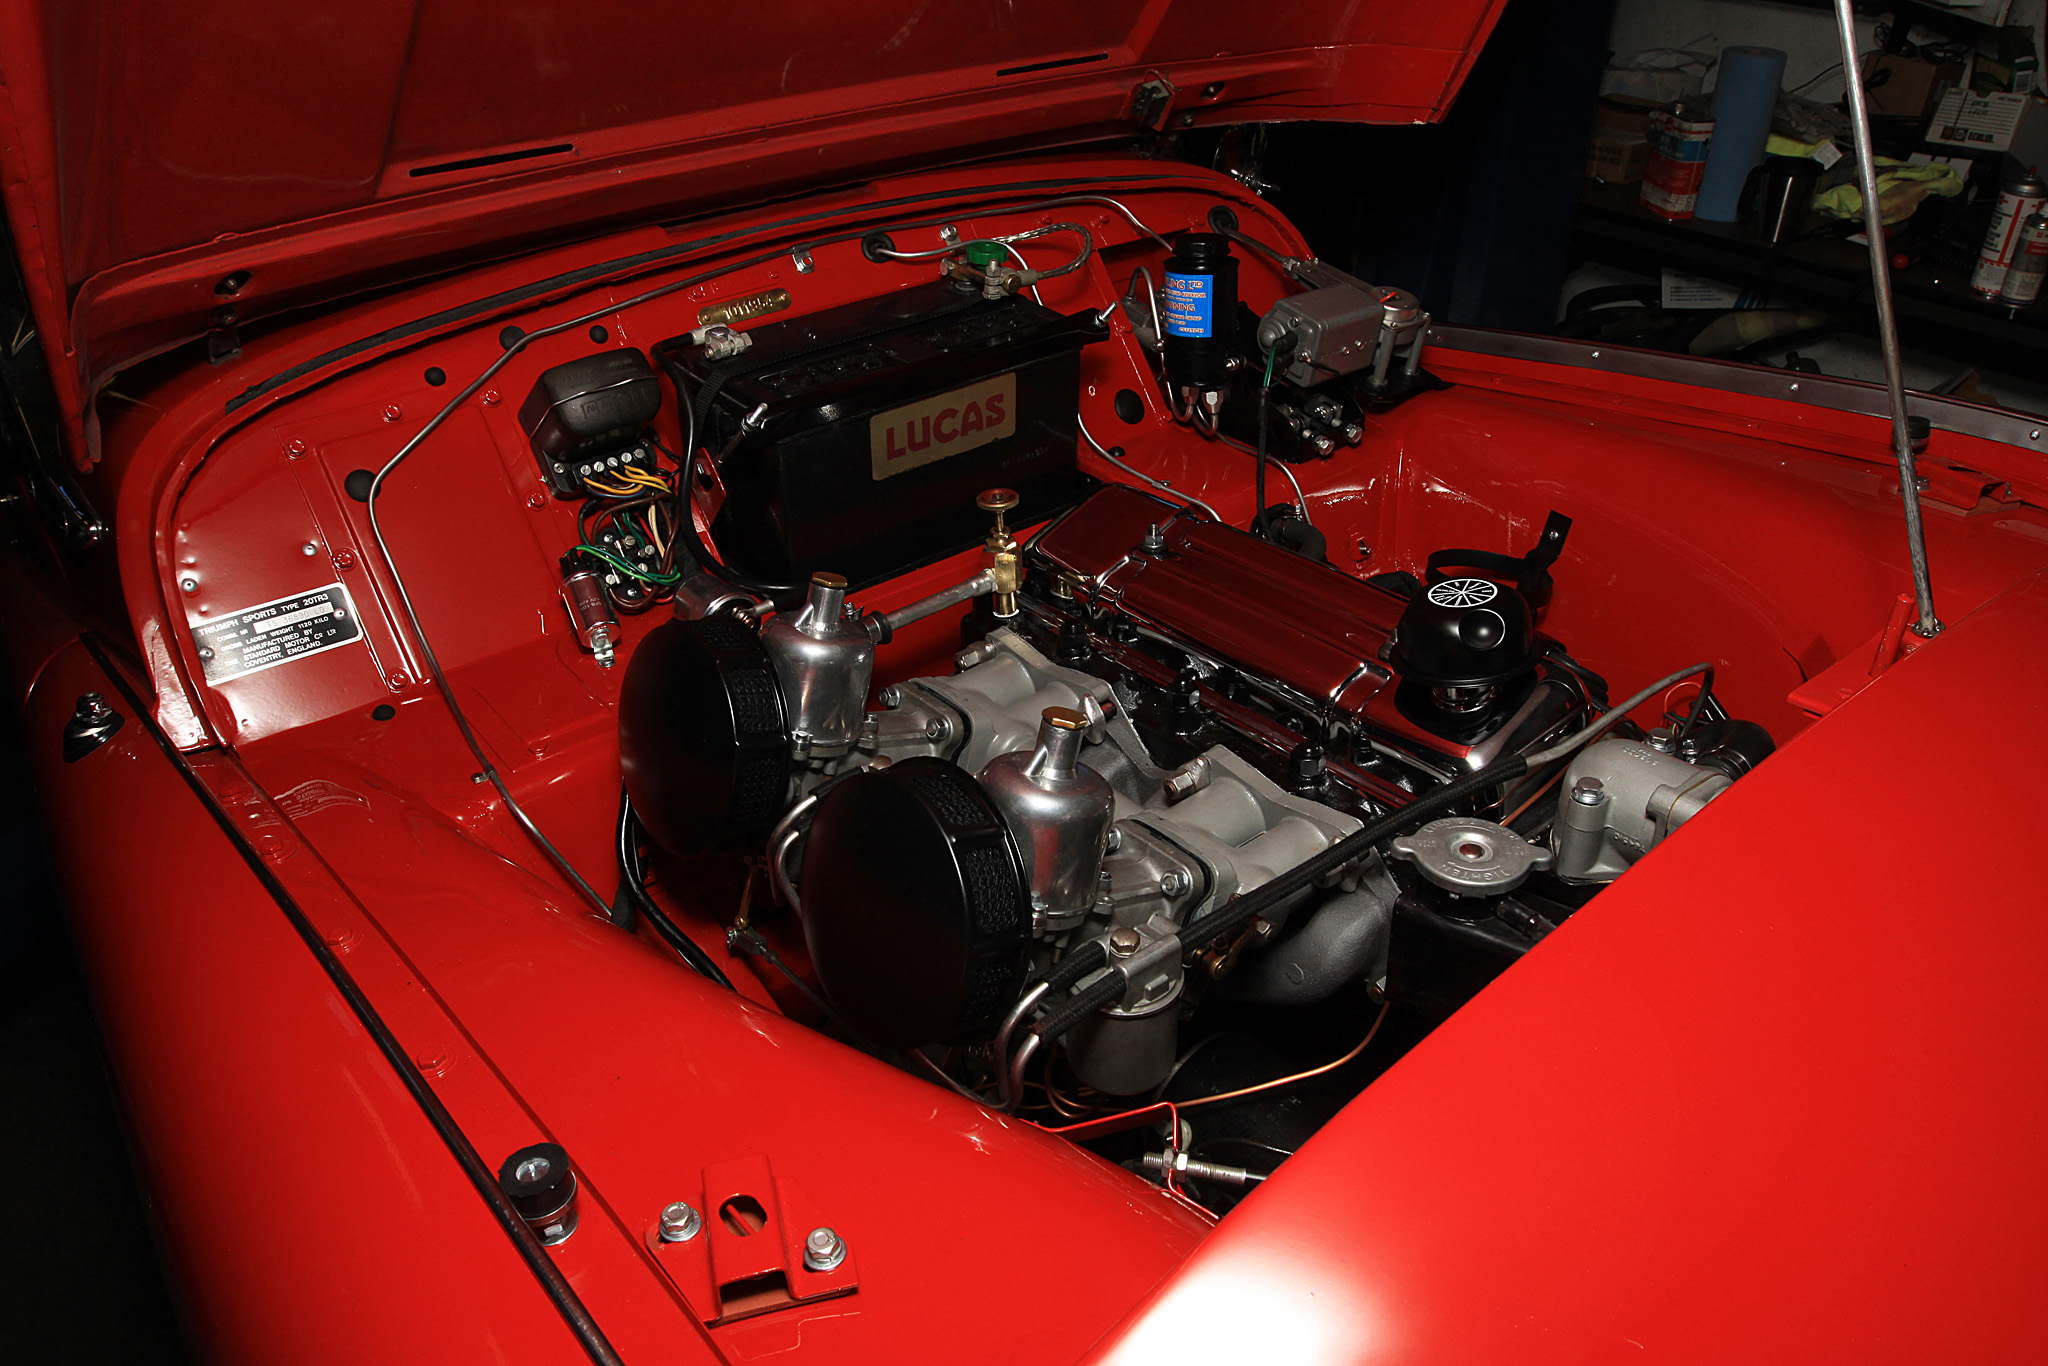
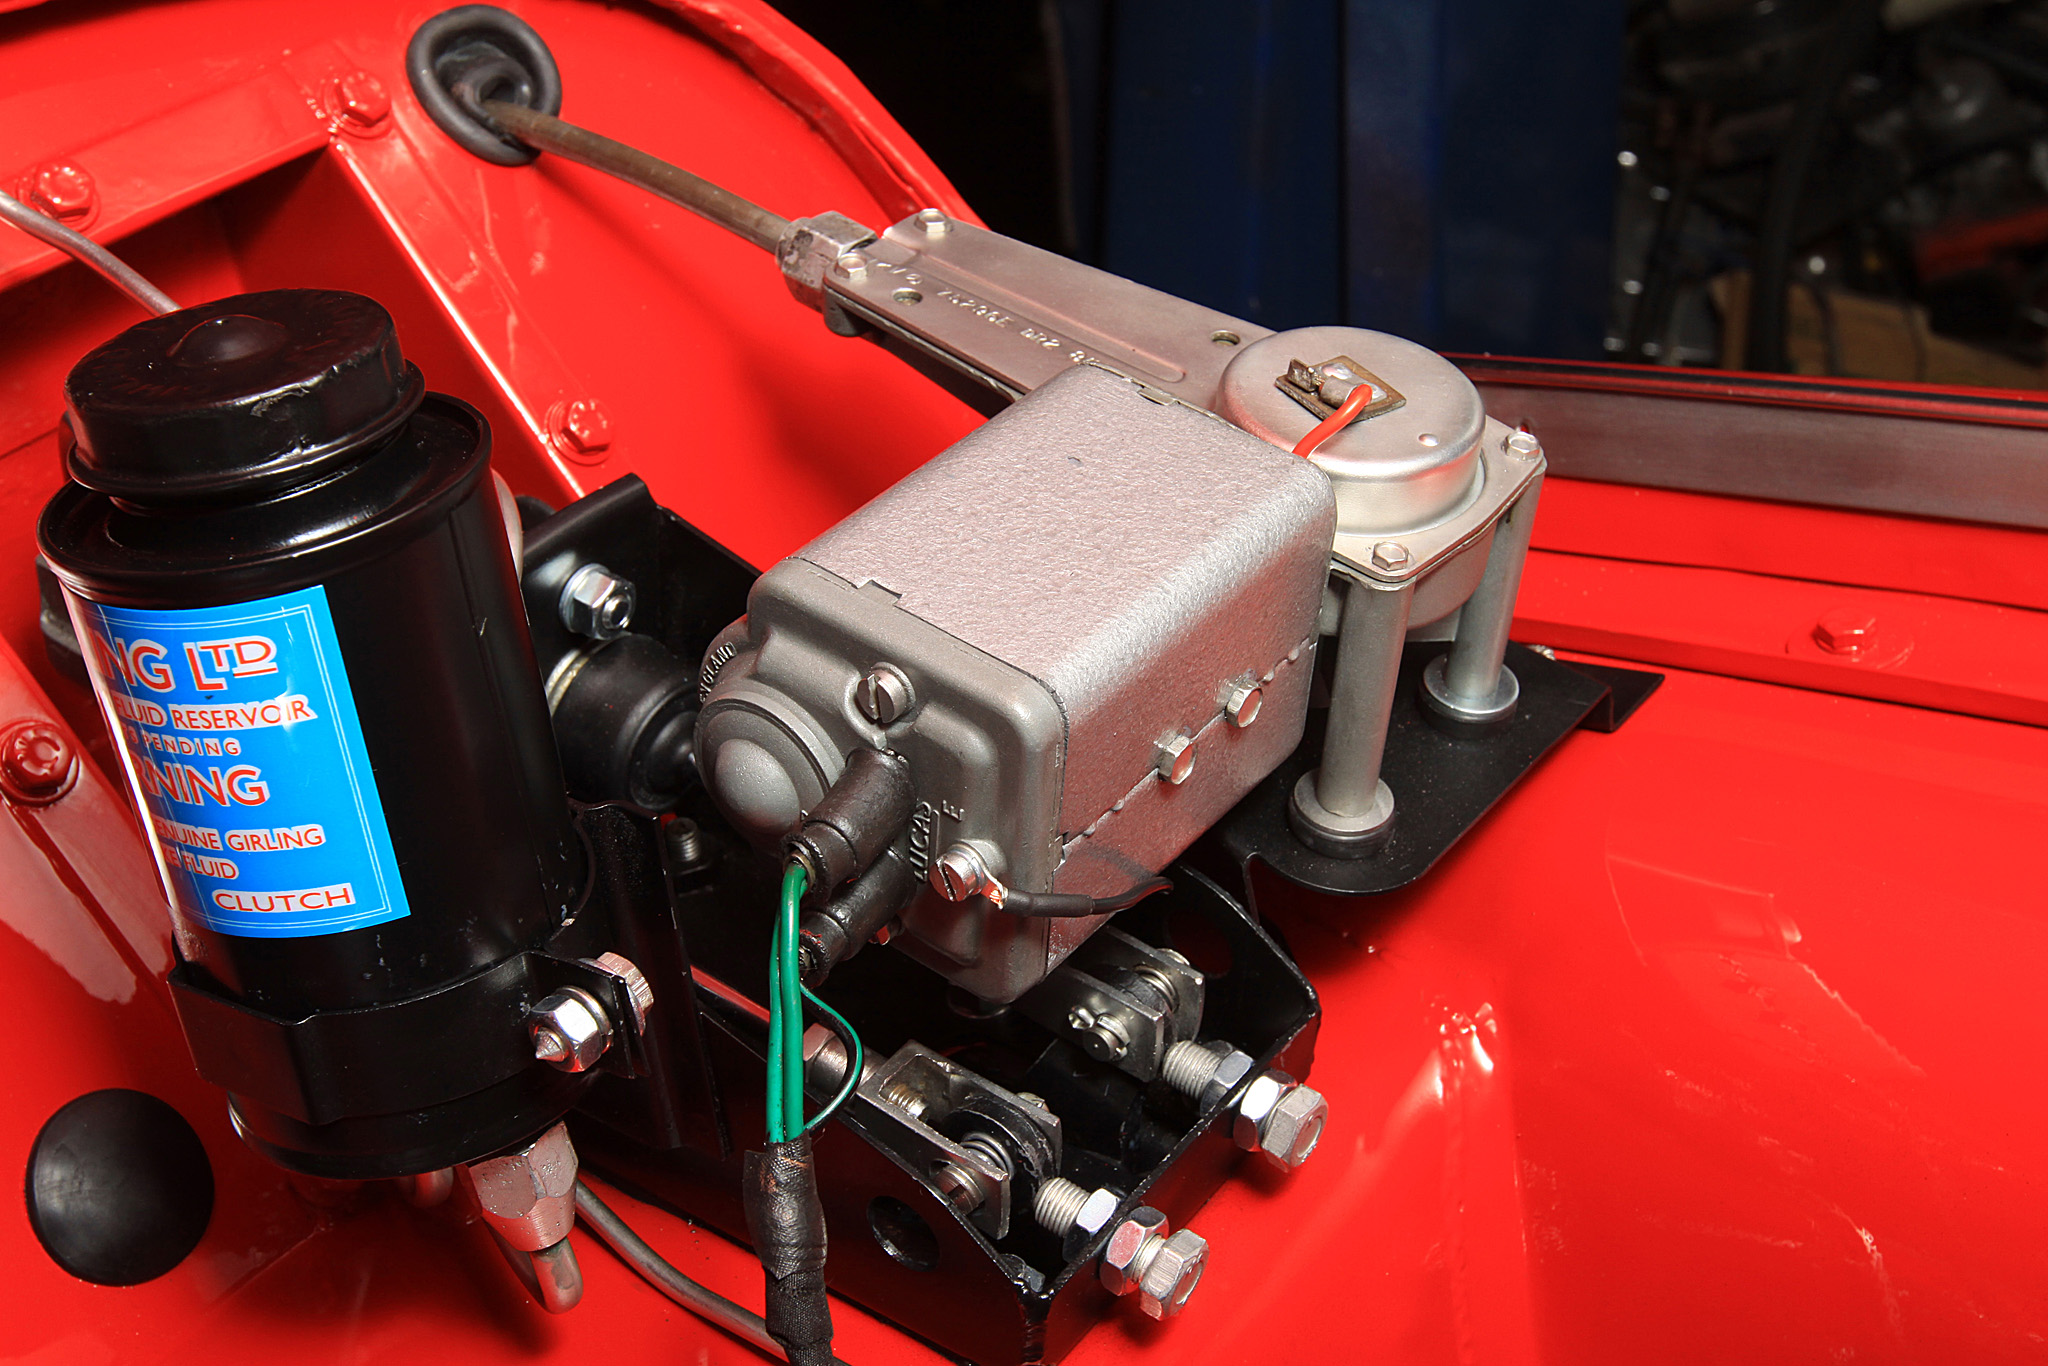
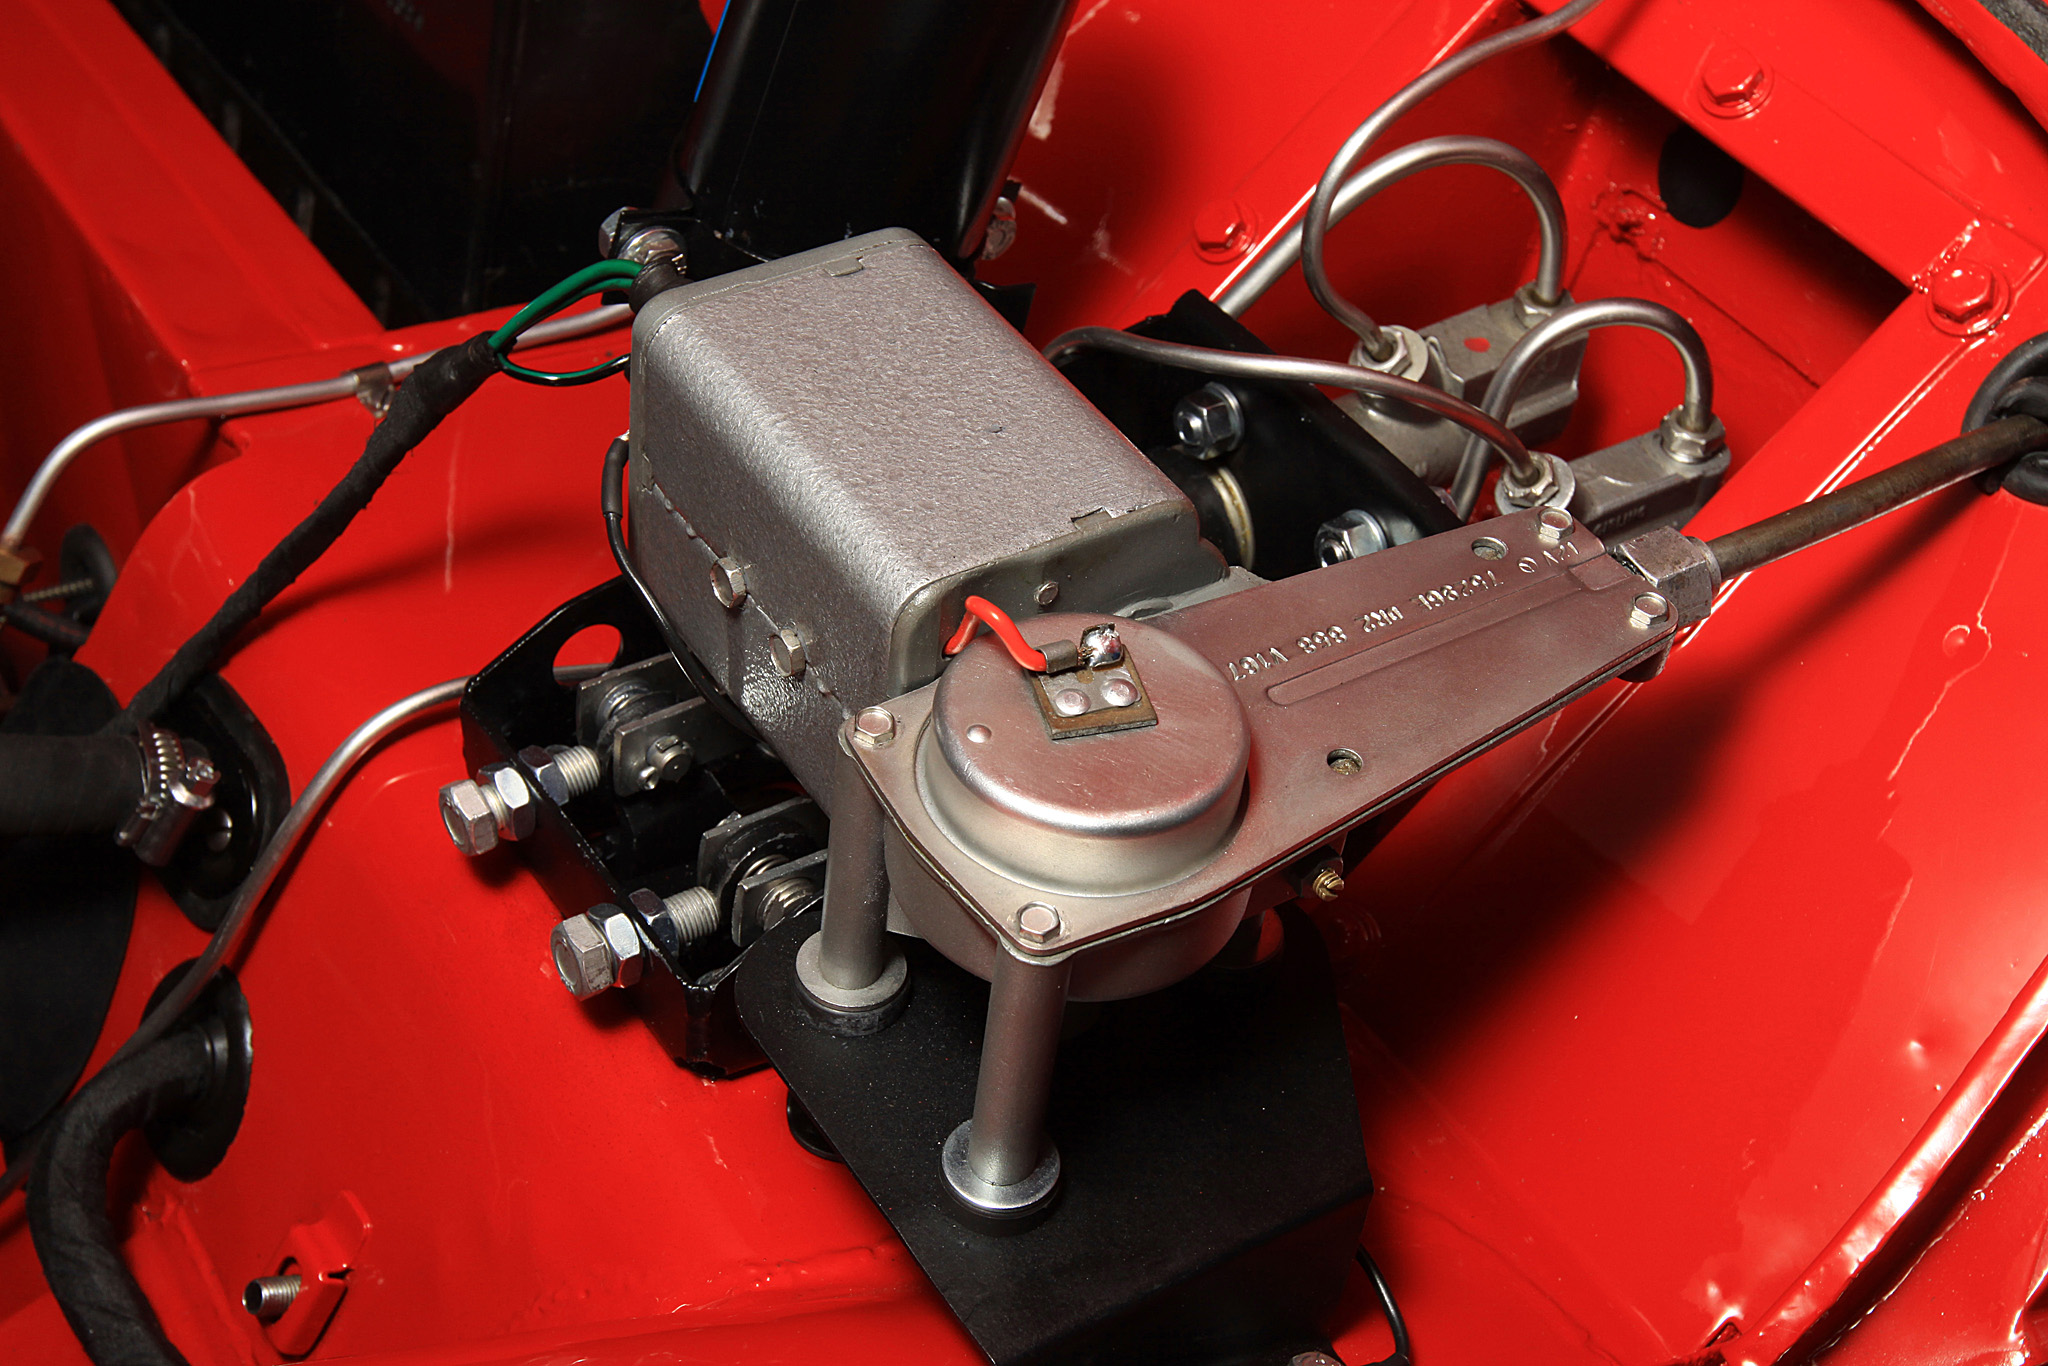
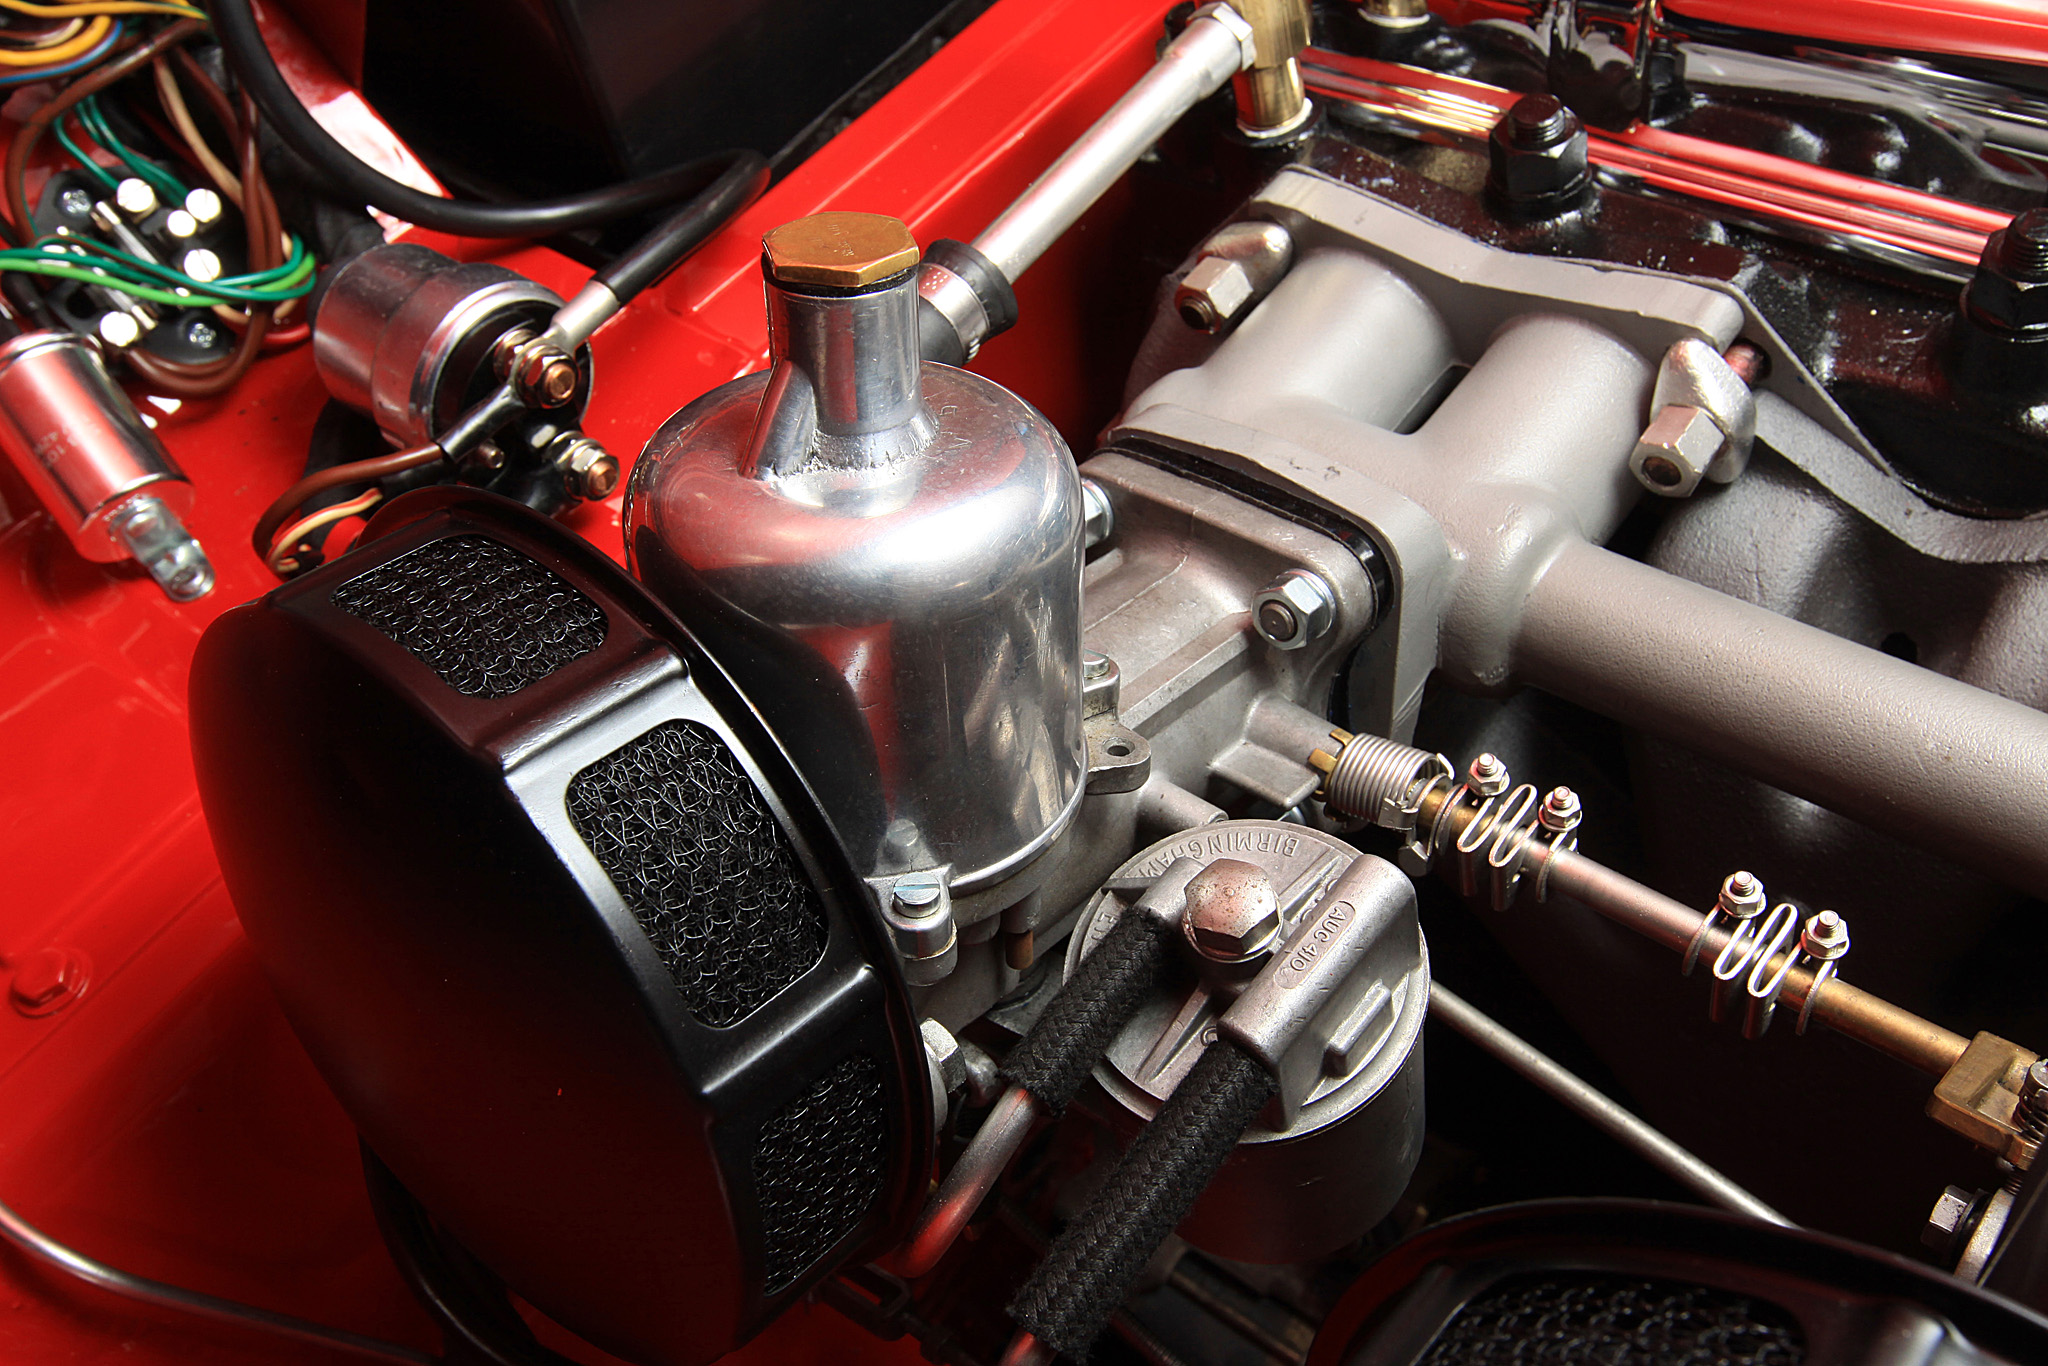
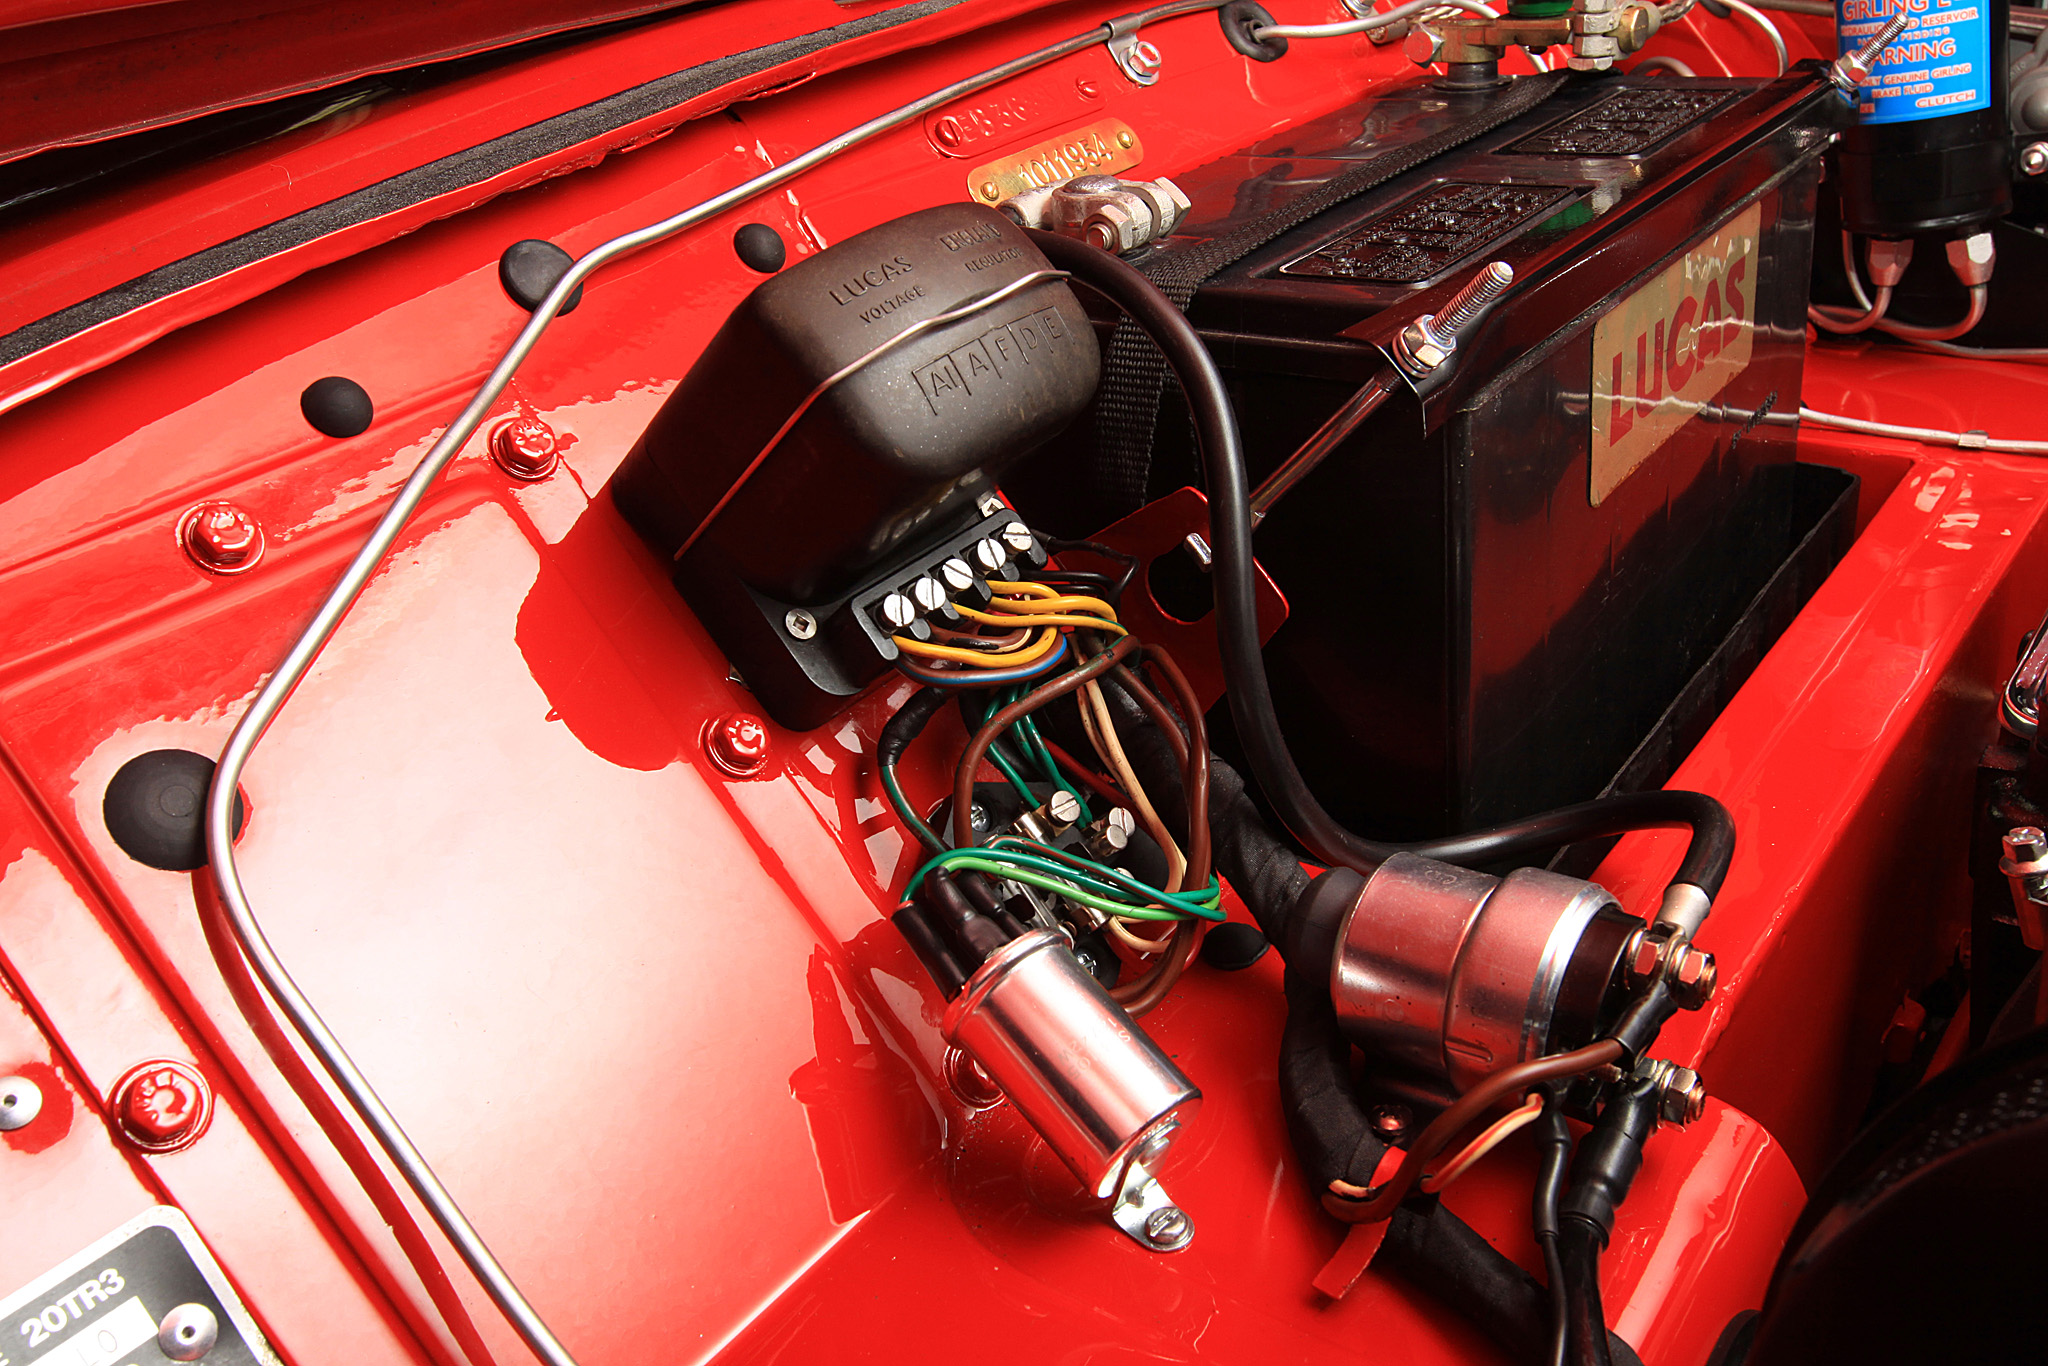
Everything was taken out and refurbished back into the bay. This included rebuilding the wiper motor, pedal box, ignition wires and master cylinders as well as looking over the carburetors and distributors.
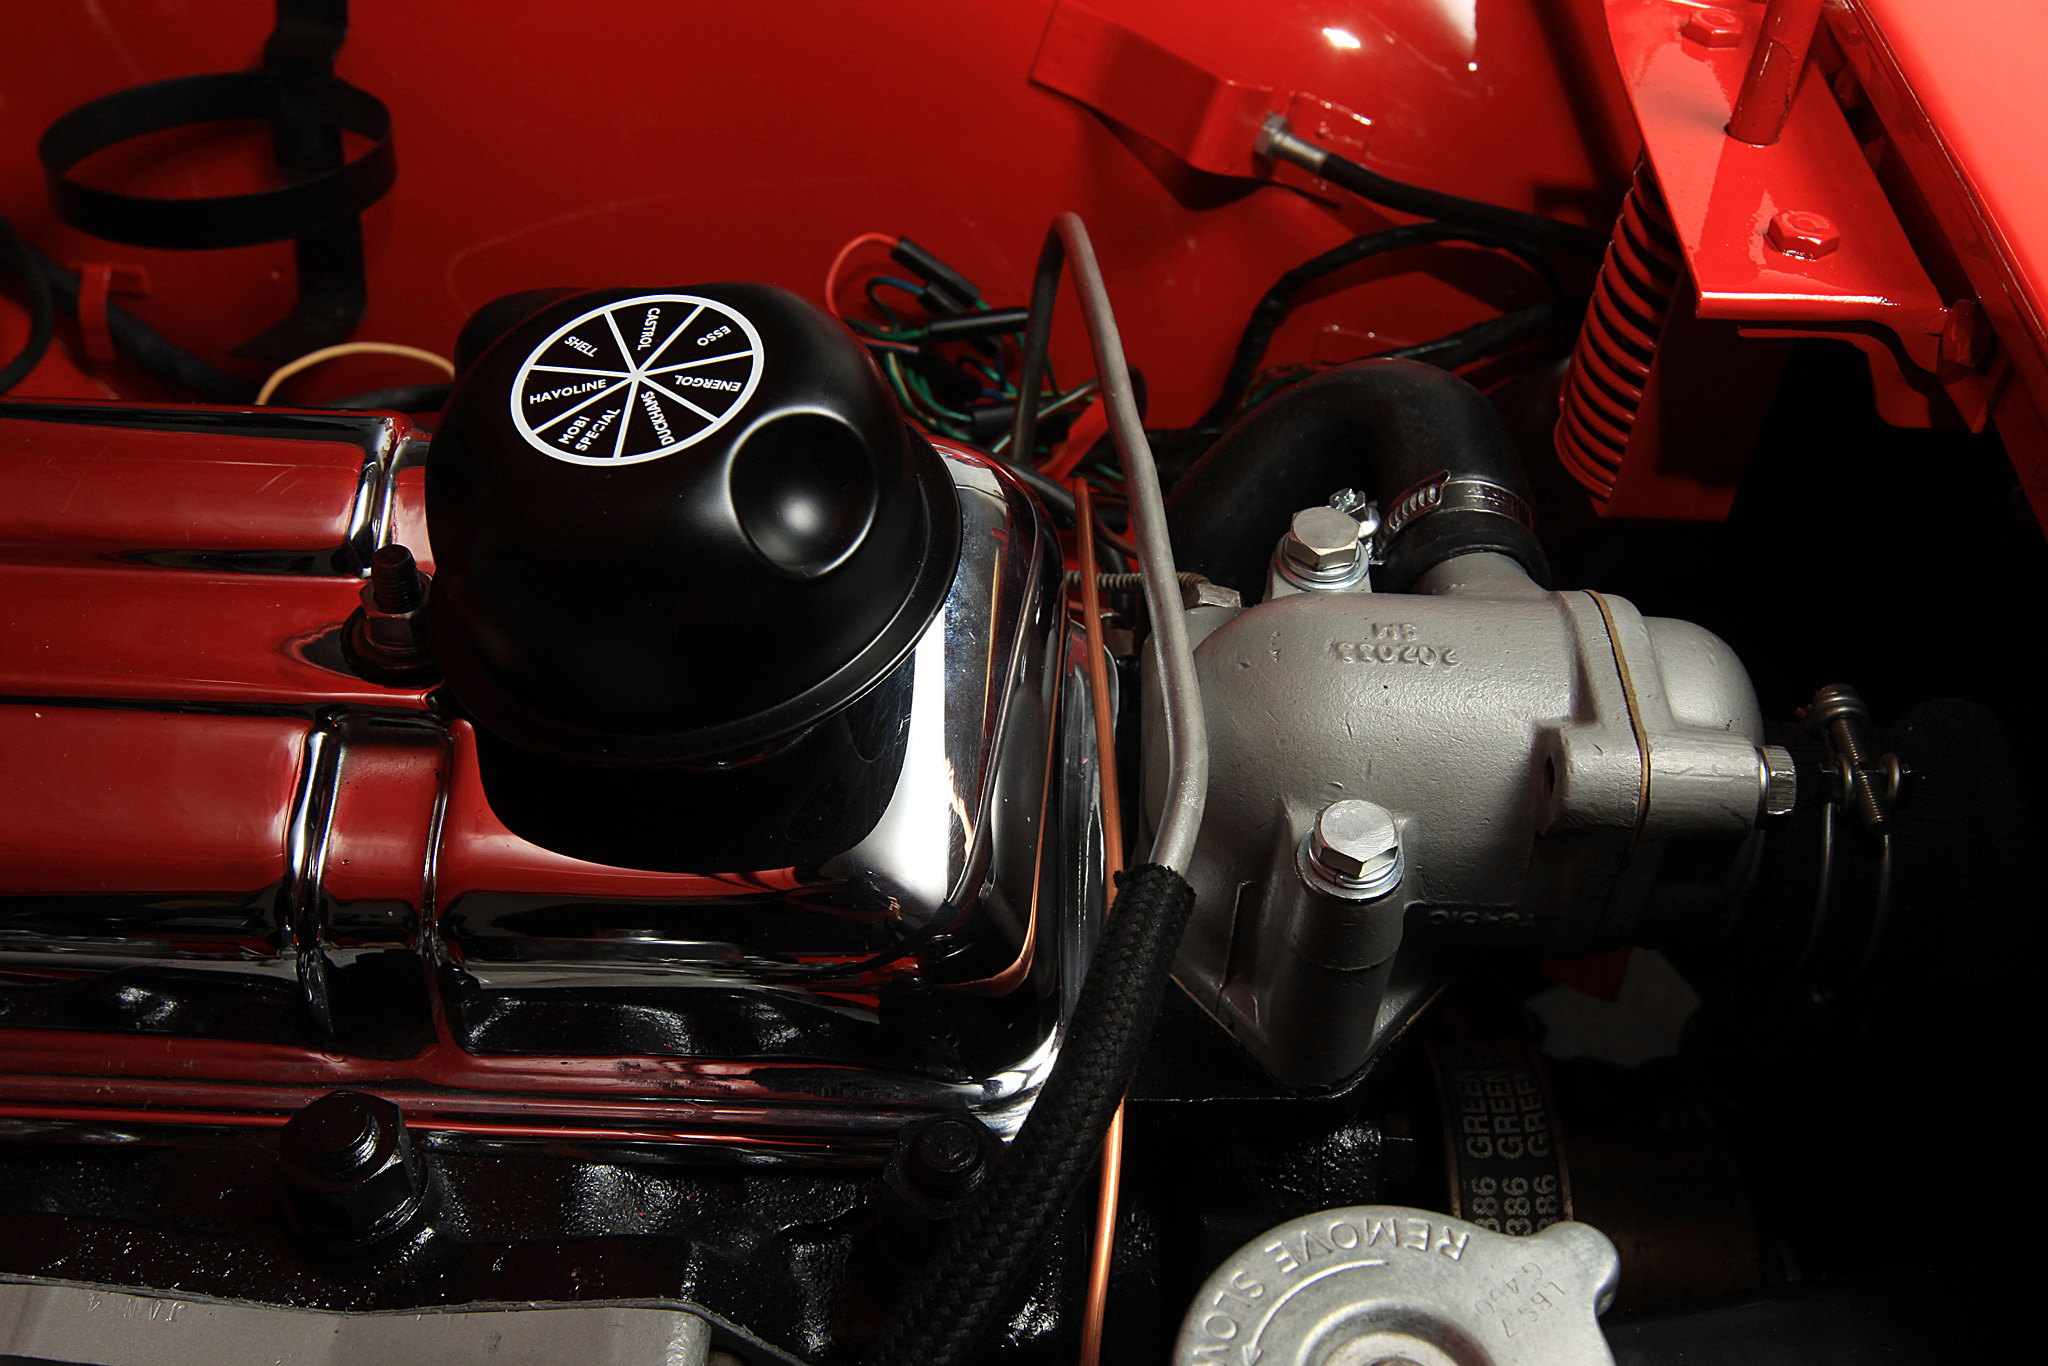
Original bolts were cadmium plated as well as the fuel lines and brake lines. To help with long-distance touring we used new Zebra hose clamps where required. Almost all the speciality items such as the new battery leads, engine breather cap and all rubber came from the Roadster factory.

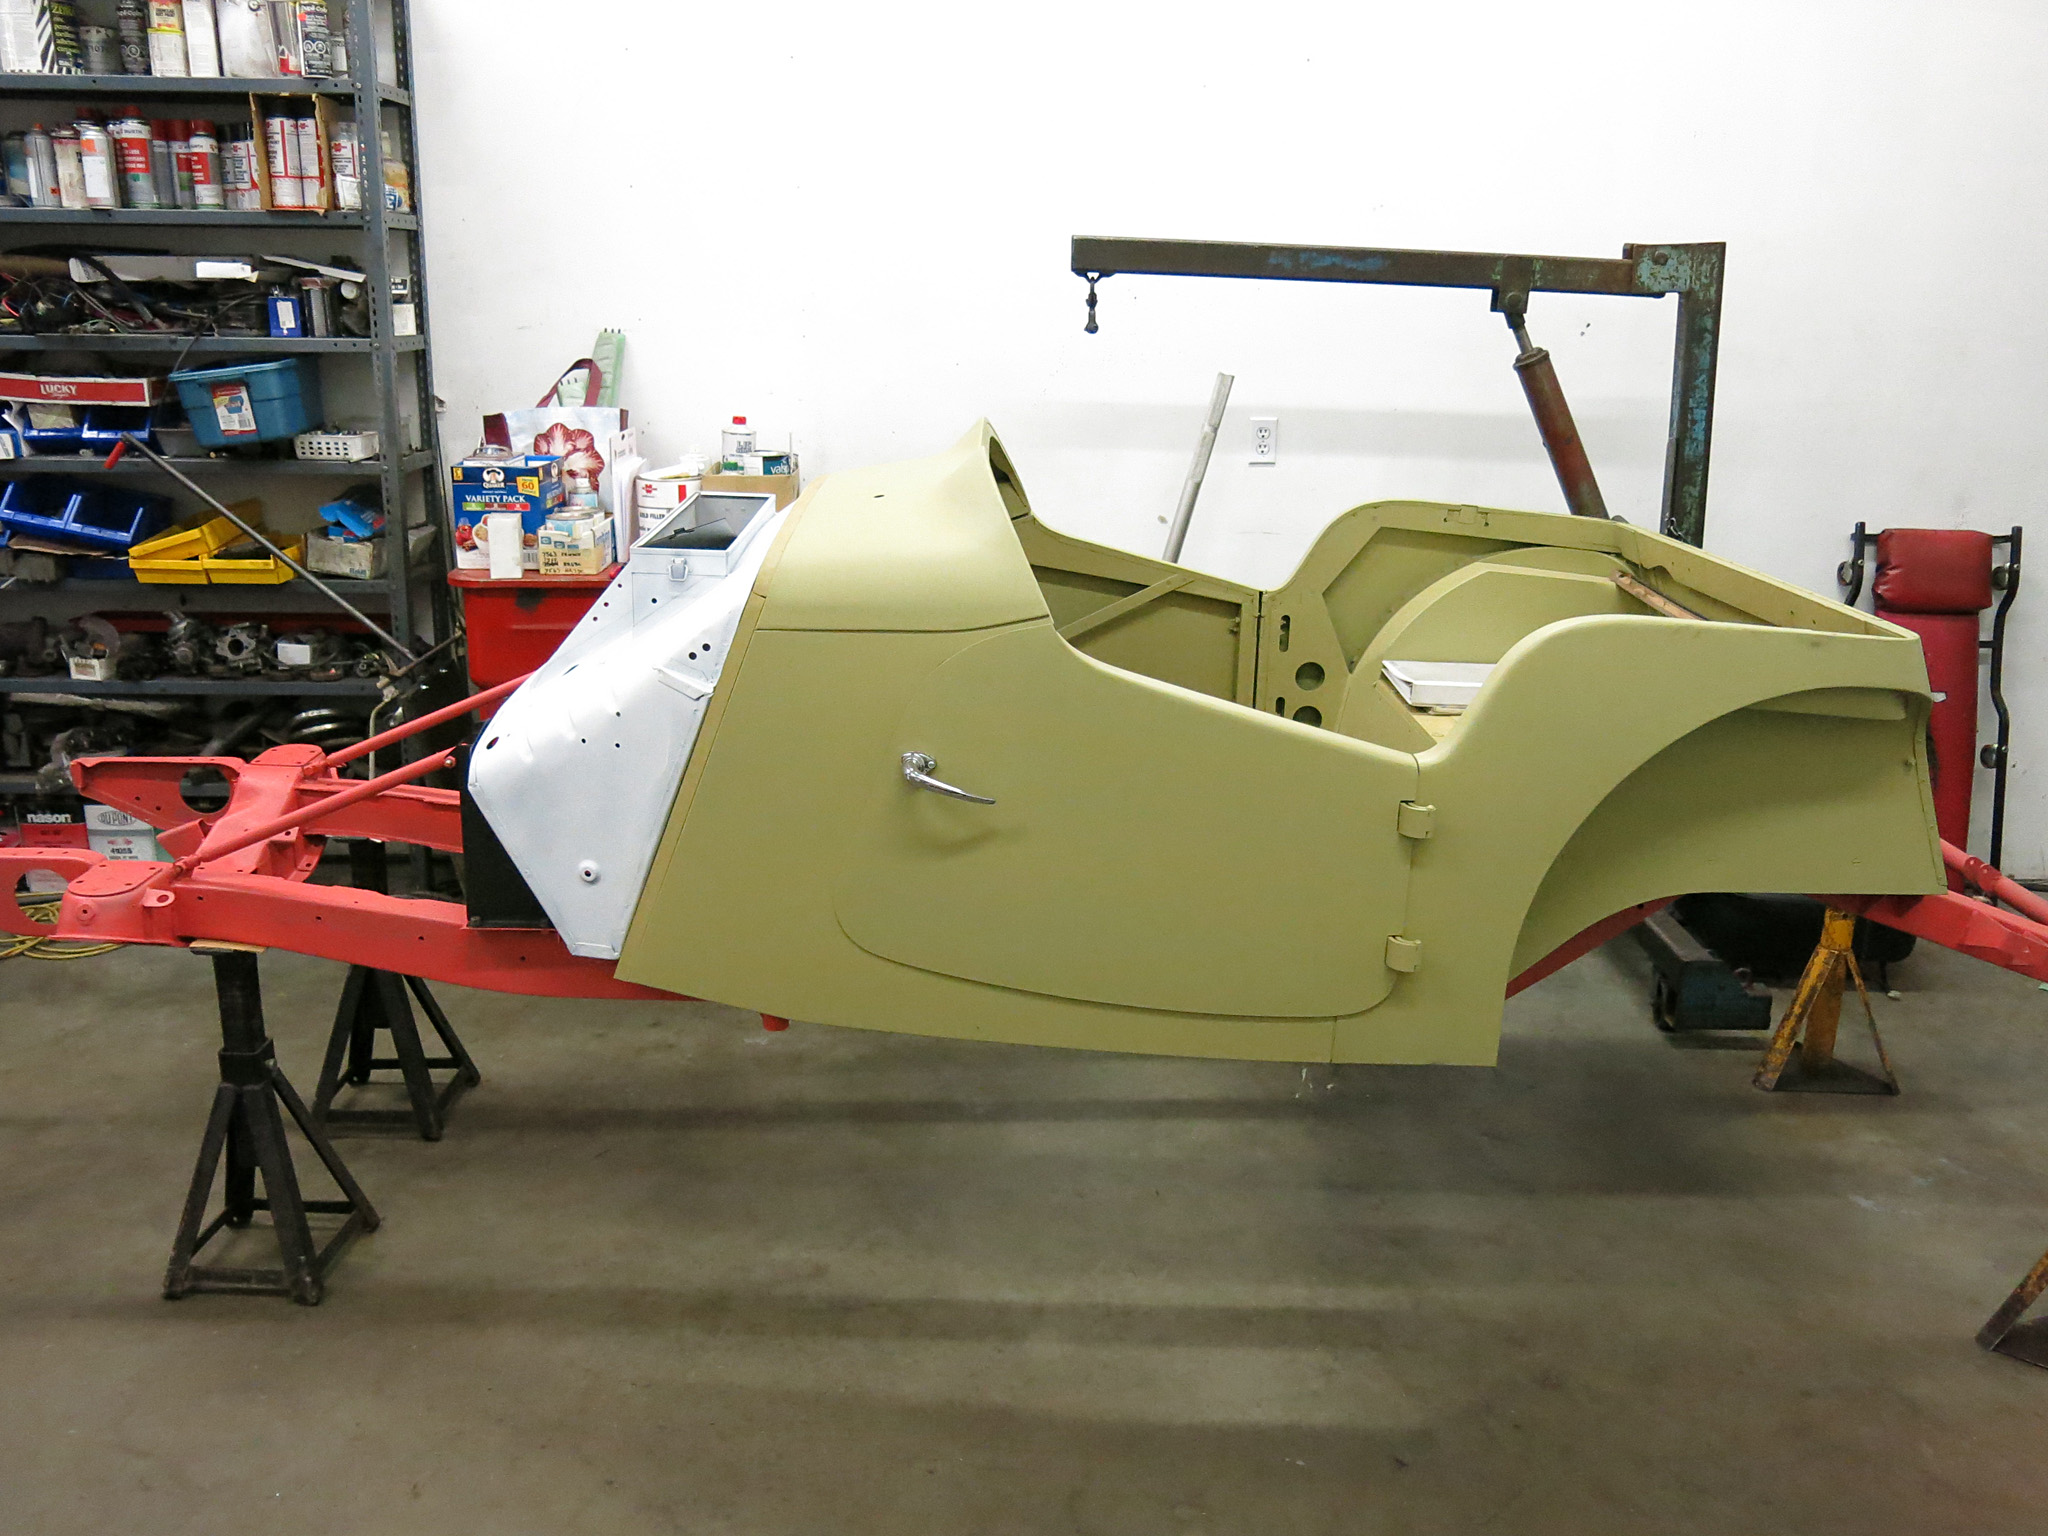
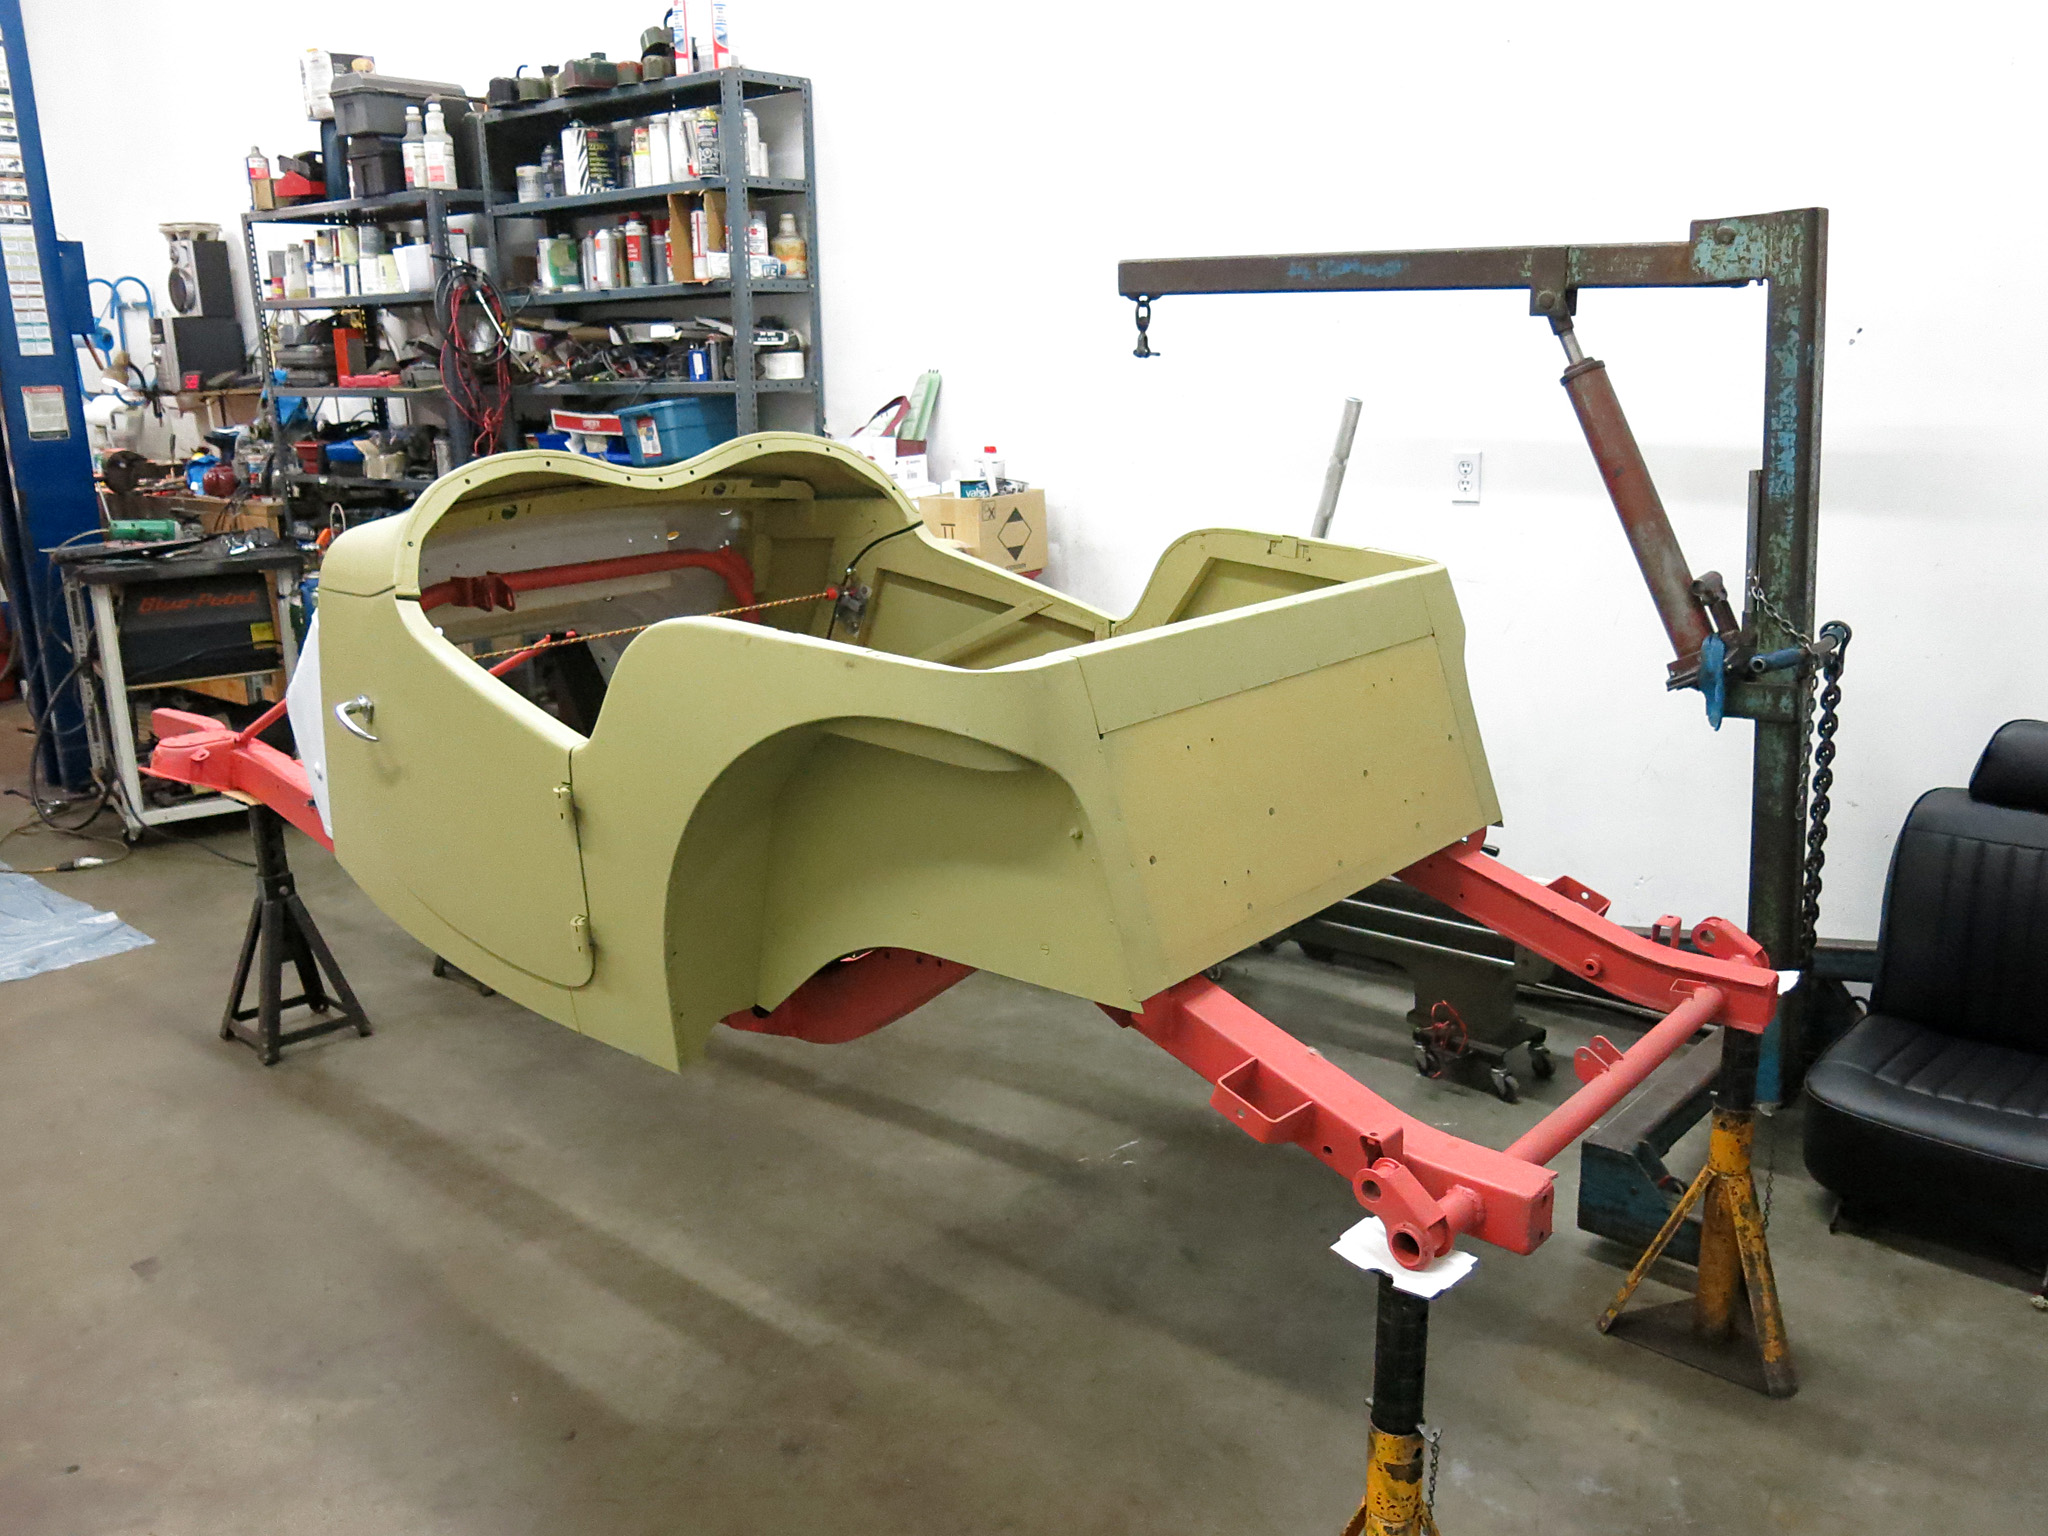
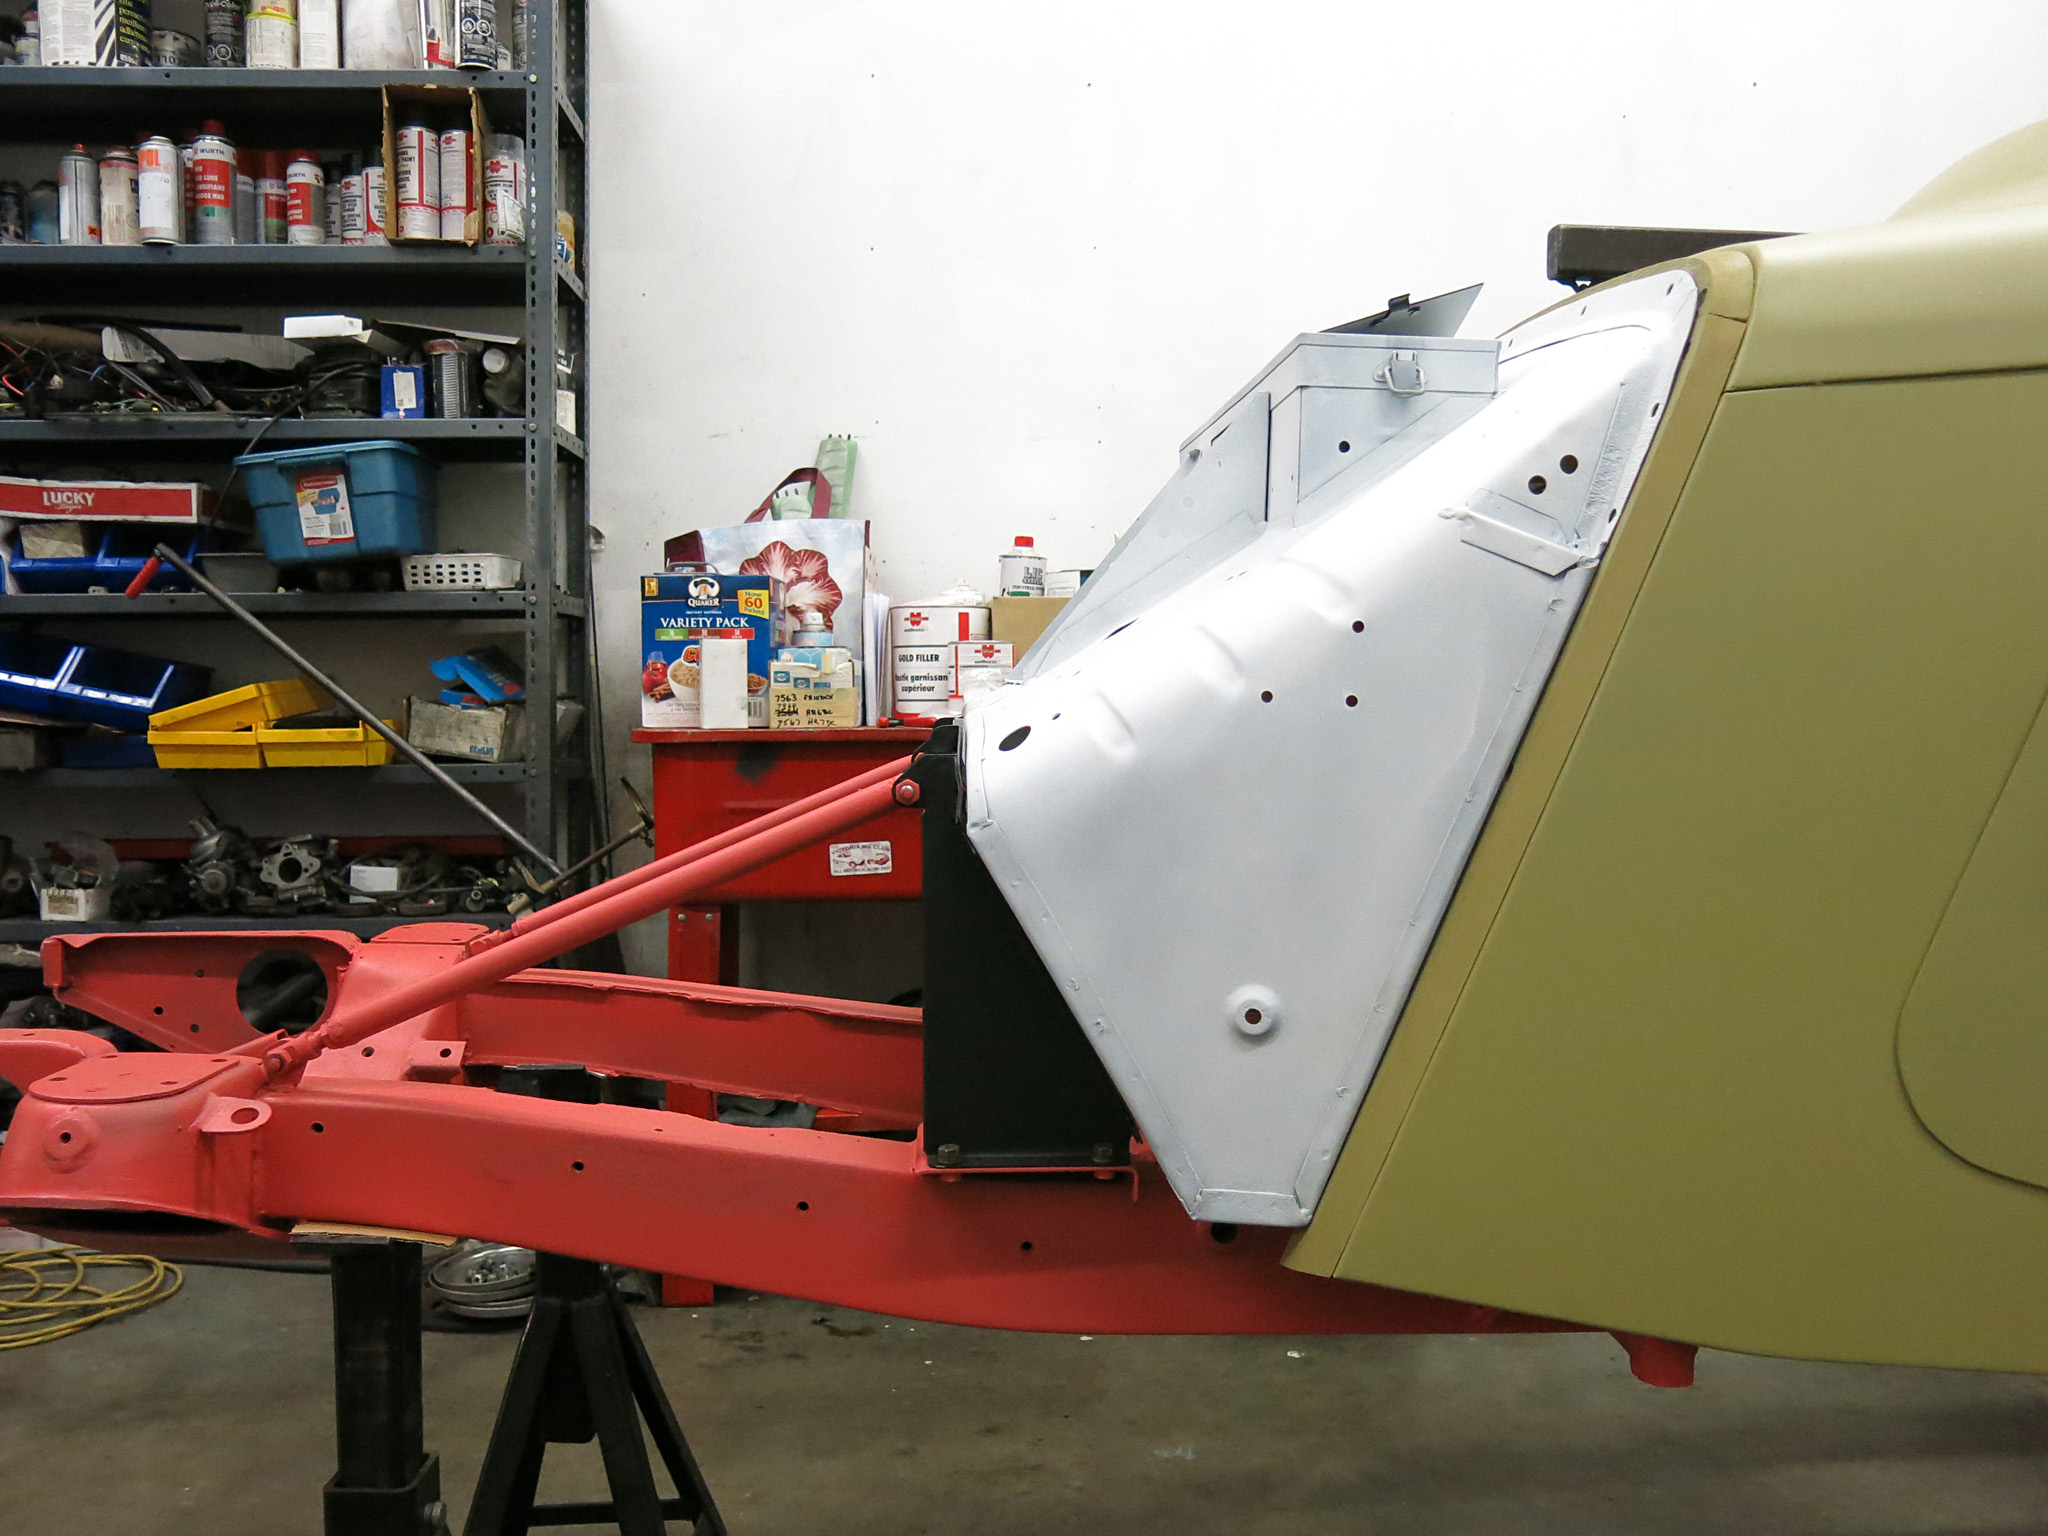
With many of the pieces now in primer, we are test fitting the major components with the new Hutson body tub. Hutson does not supply the firewall, so we had the peice carefully blasted and subsequently painted in white epoxy primer.
So far the fit looks spot on, but we have to assemble the radiator and hood to finalize the build.
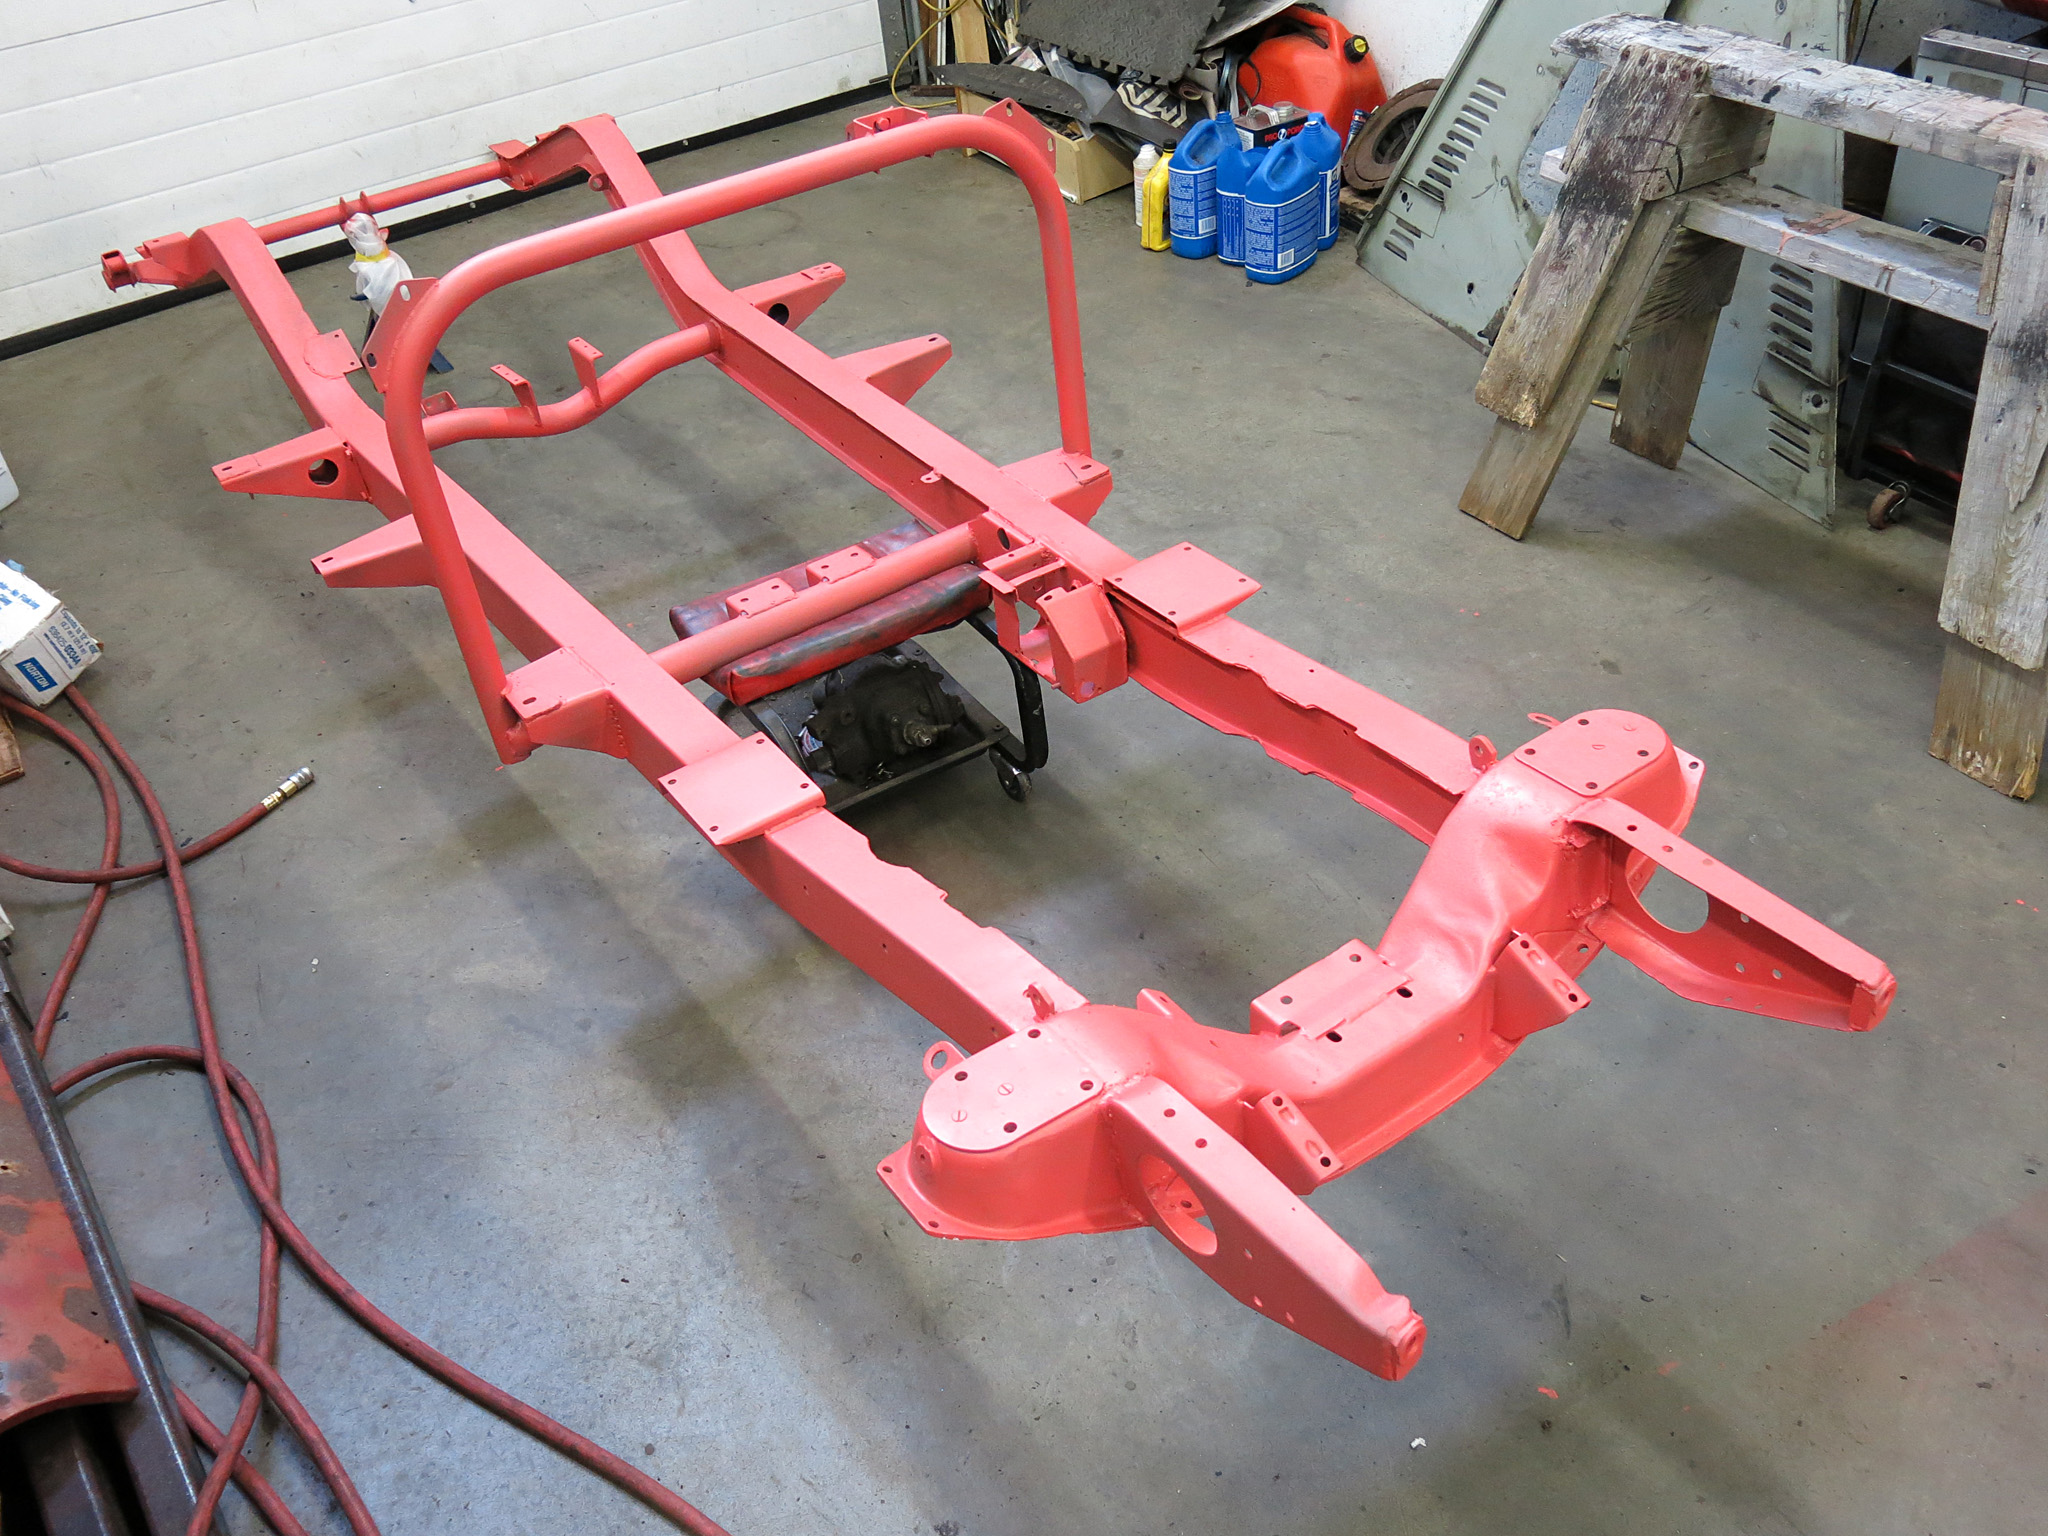
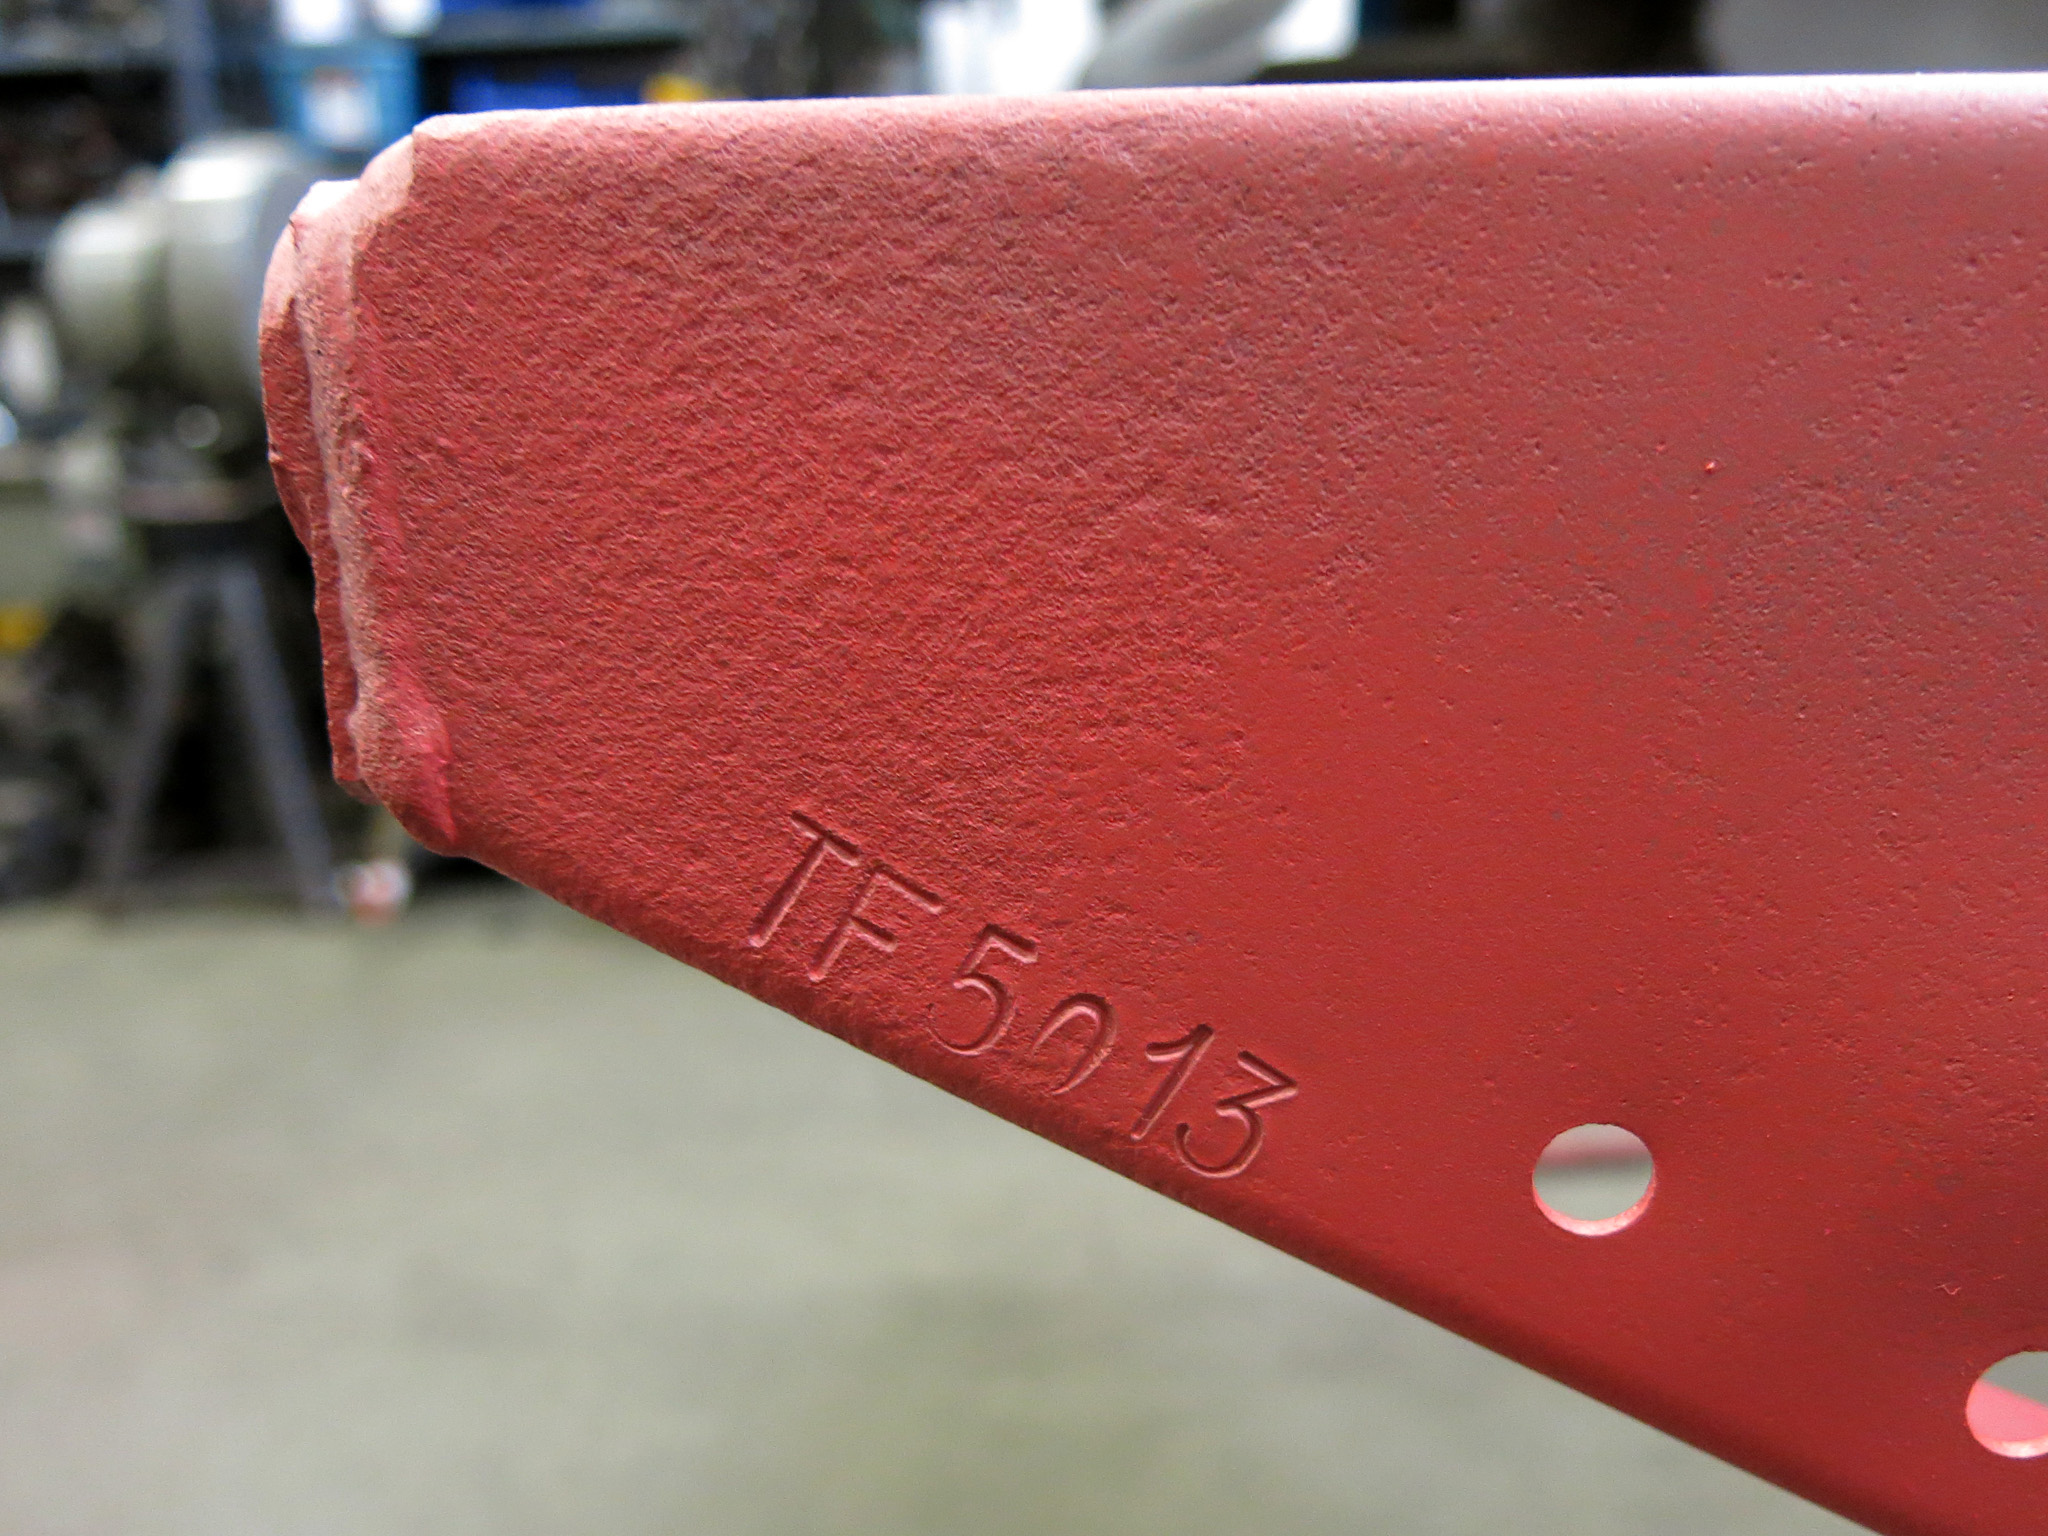
Included is a shot of the chassis which reads TF5013. The car will be returned to its original color of Birch Grey with red interior.

We just started assisting a client with this gorgeous 1969 S2 FHC.
Having never been disassembled or crashed, this is an ideal candidate to restore. The entire car retains its original fit and finishes throughout except for some new seat covers.
This is the first year of the Series II E-type which adopted a completely different light scheme and the Federal Stromberg carburetors as well as detail differences throughout.
More to come!