Category Archives: restoration
The Italian Job, our 1965 E-Type restoration has been compartmentalized over the last month while we wait to receive the car back.
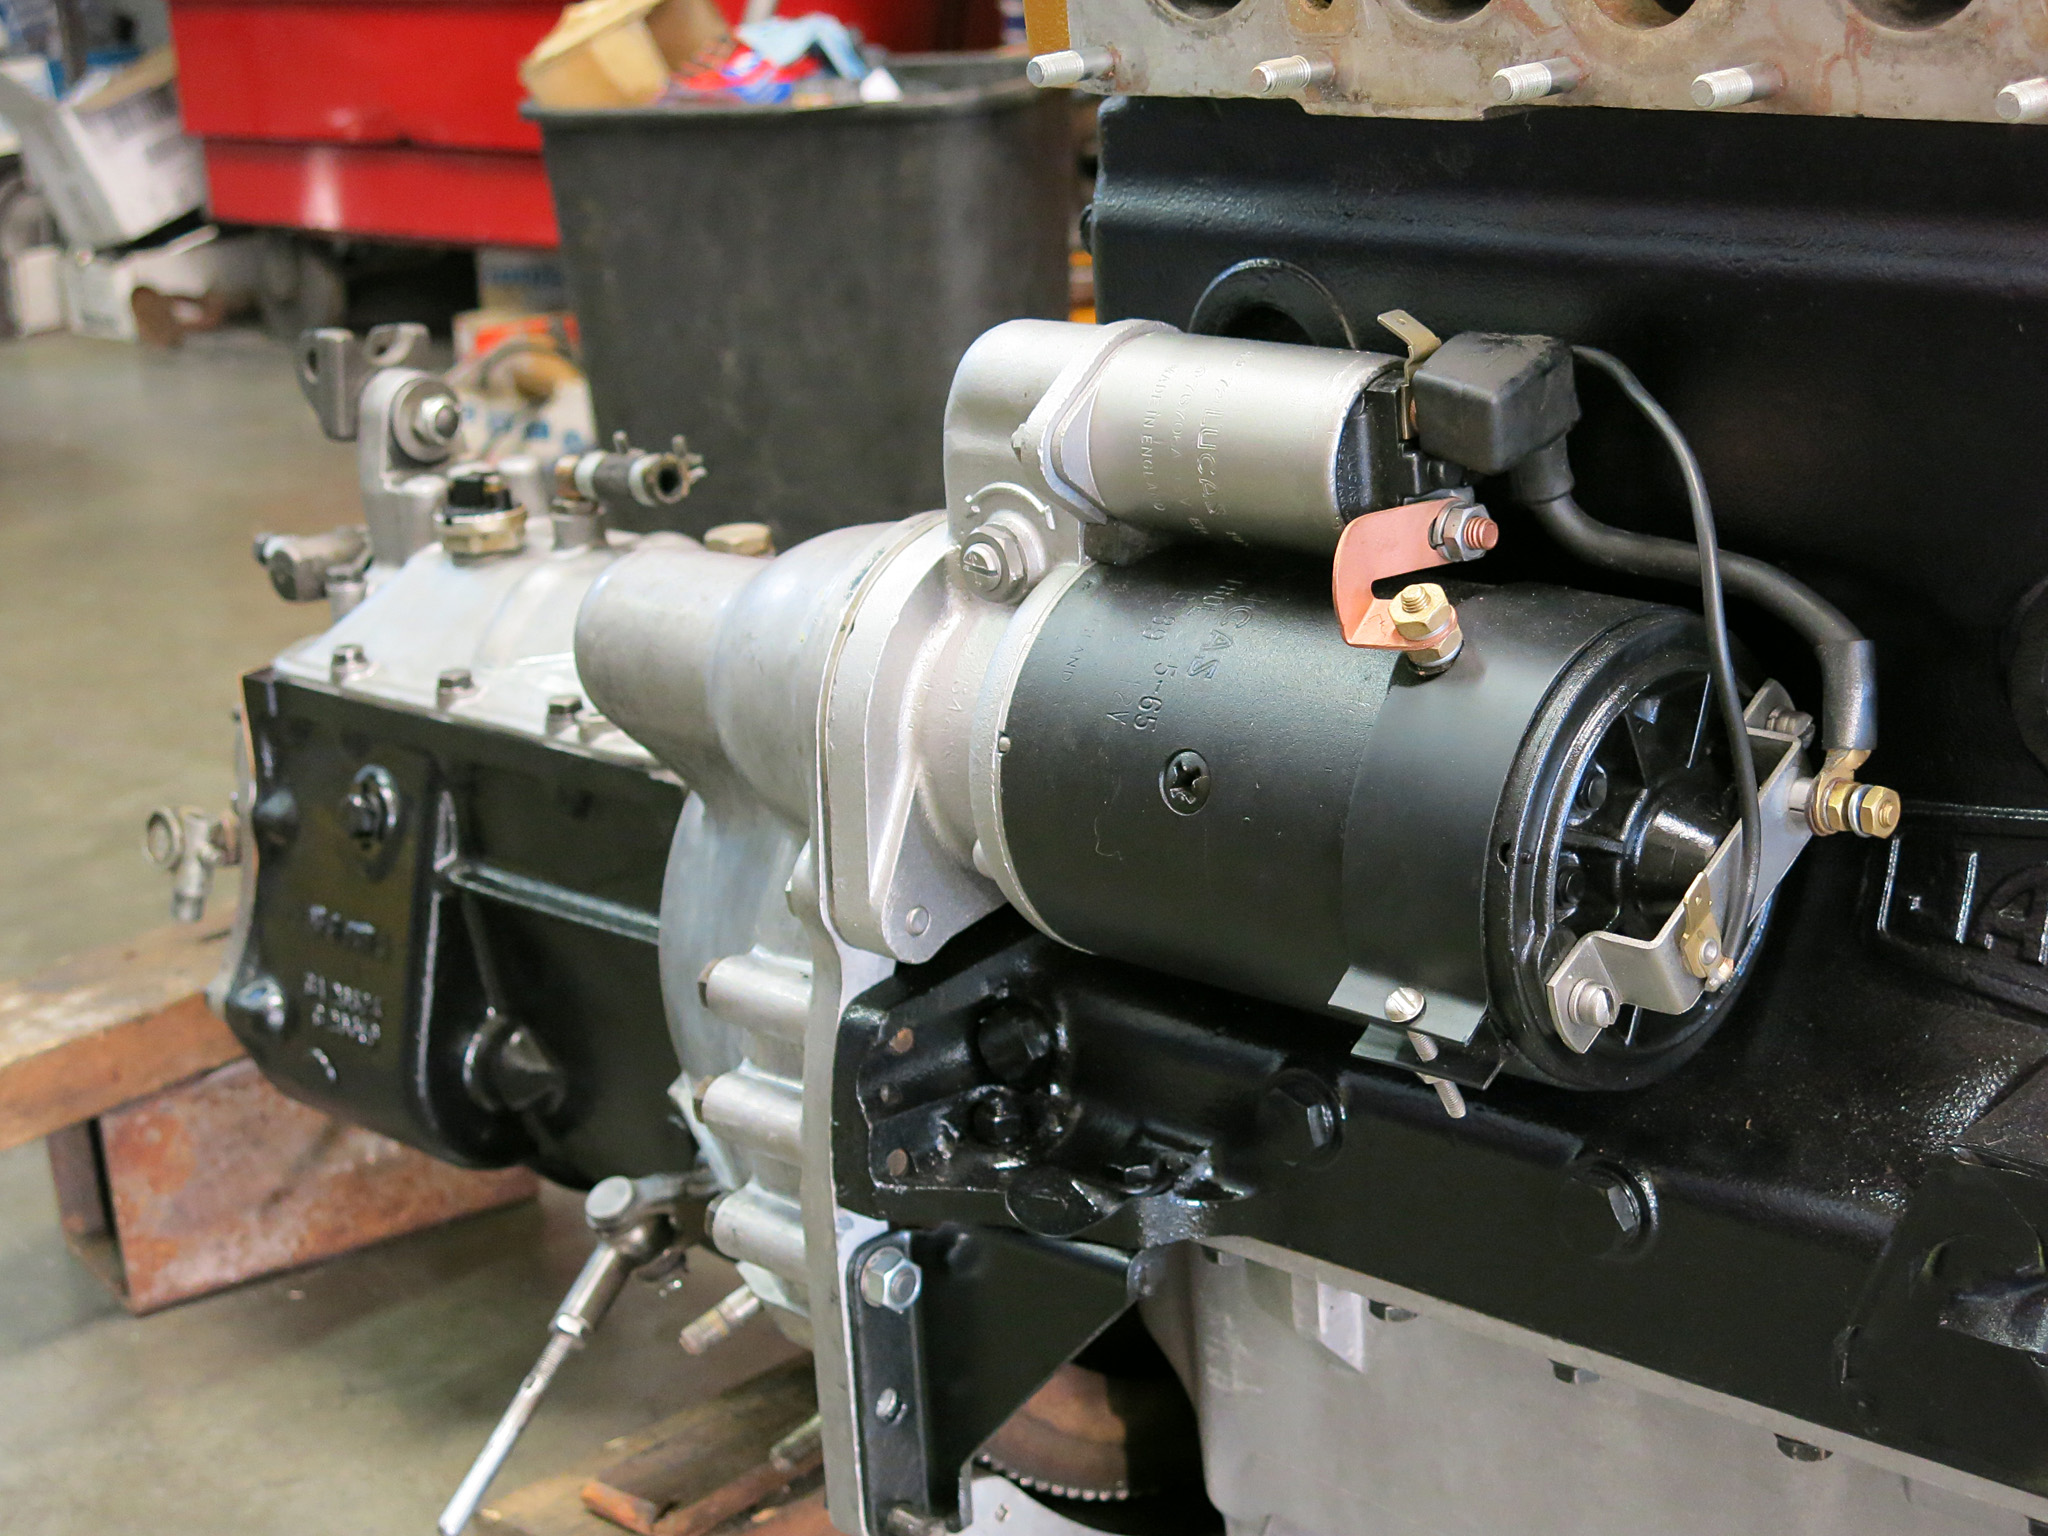
This left the enormous task of tackling the 4.2 engine which meant a proper seal, paint and polish before marrying it back into the chassis. We fit new engine and transmission seals, a 3-piece clutch kit, frost plugs as well as re-machined the cylinder-head deck and flywheel. The starter motor was also expertly overhauled by Brian Roberts Auto Electric which is all too easy while the engine is out.
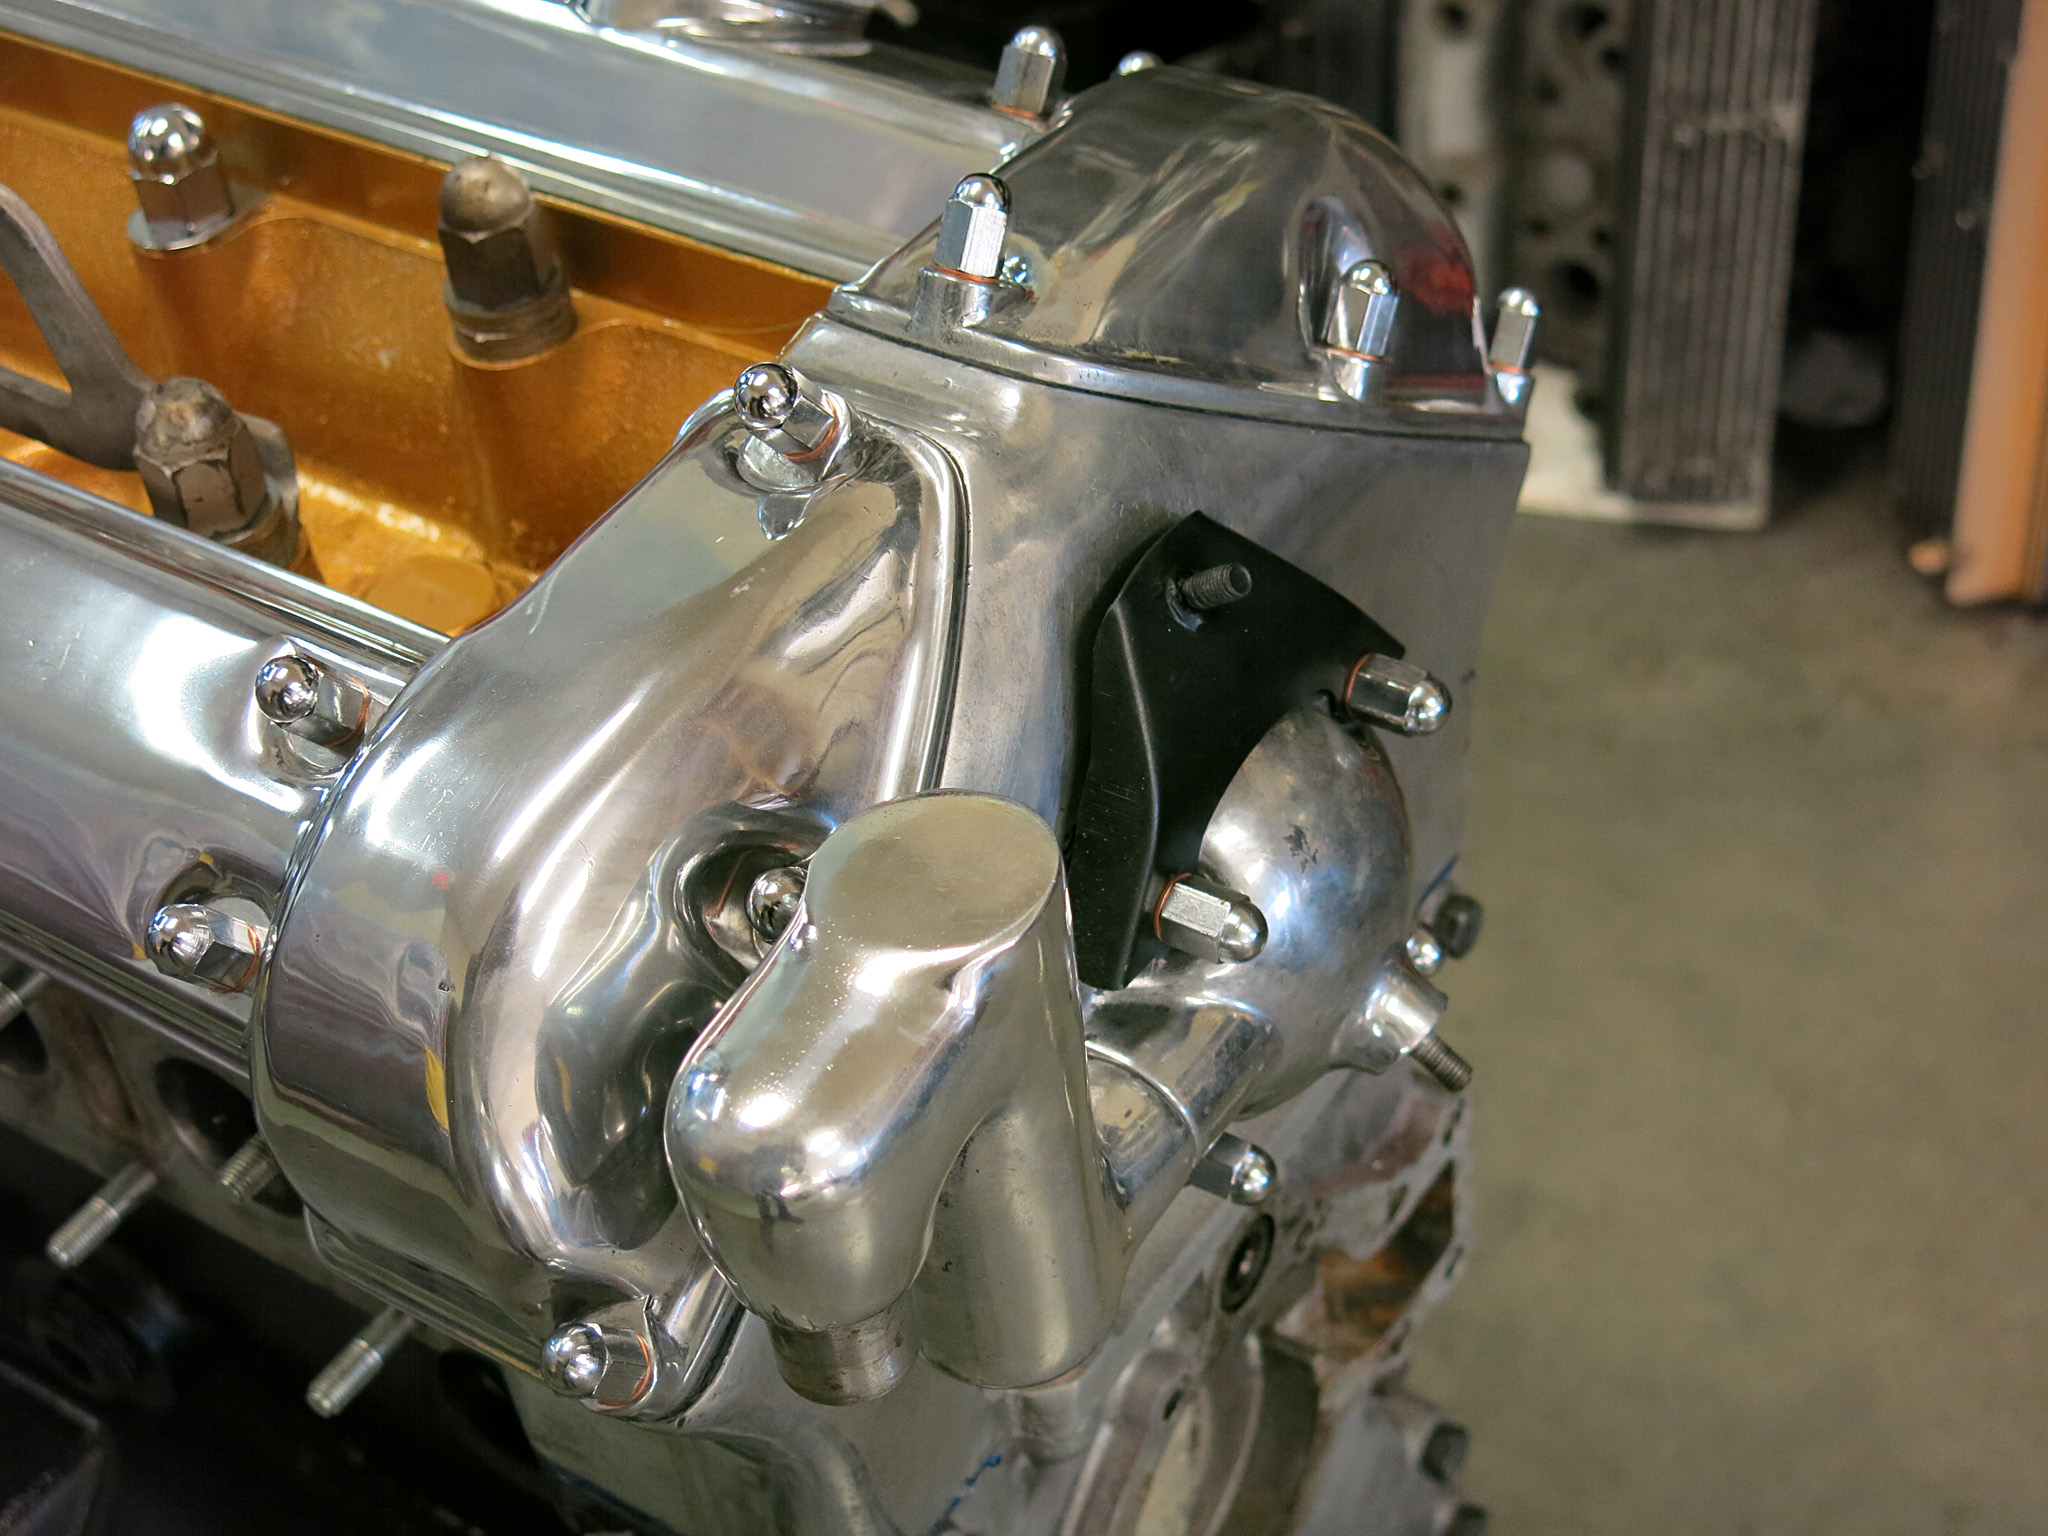
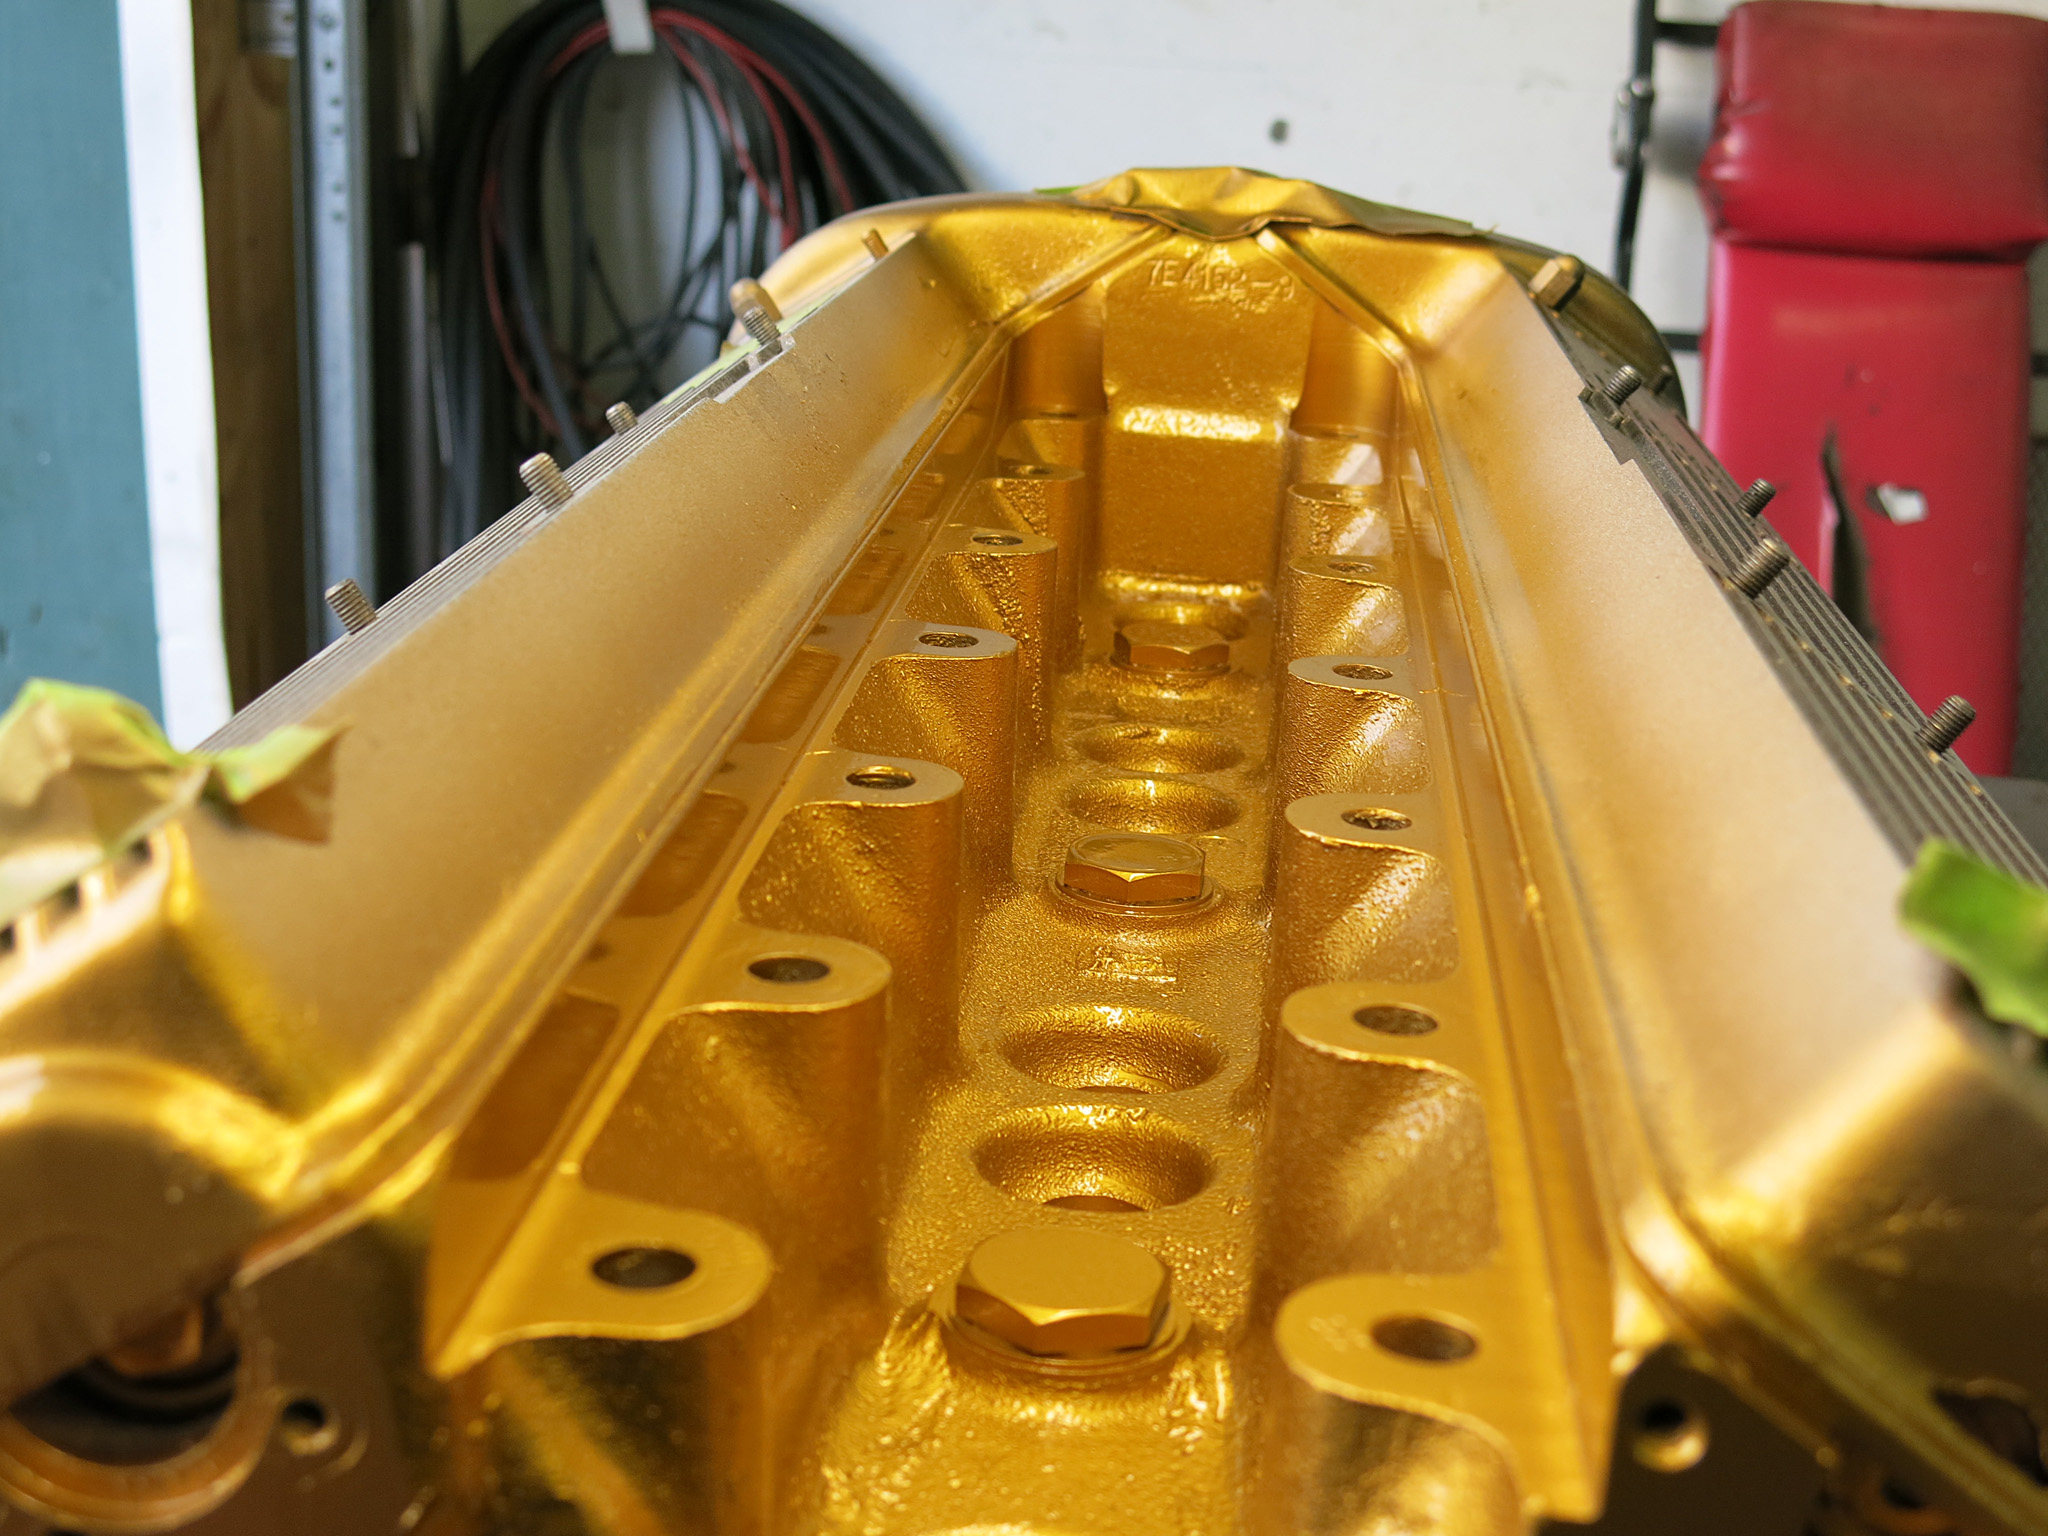
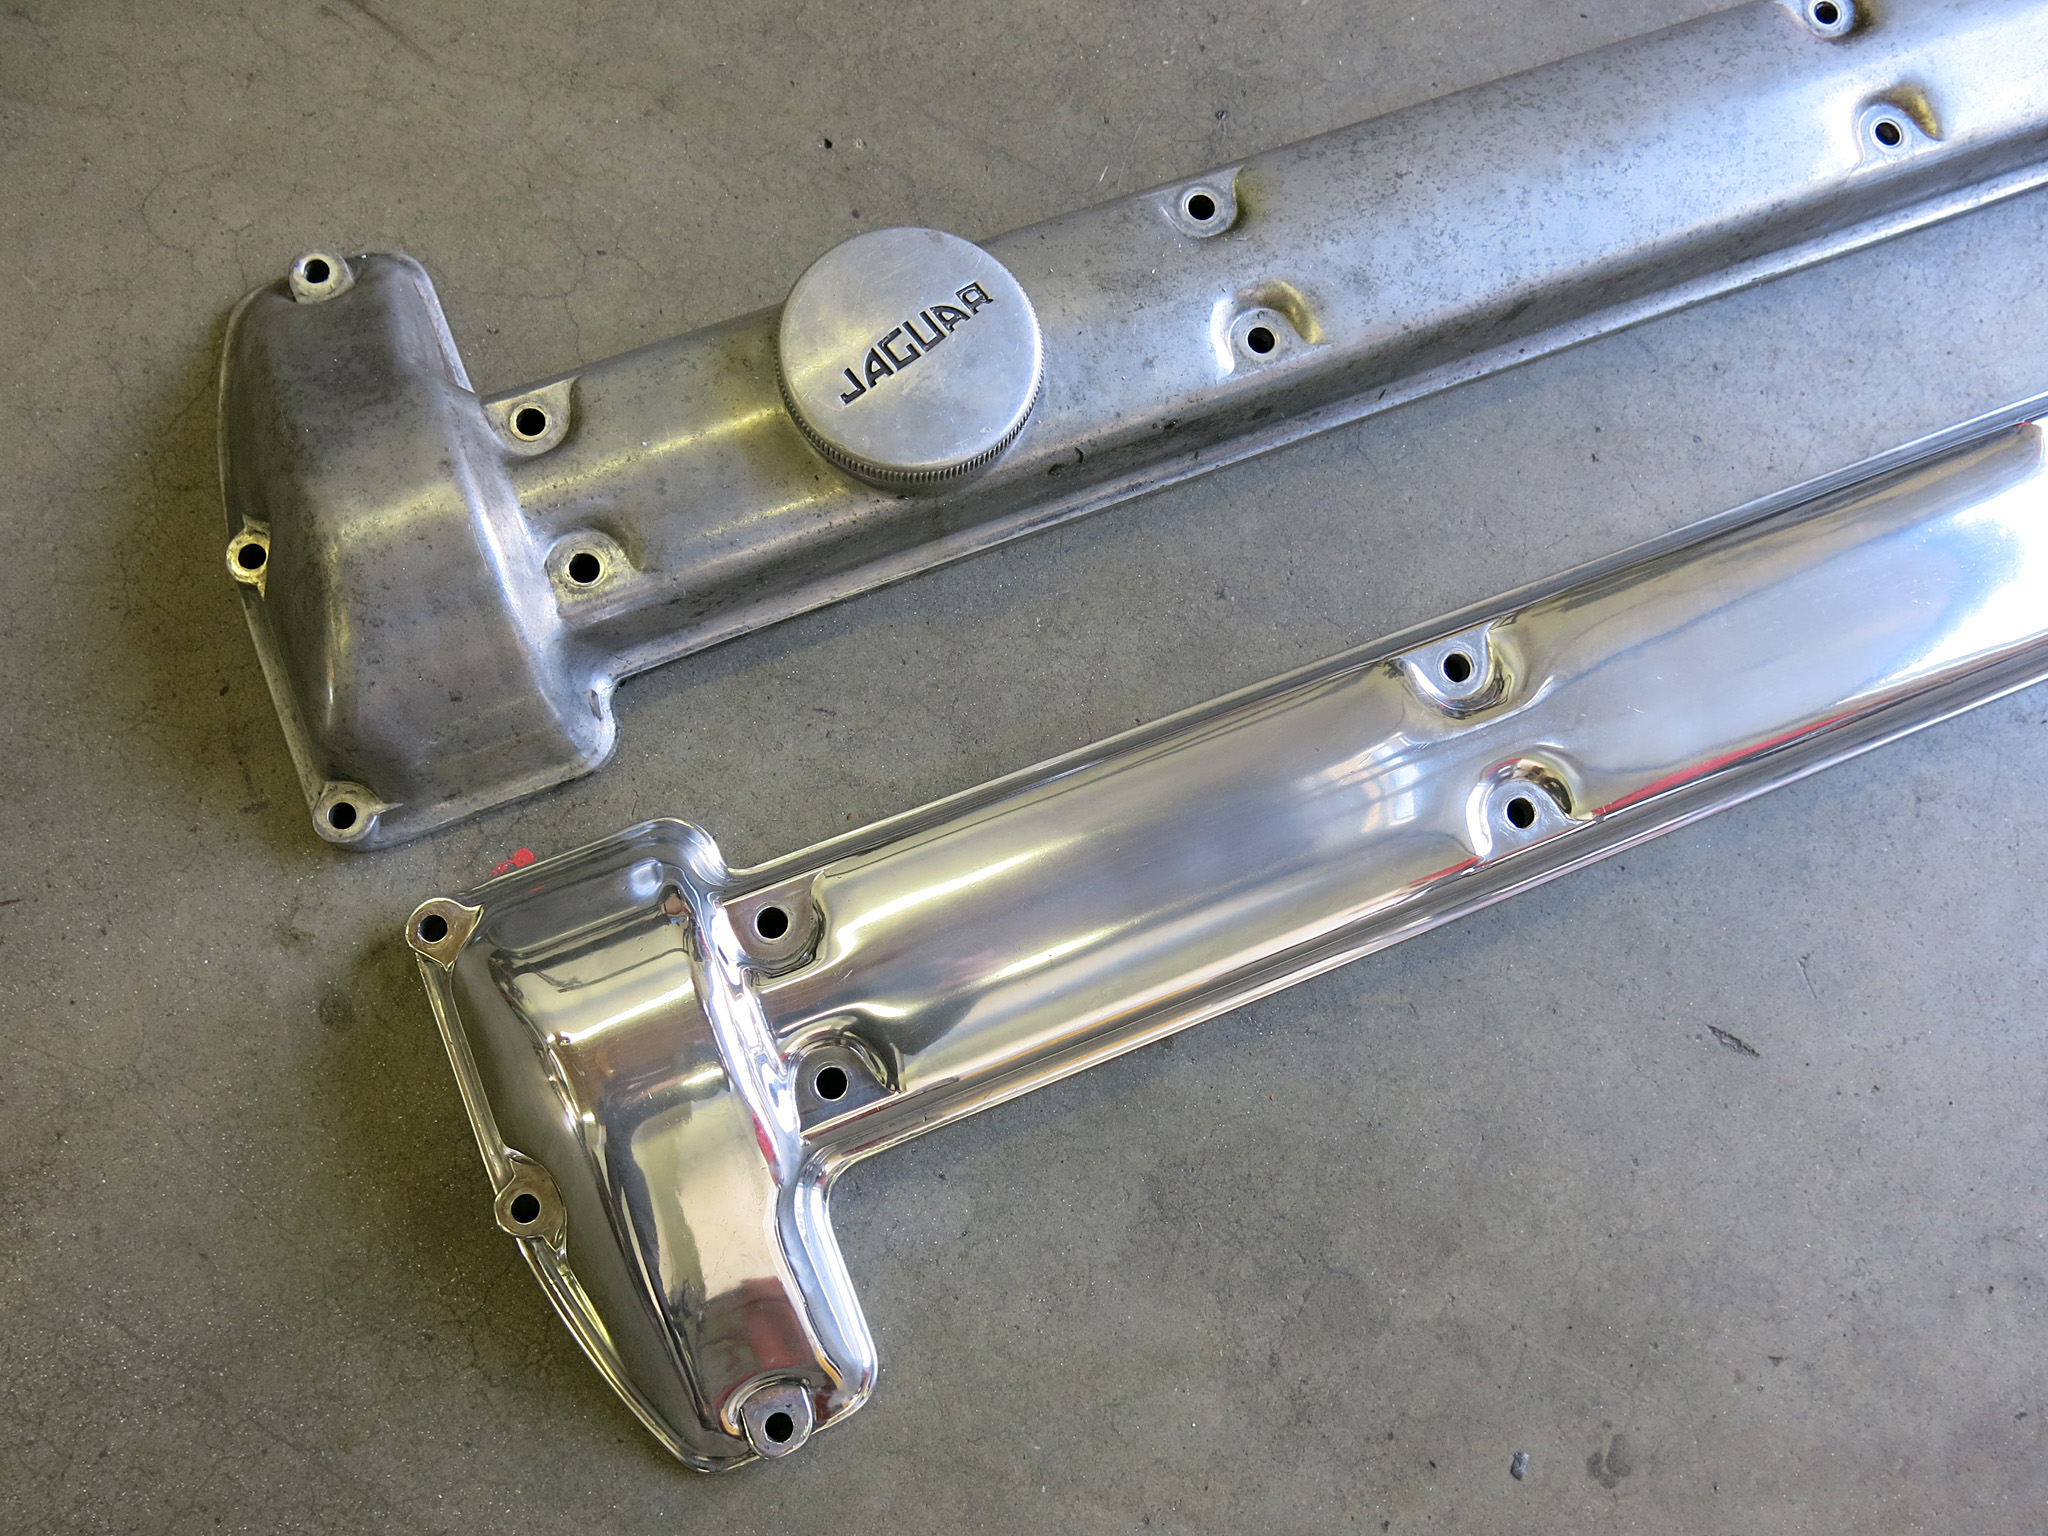
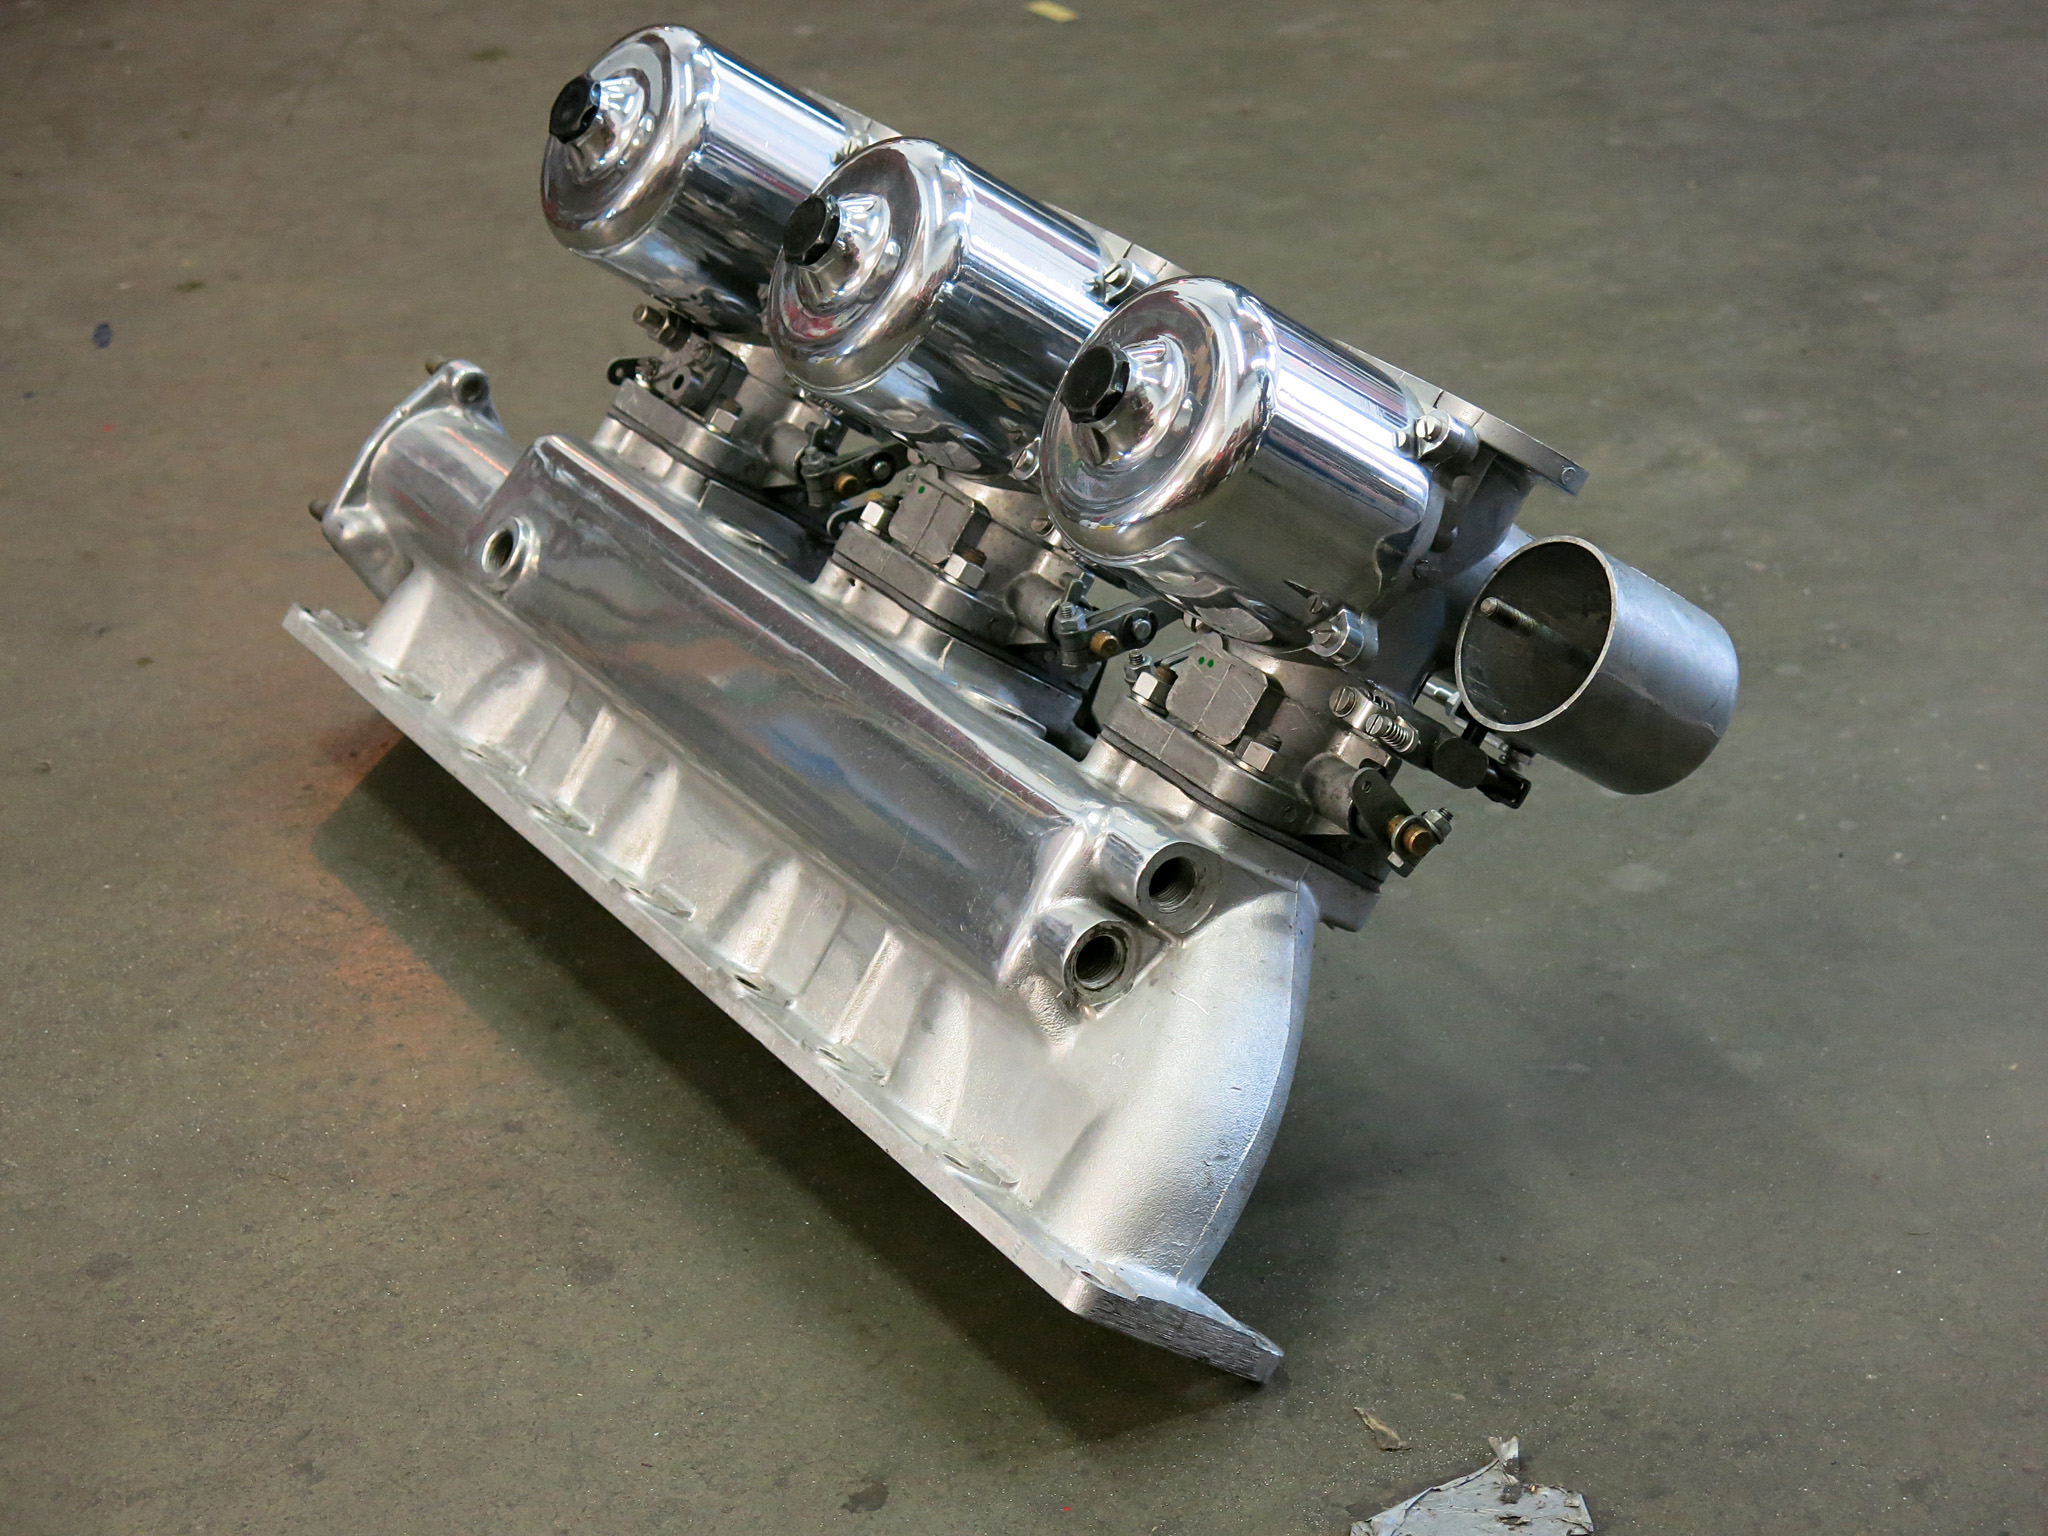
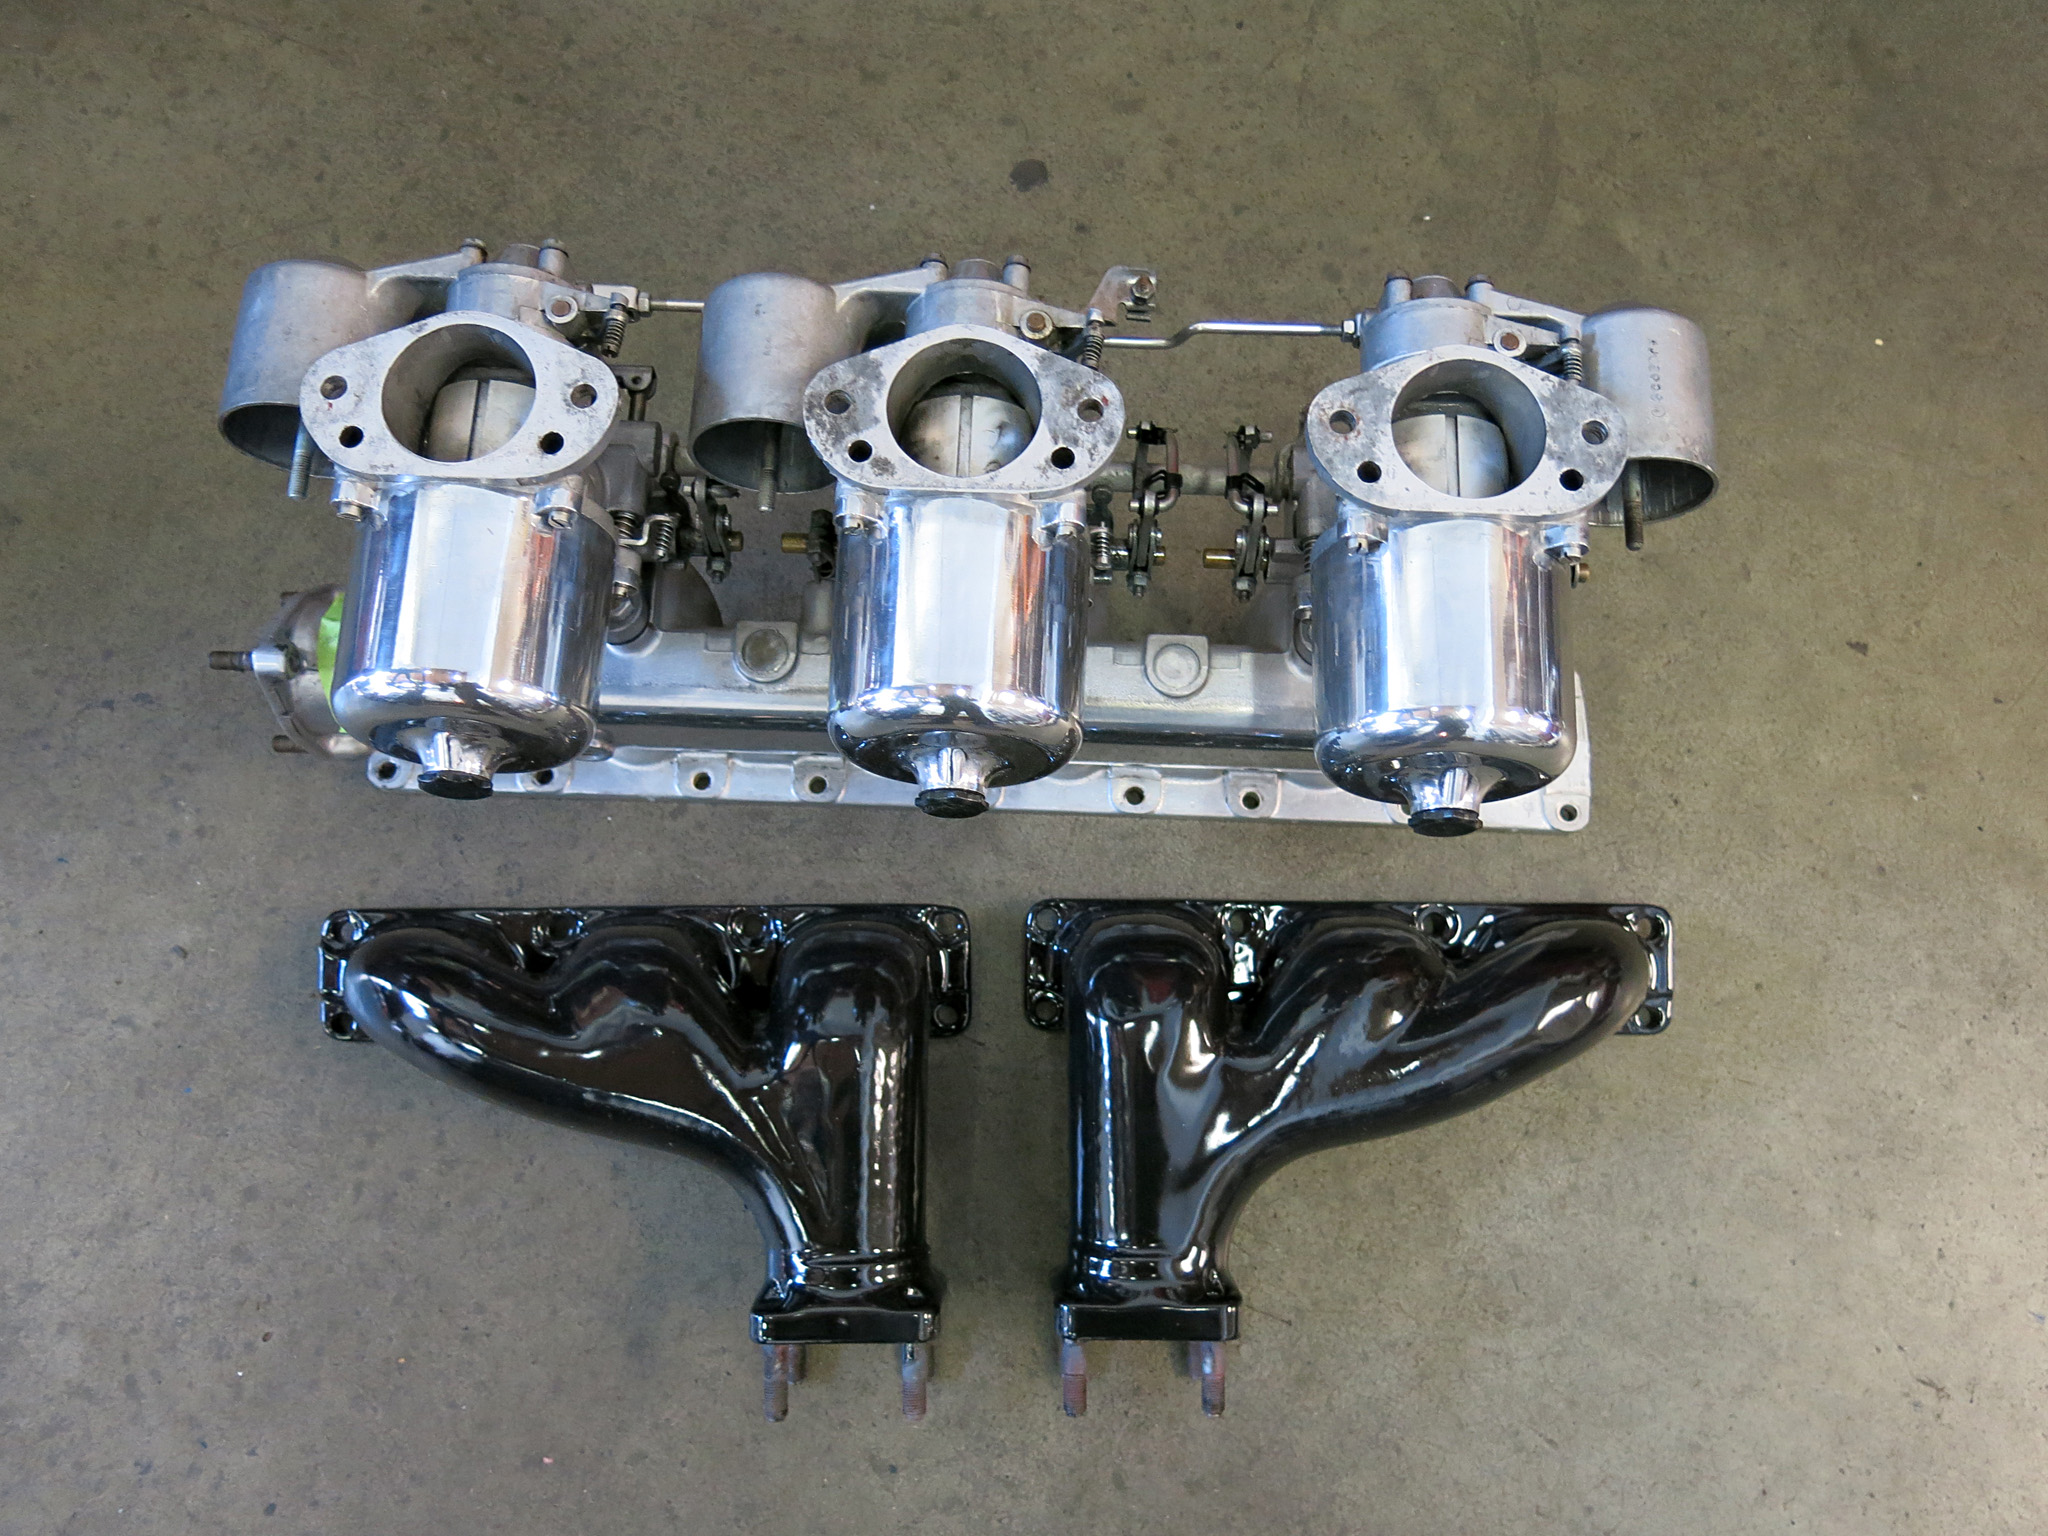
Tarting up the biggest piece of automotive jewelery is a time consuming task of cleaning and polishing. Specifically polishing the aluminum cam covers, cylinder head, intake manifold, breather tube and carburetor bodies whose radiant charm is offset by the bell housing, crankcase and transmission which stay in the bare and carefully cleaned aluminum alloy.
Last we have the intake and exhuast portion of this equation which include the porcelain covered exhaust manifolds. More on those later.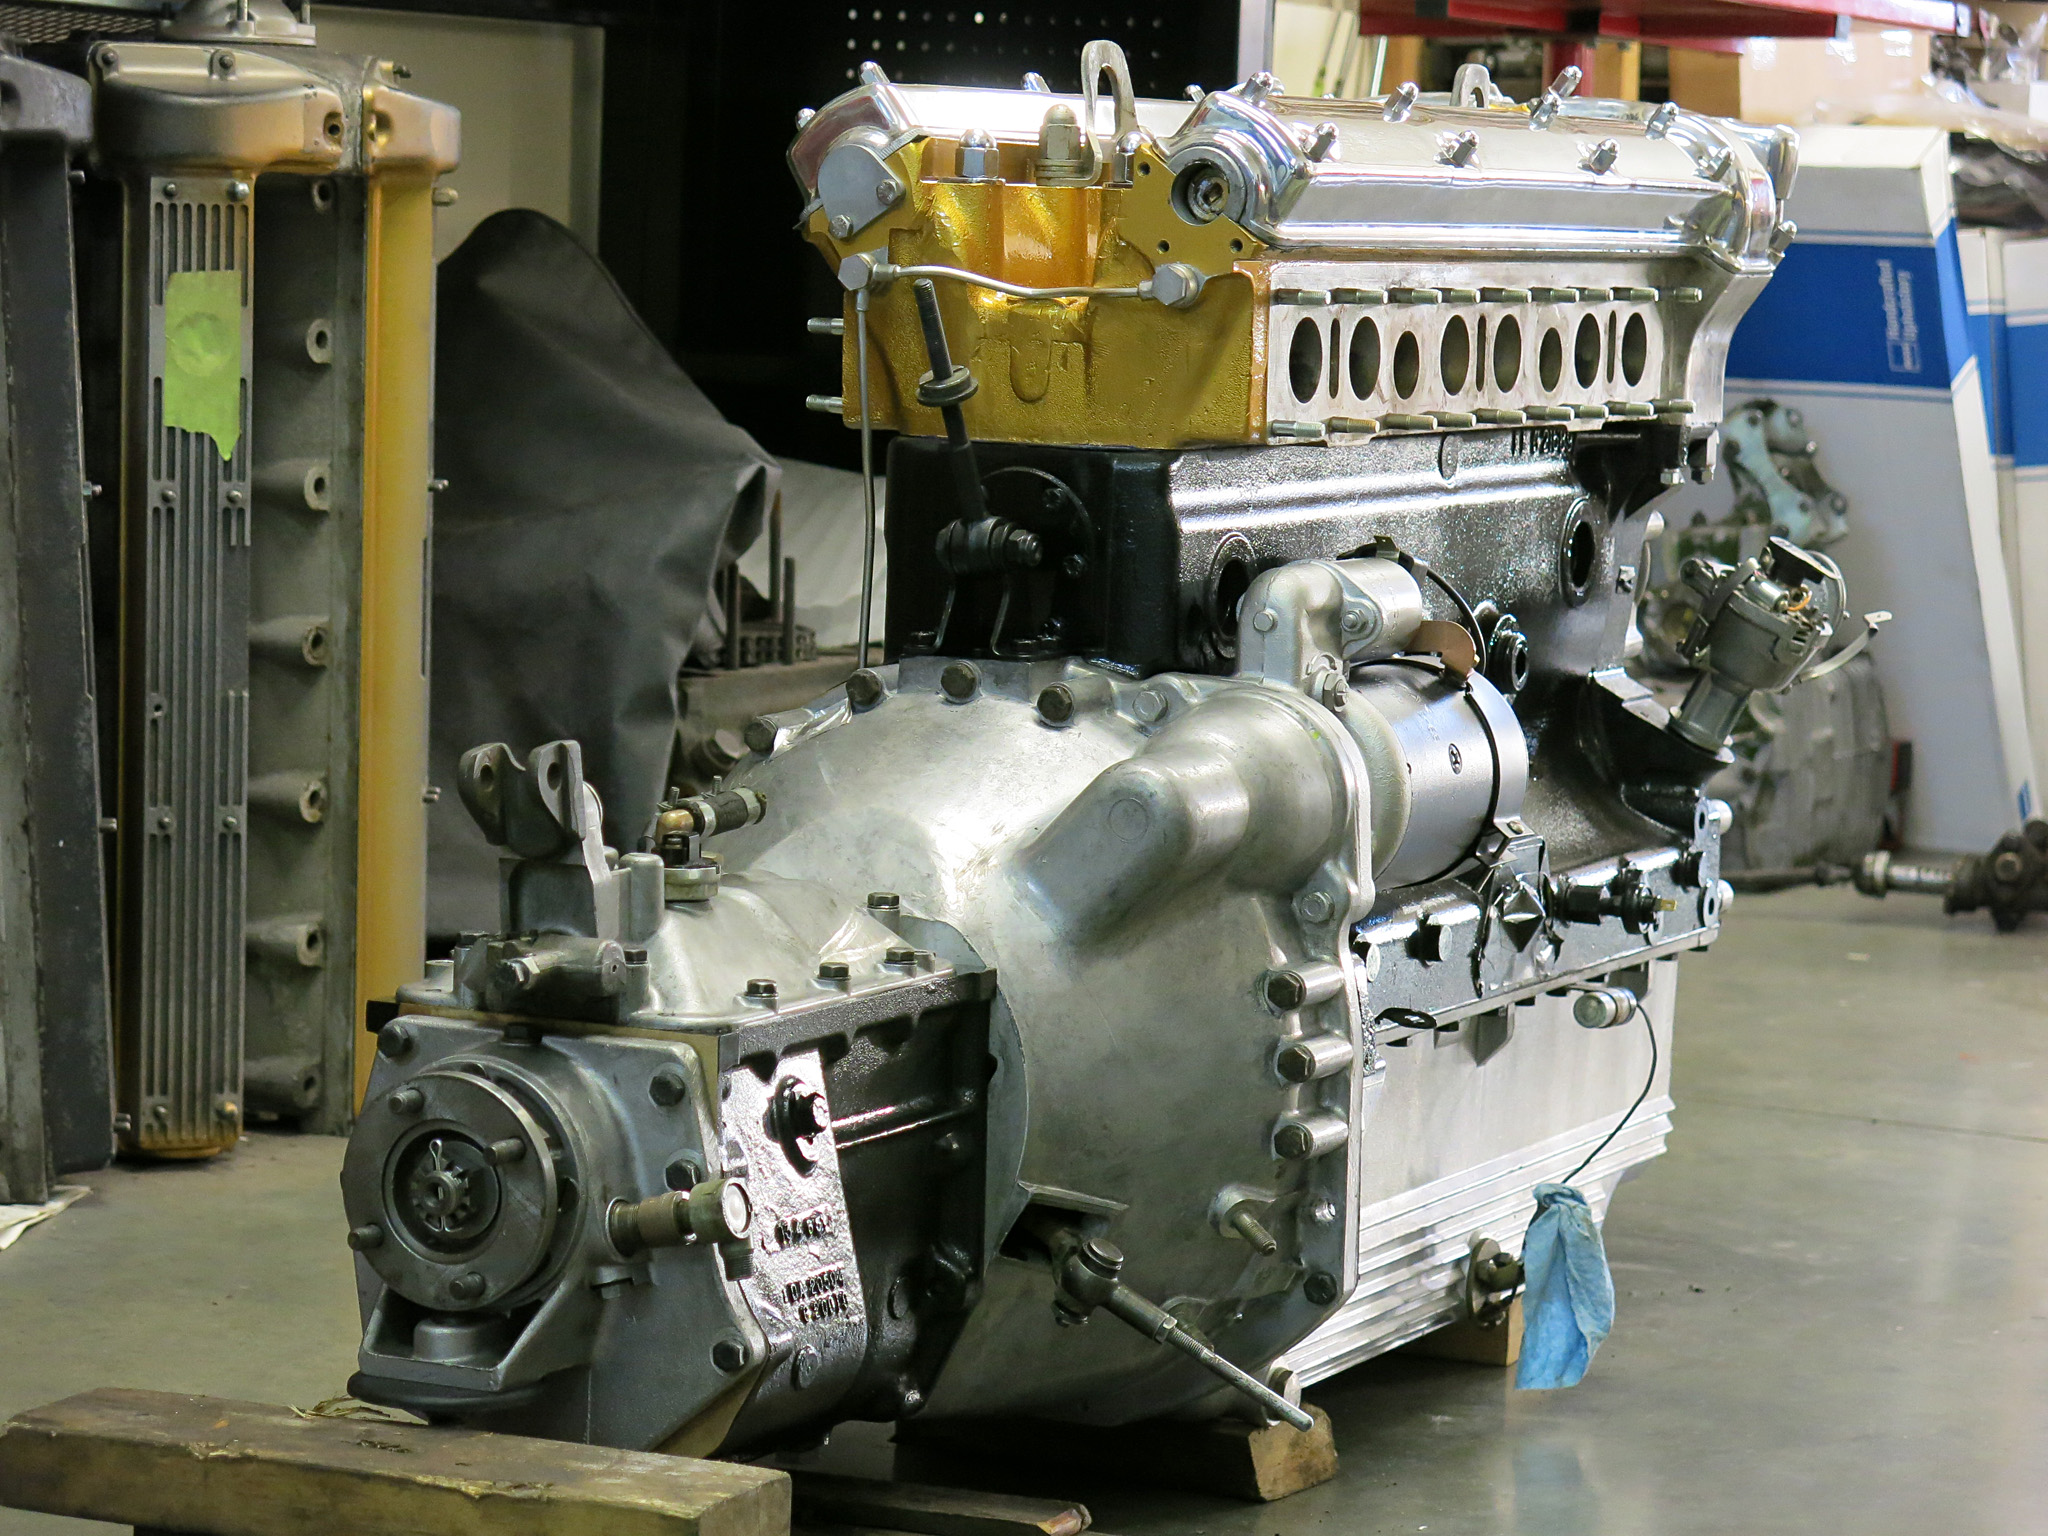
The pace of the MG TF project is increasing with each day.
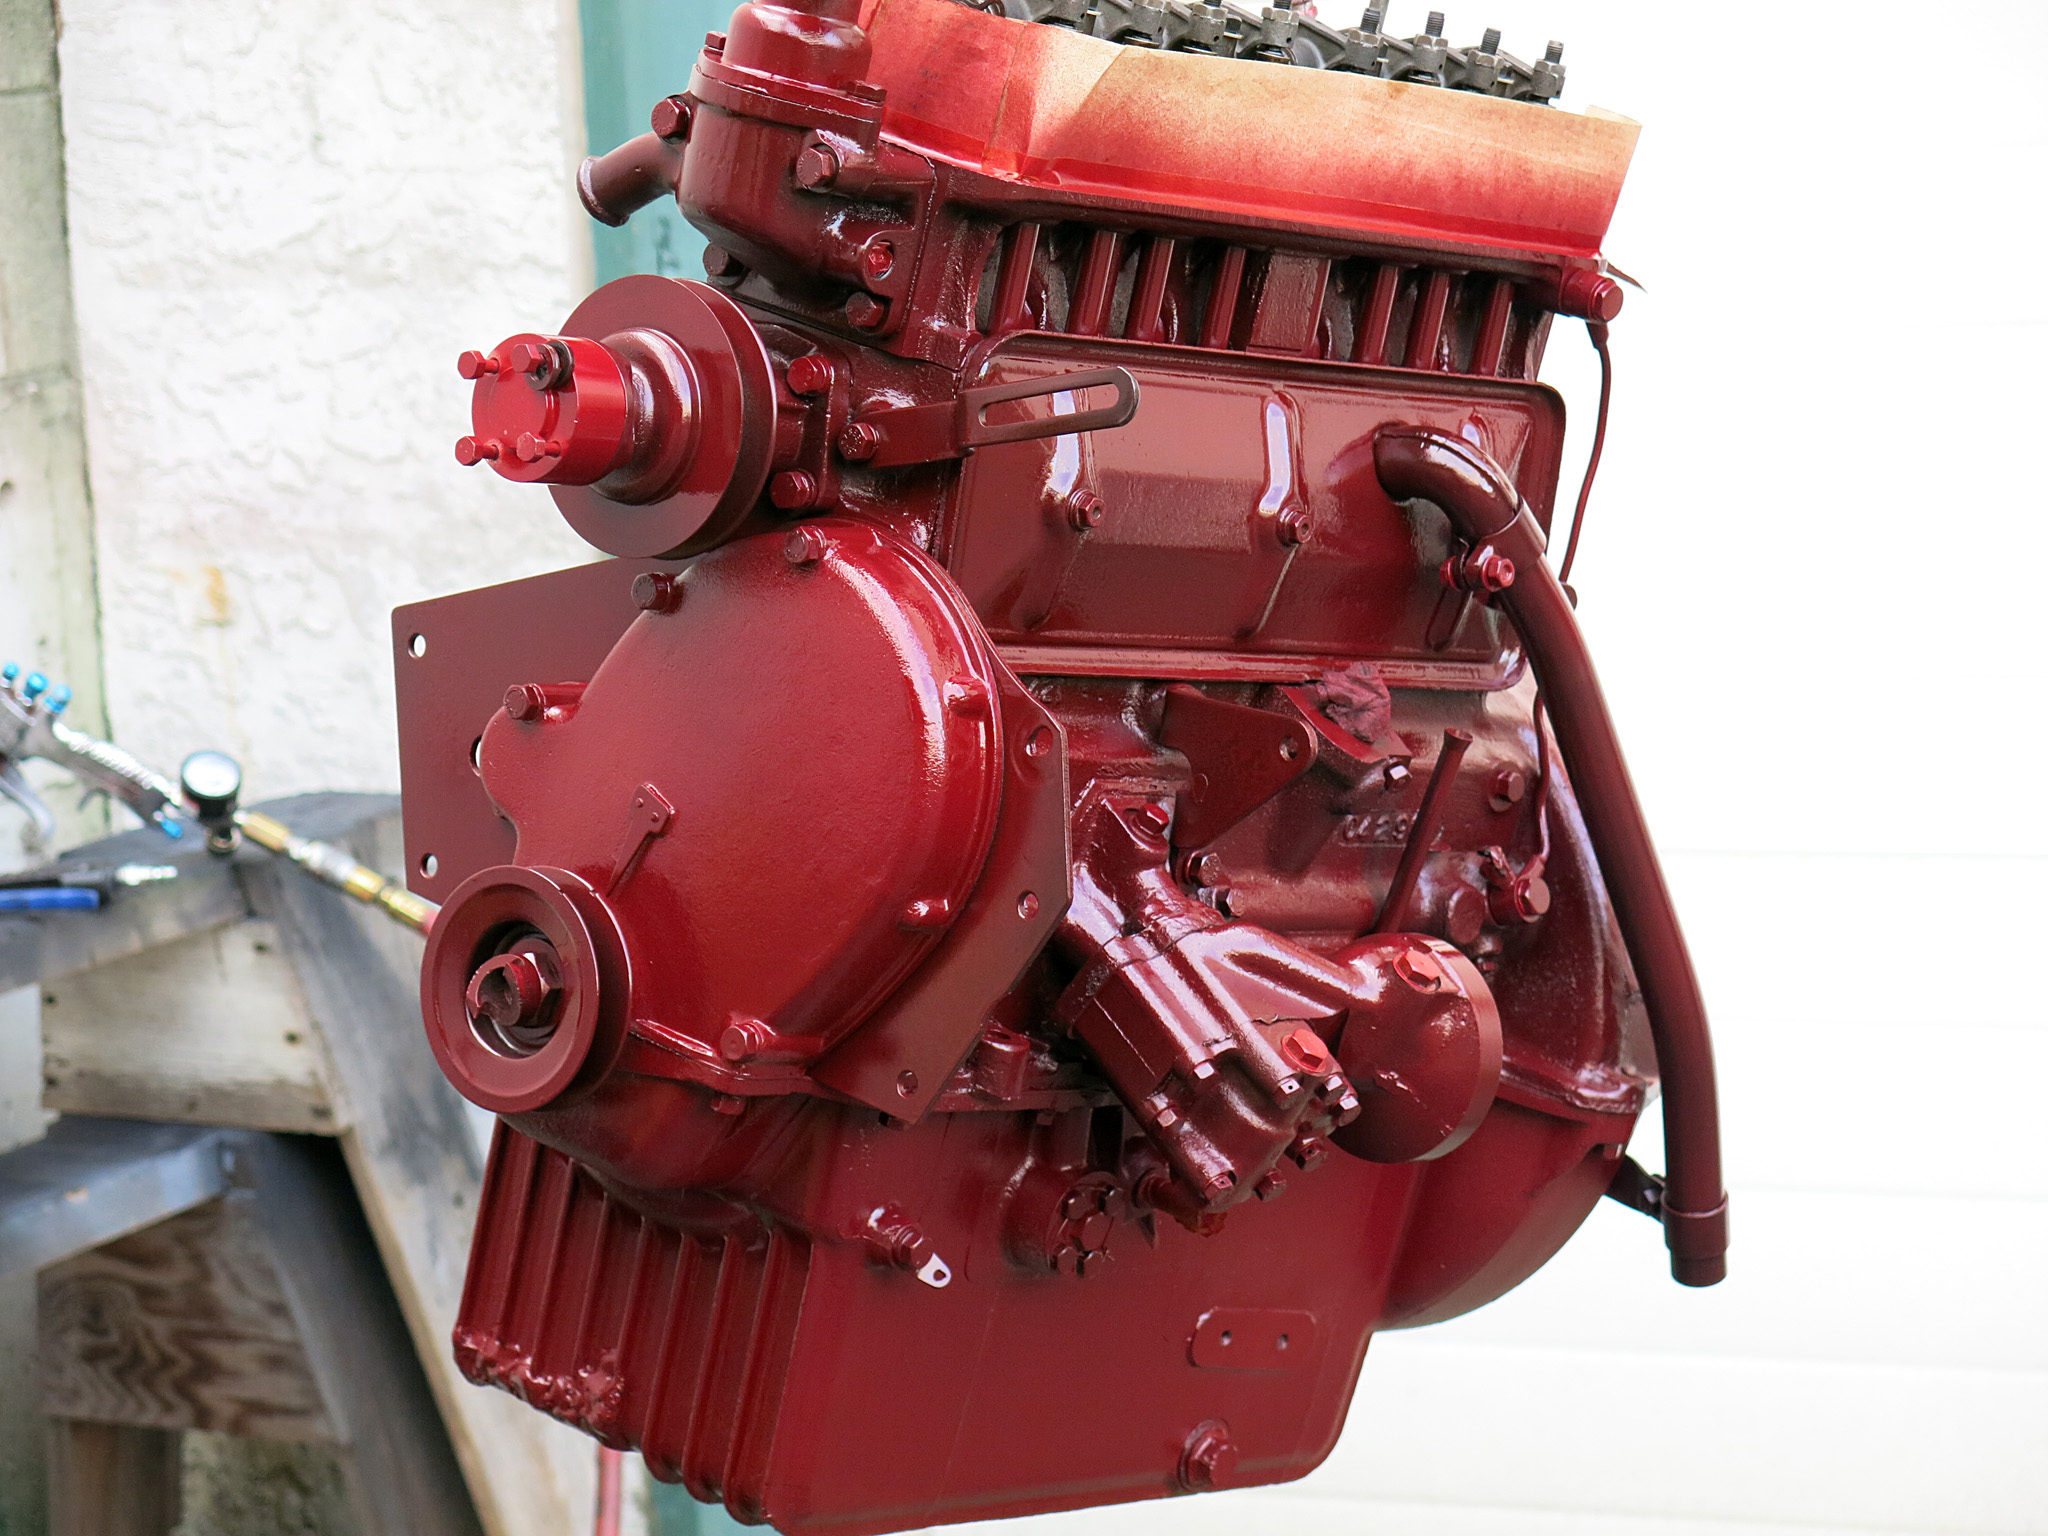
Today we put a final coat of enamel on the 1250 engine which should be in the chassis in short order. This engine has had a major rebuilt with a new crane cam, a Moss Motors Crank Oil Seal Conversion Kit, new plugs, gaskets, the works. The color we use is a 1979 GMC hue called Dark Carmine with a Dupont number of 45827.
The red seats arrived from Style’s Auto Upholstery who fitted the Moss Motors Complete Leather Seat Assembly ($2,259.95 USD) on some original blasted and painted seat frames.
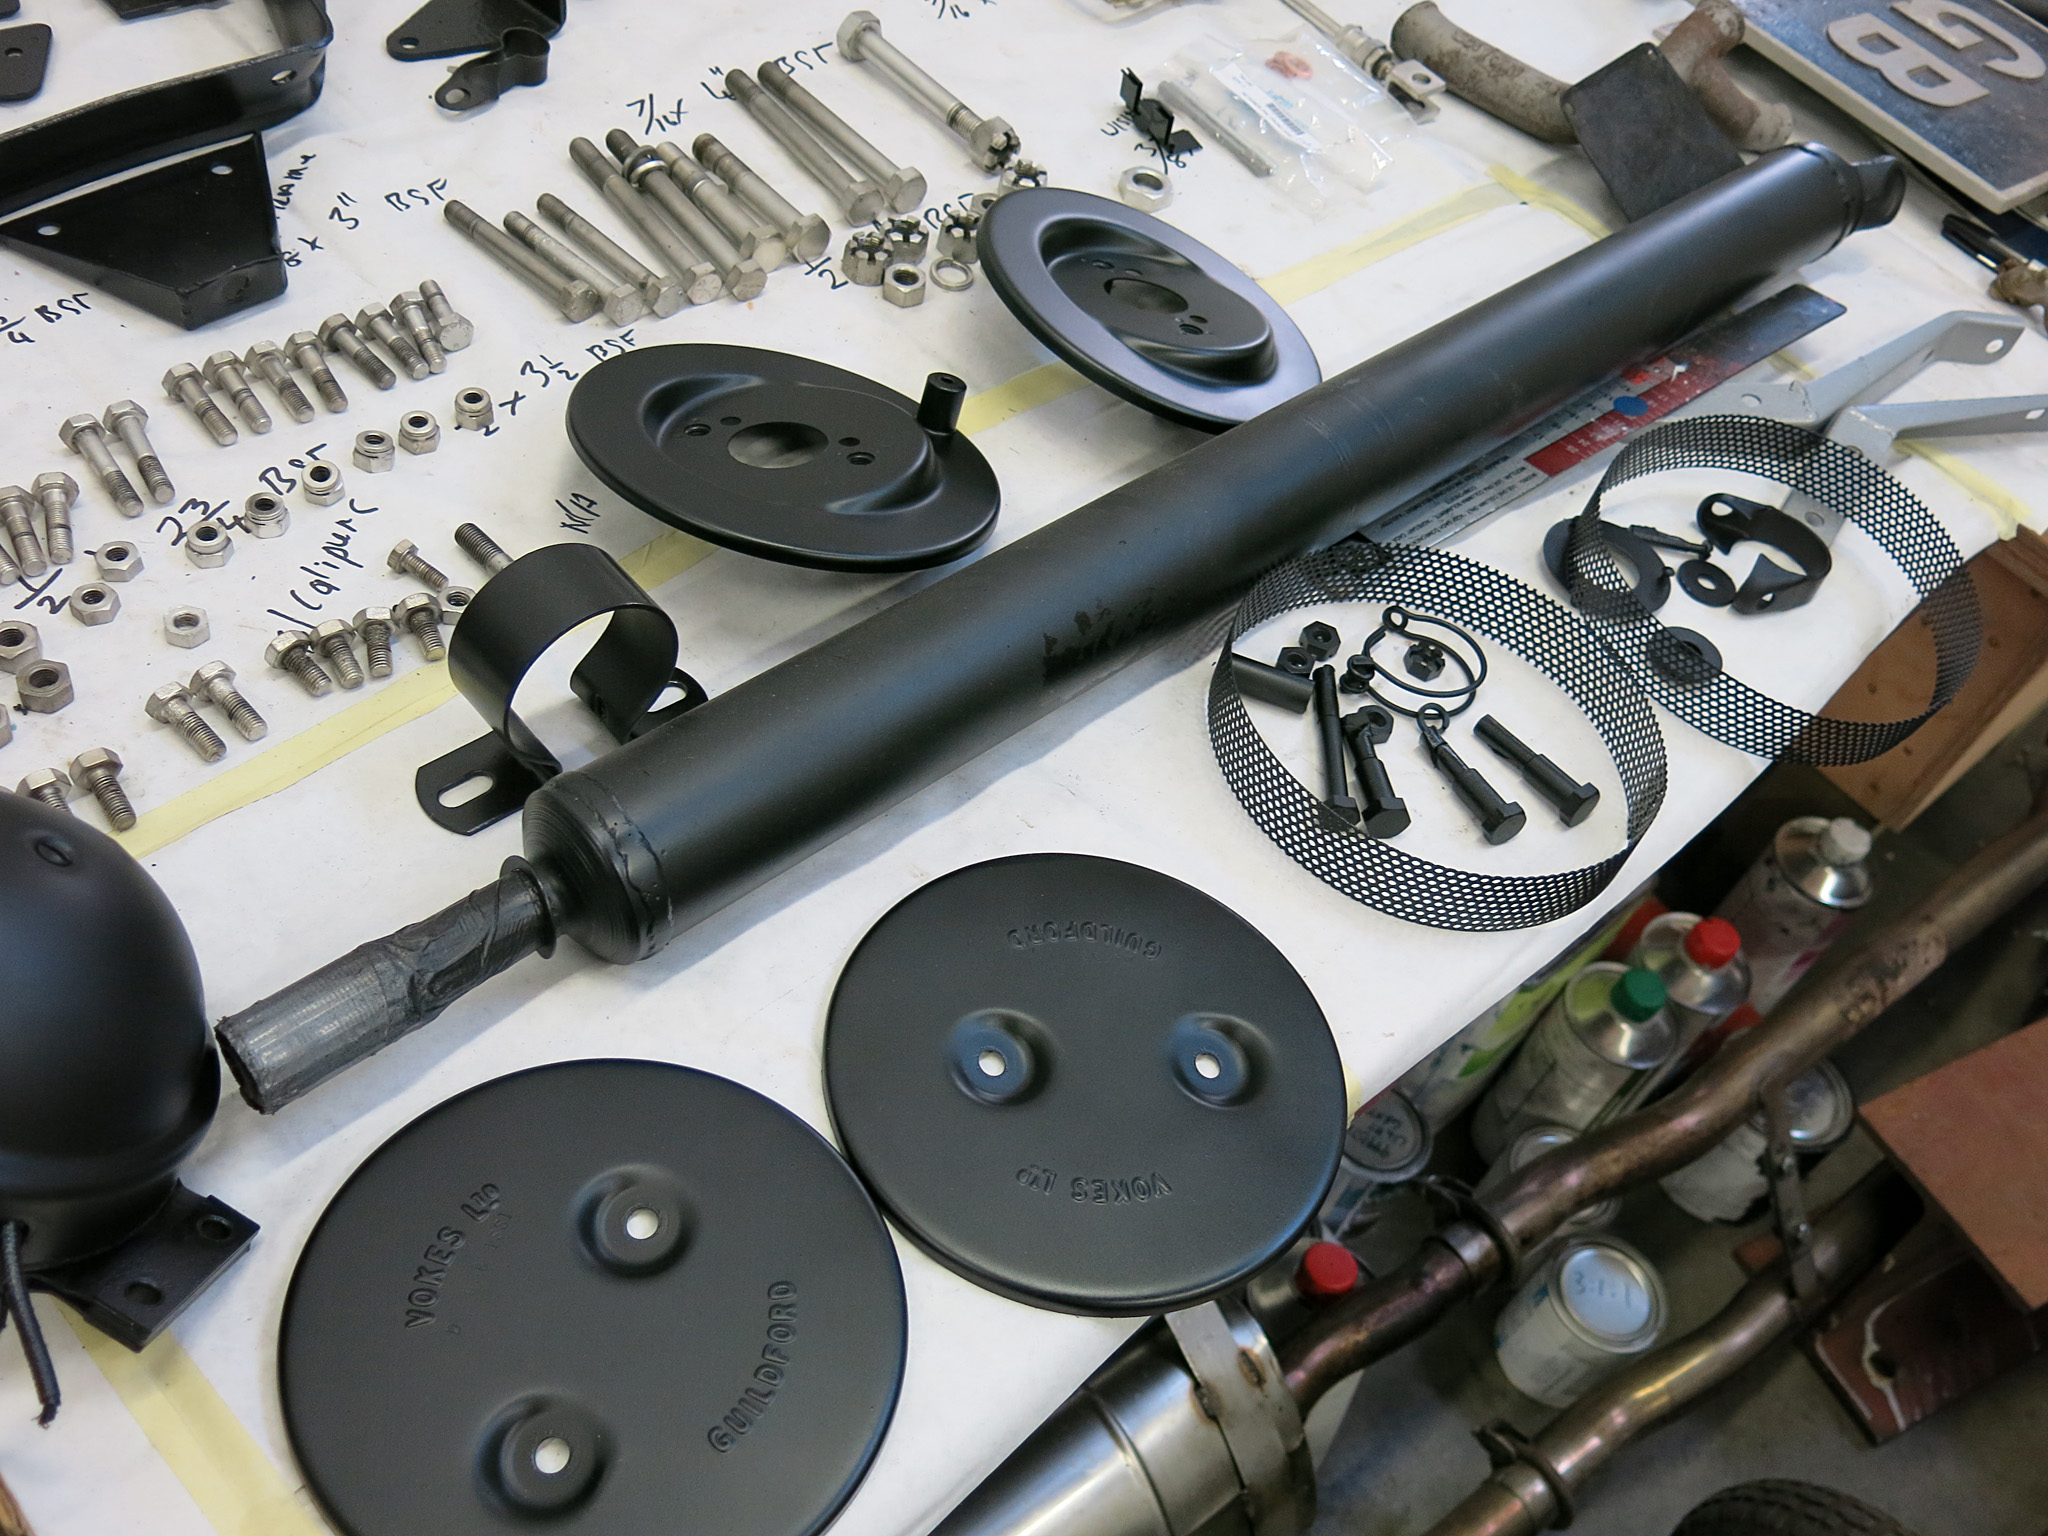
We have also been busy sourcing many original parts for the toolkit, including many from local aficionado Hugh Pite. Once the kit is done we will make an entire post on it.
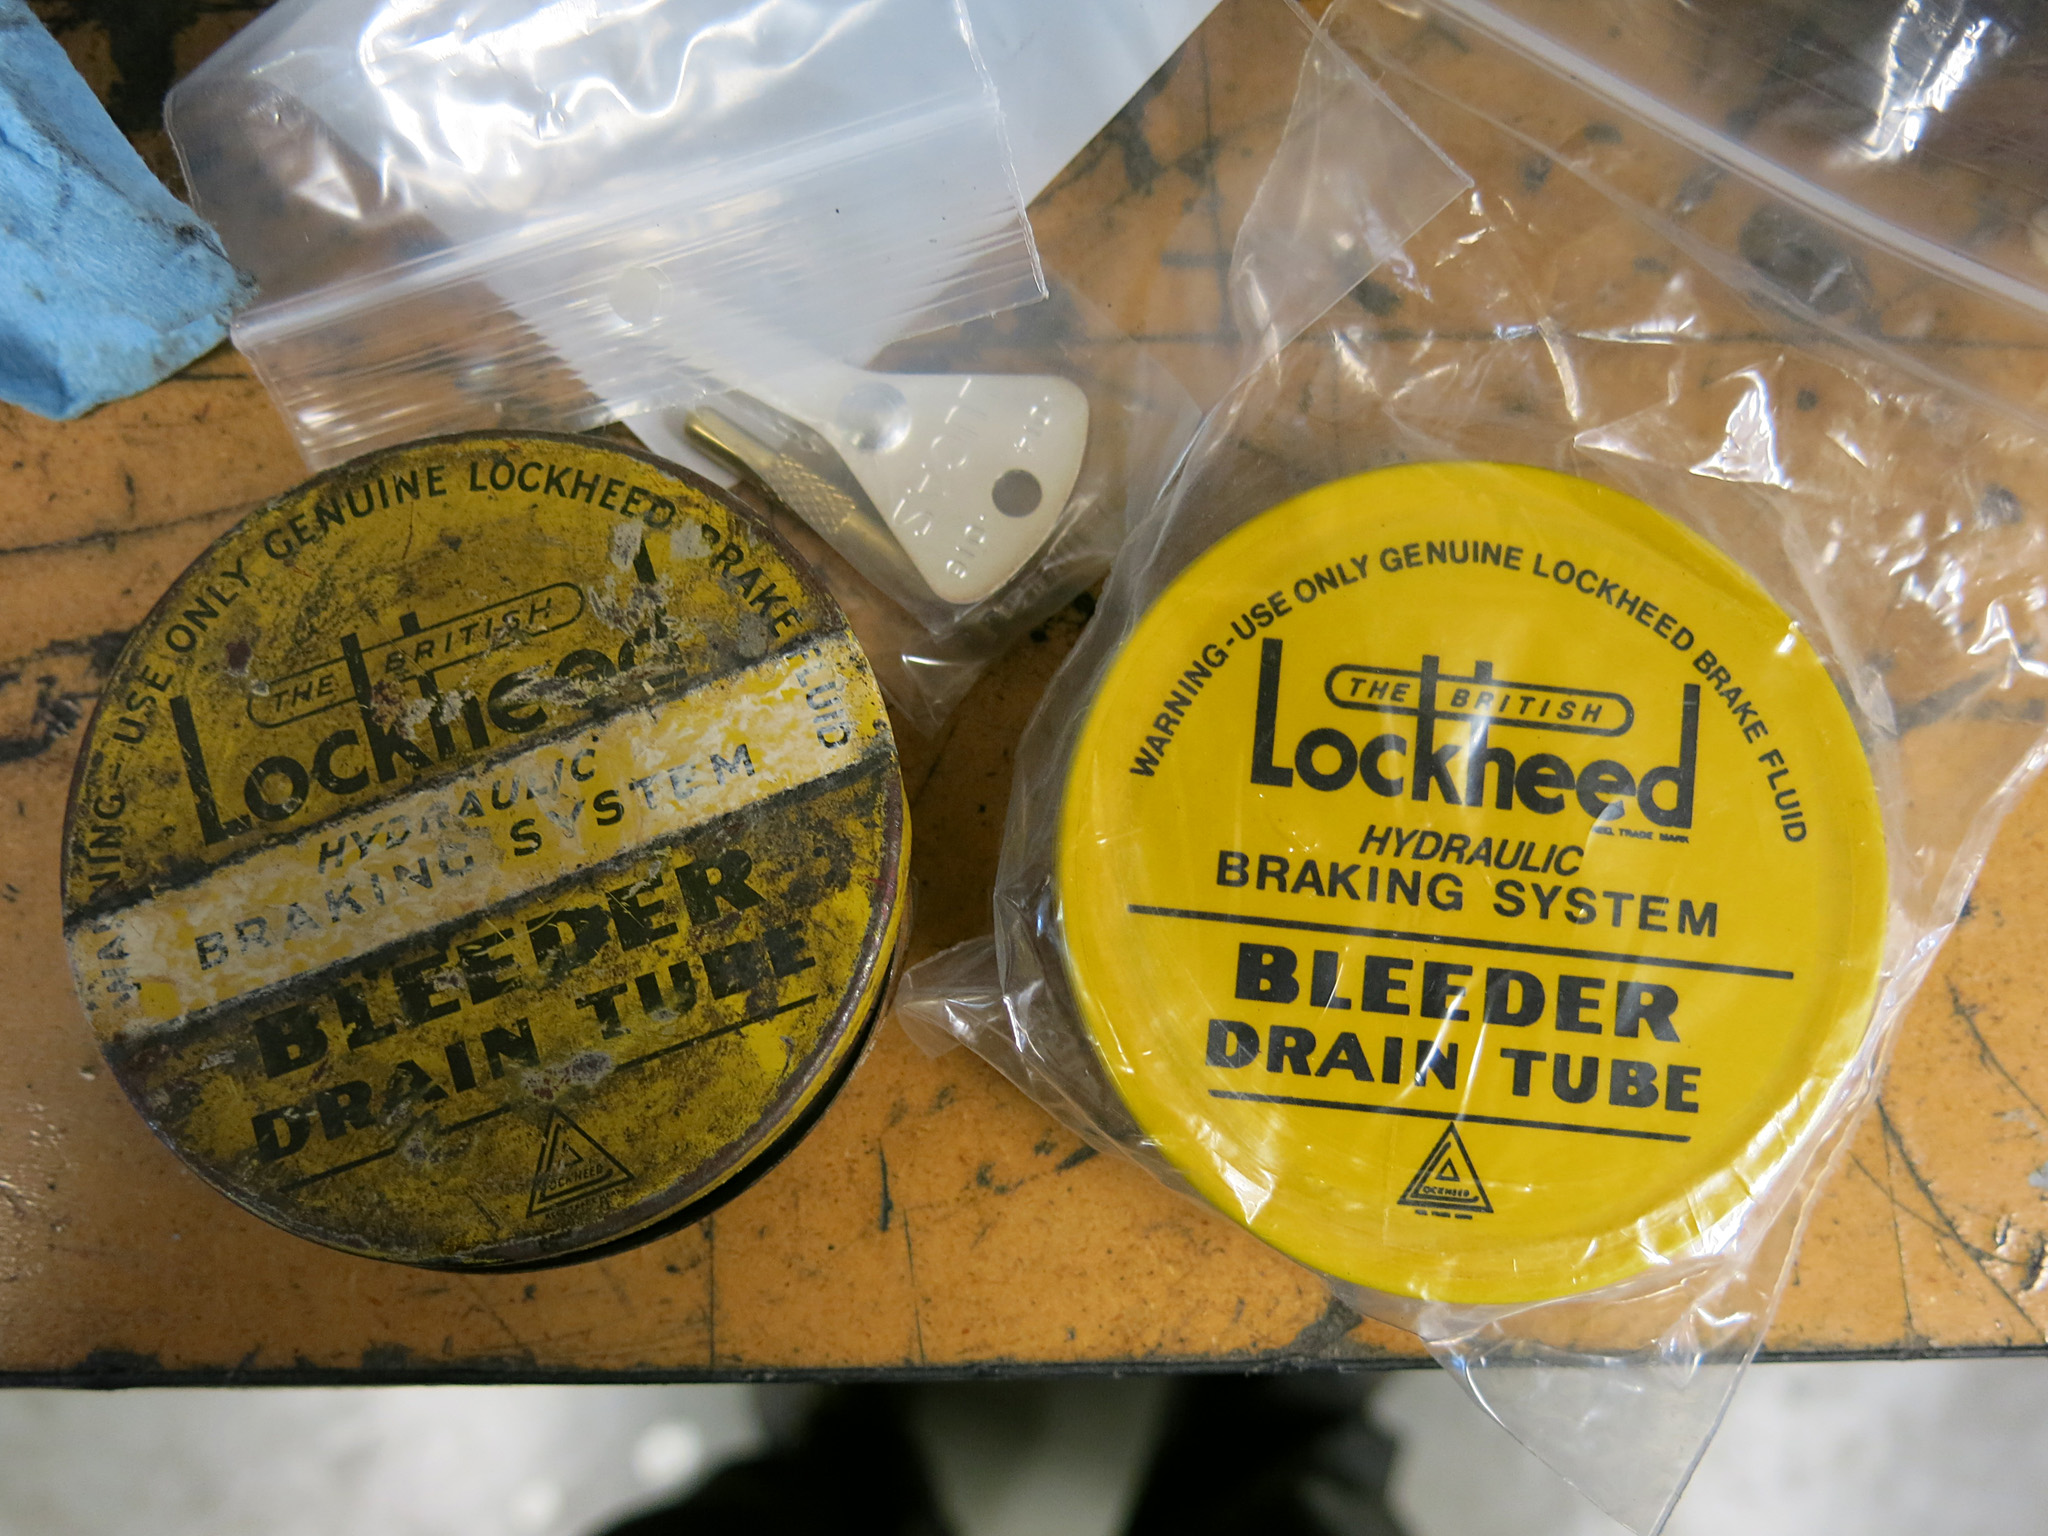
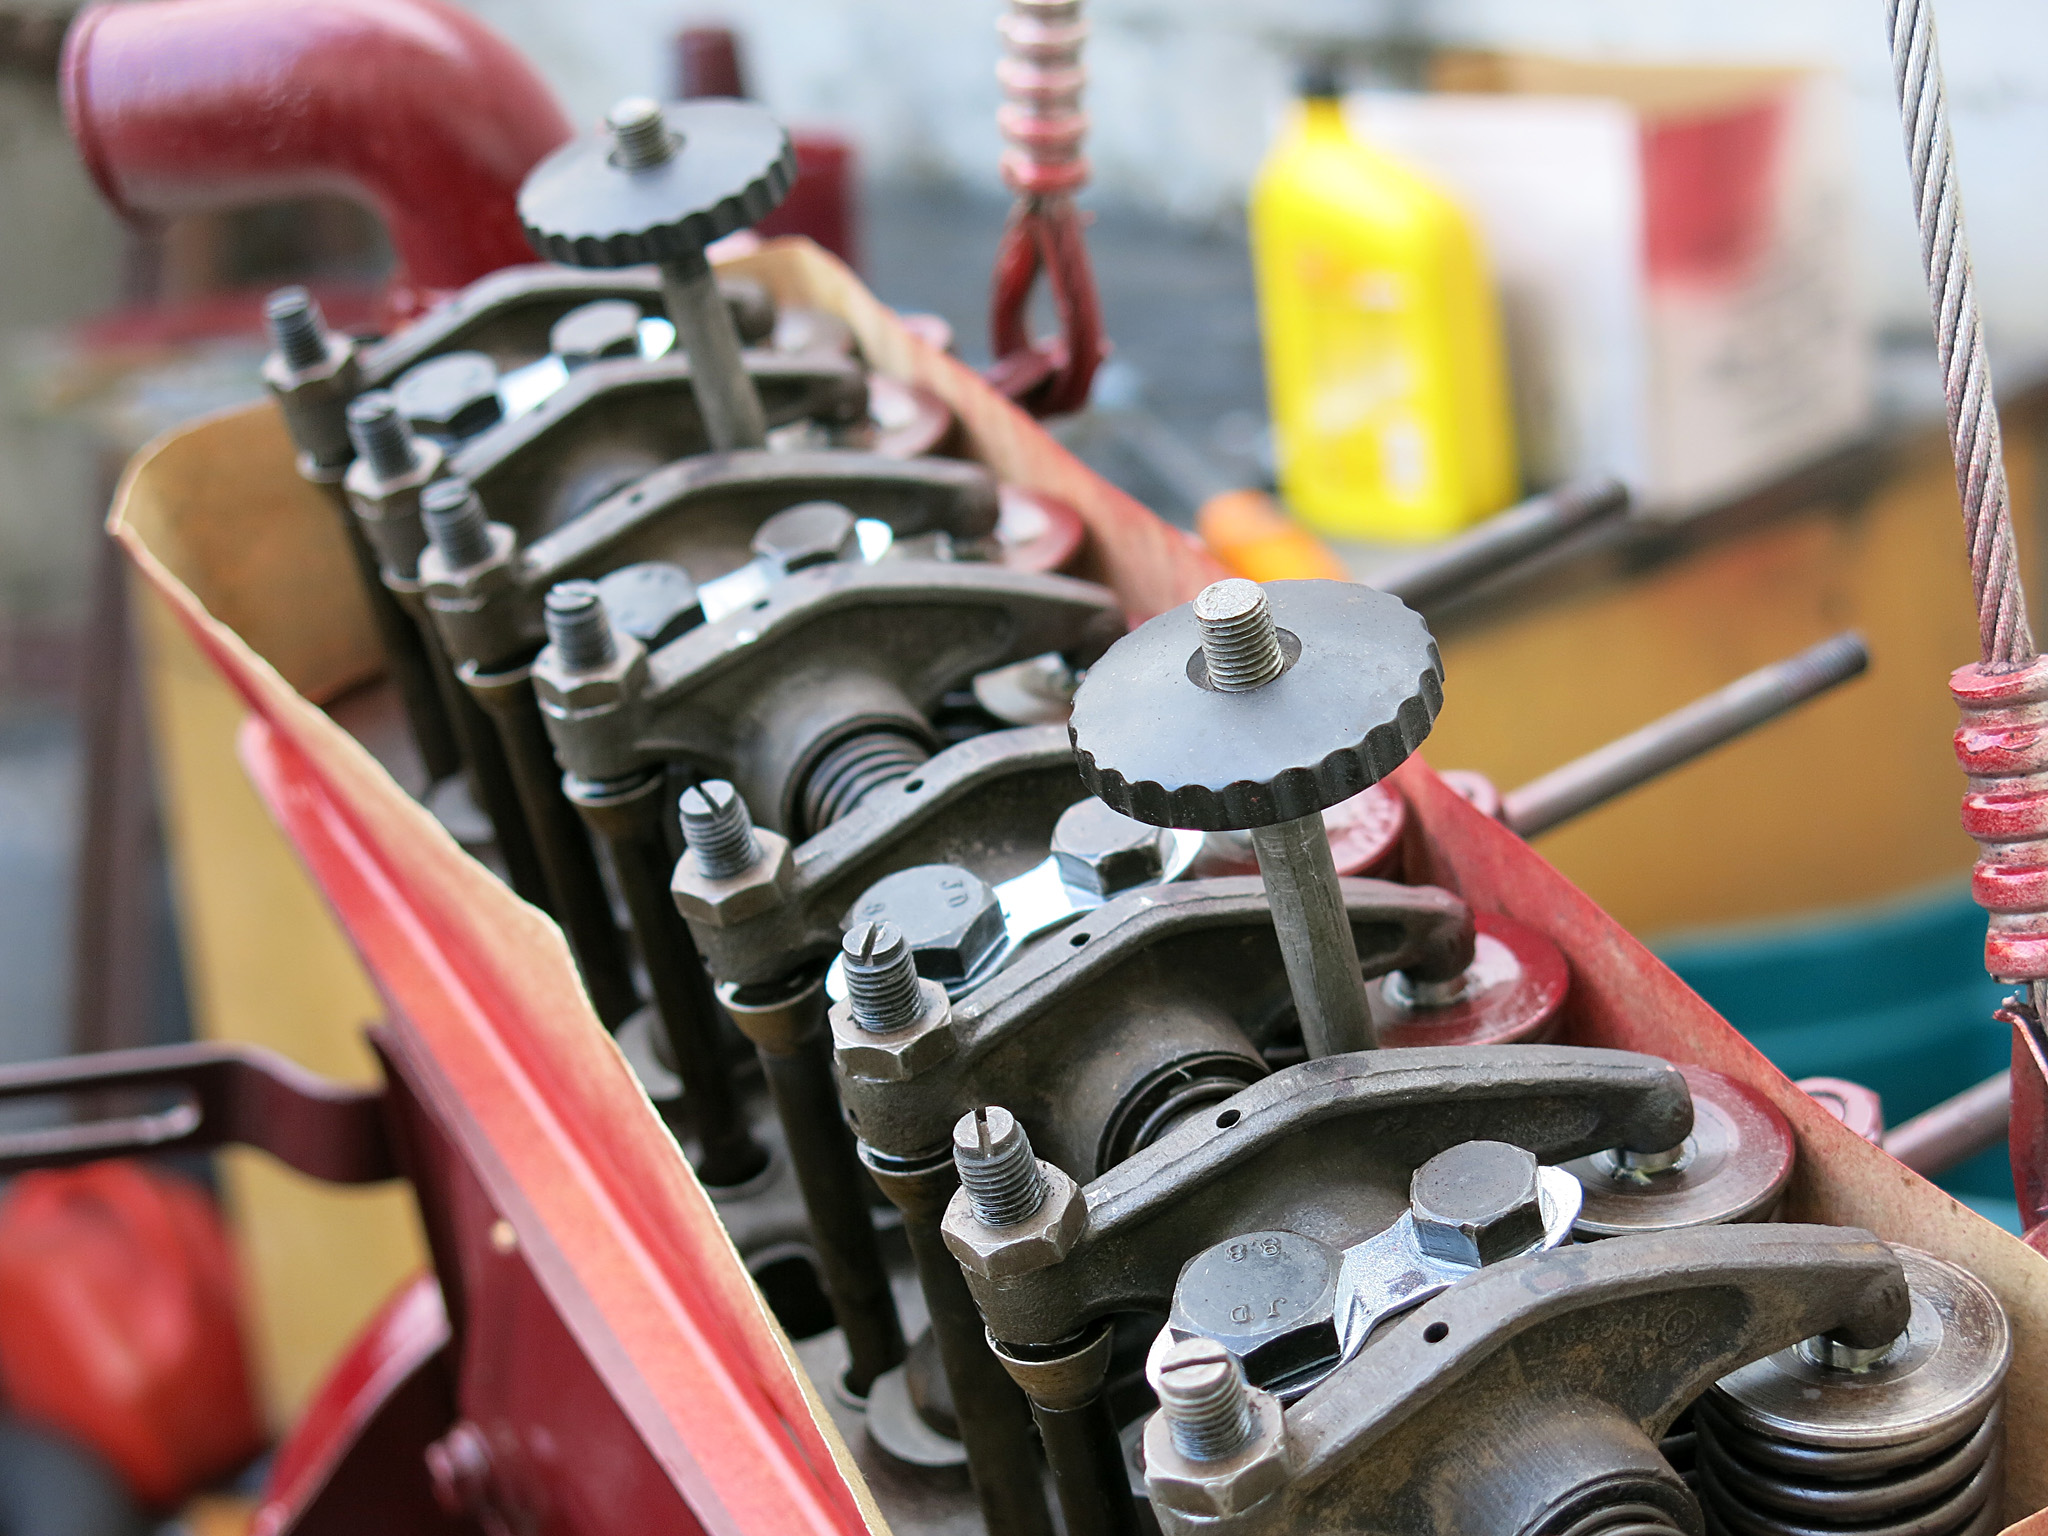
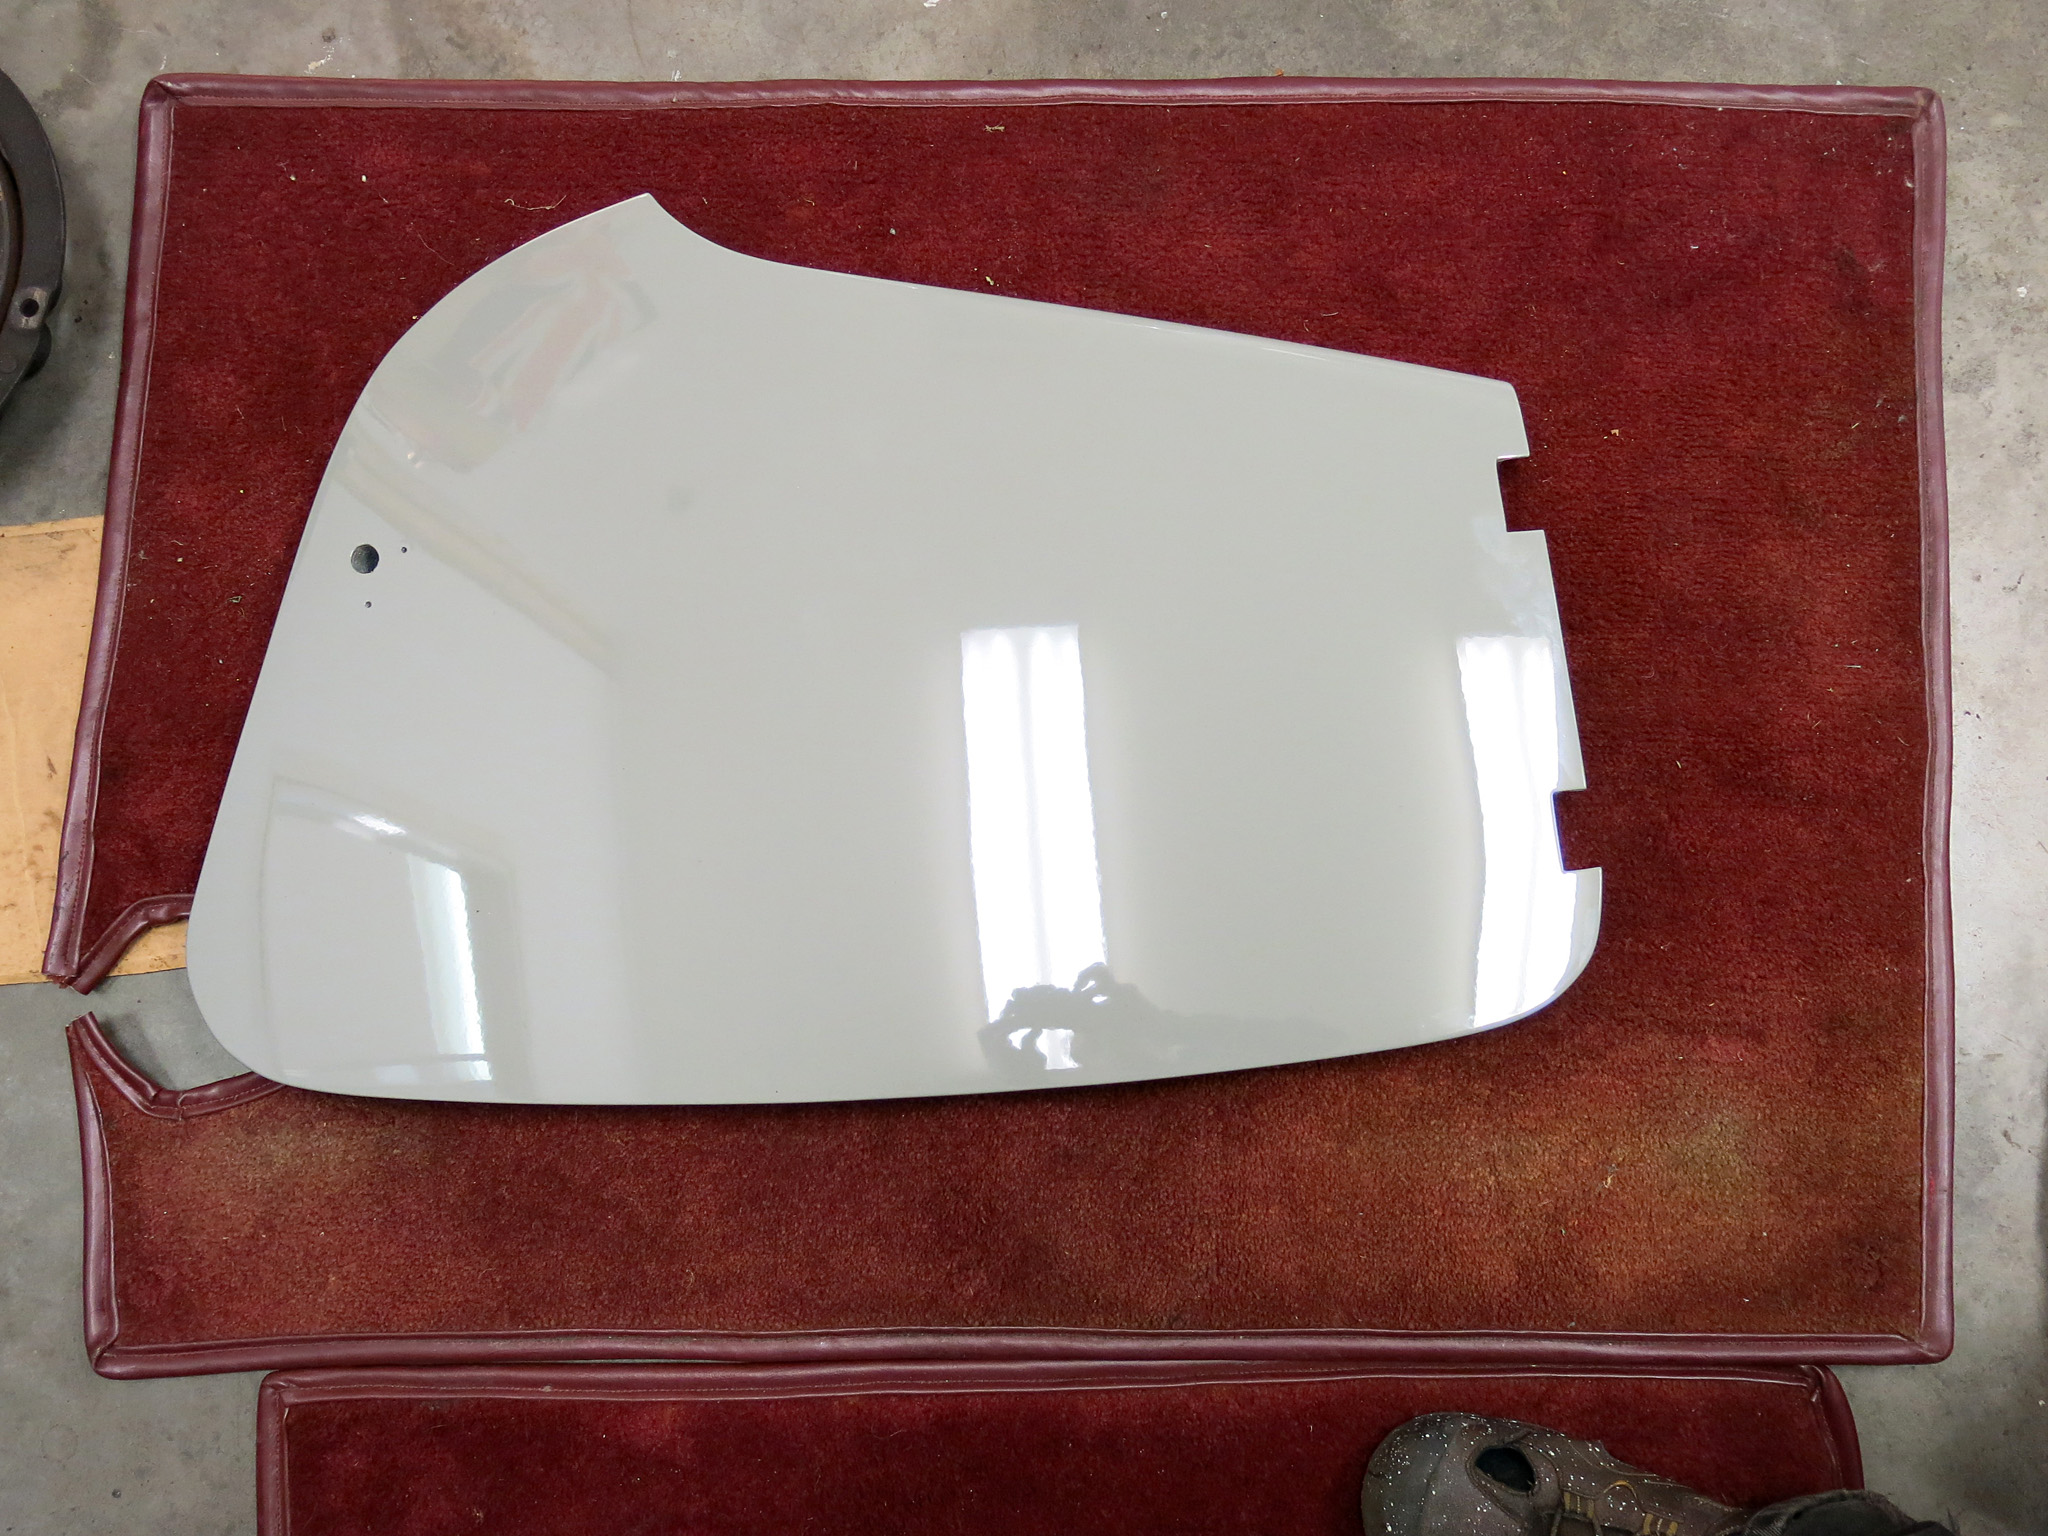
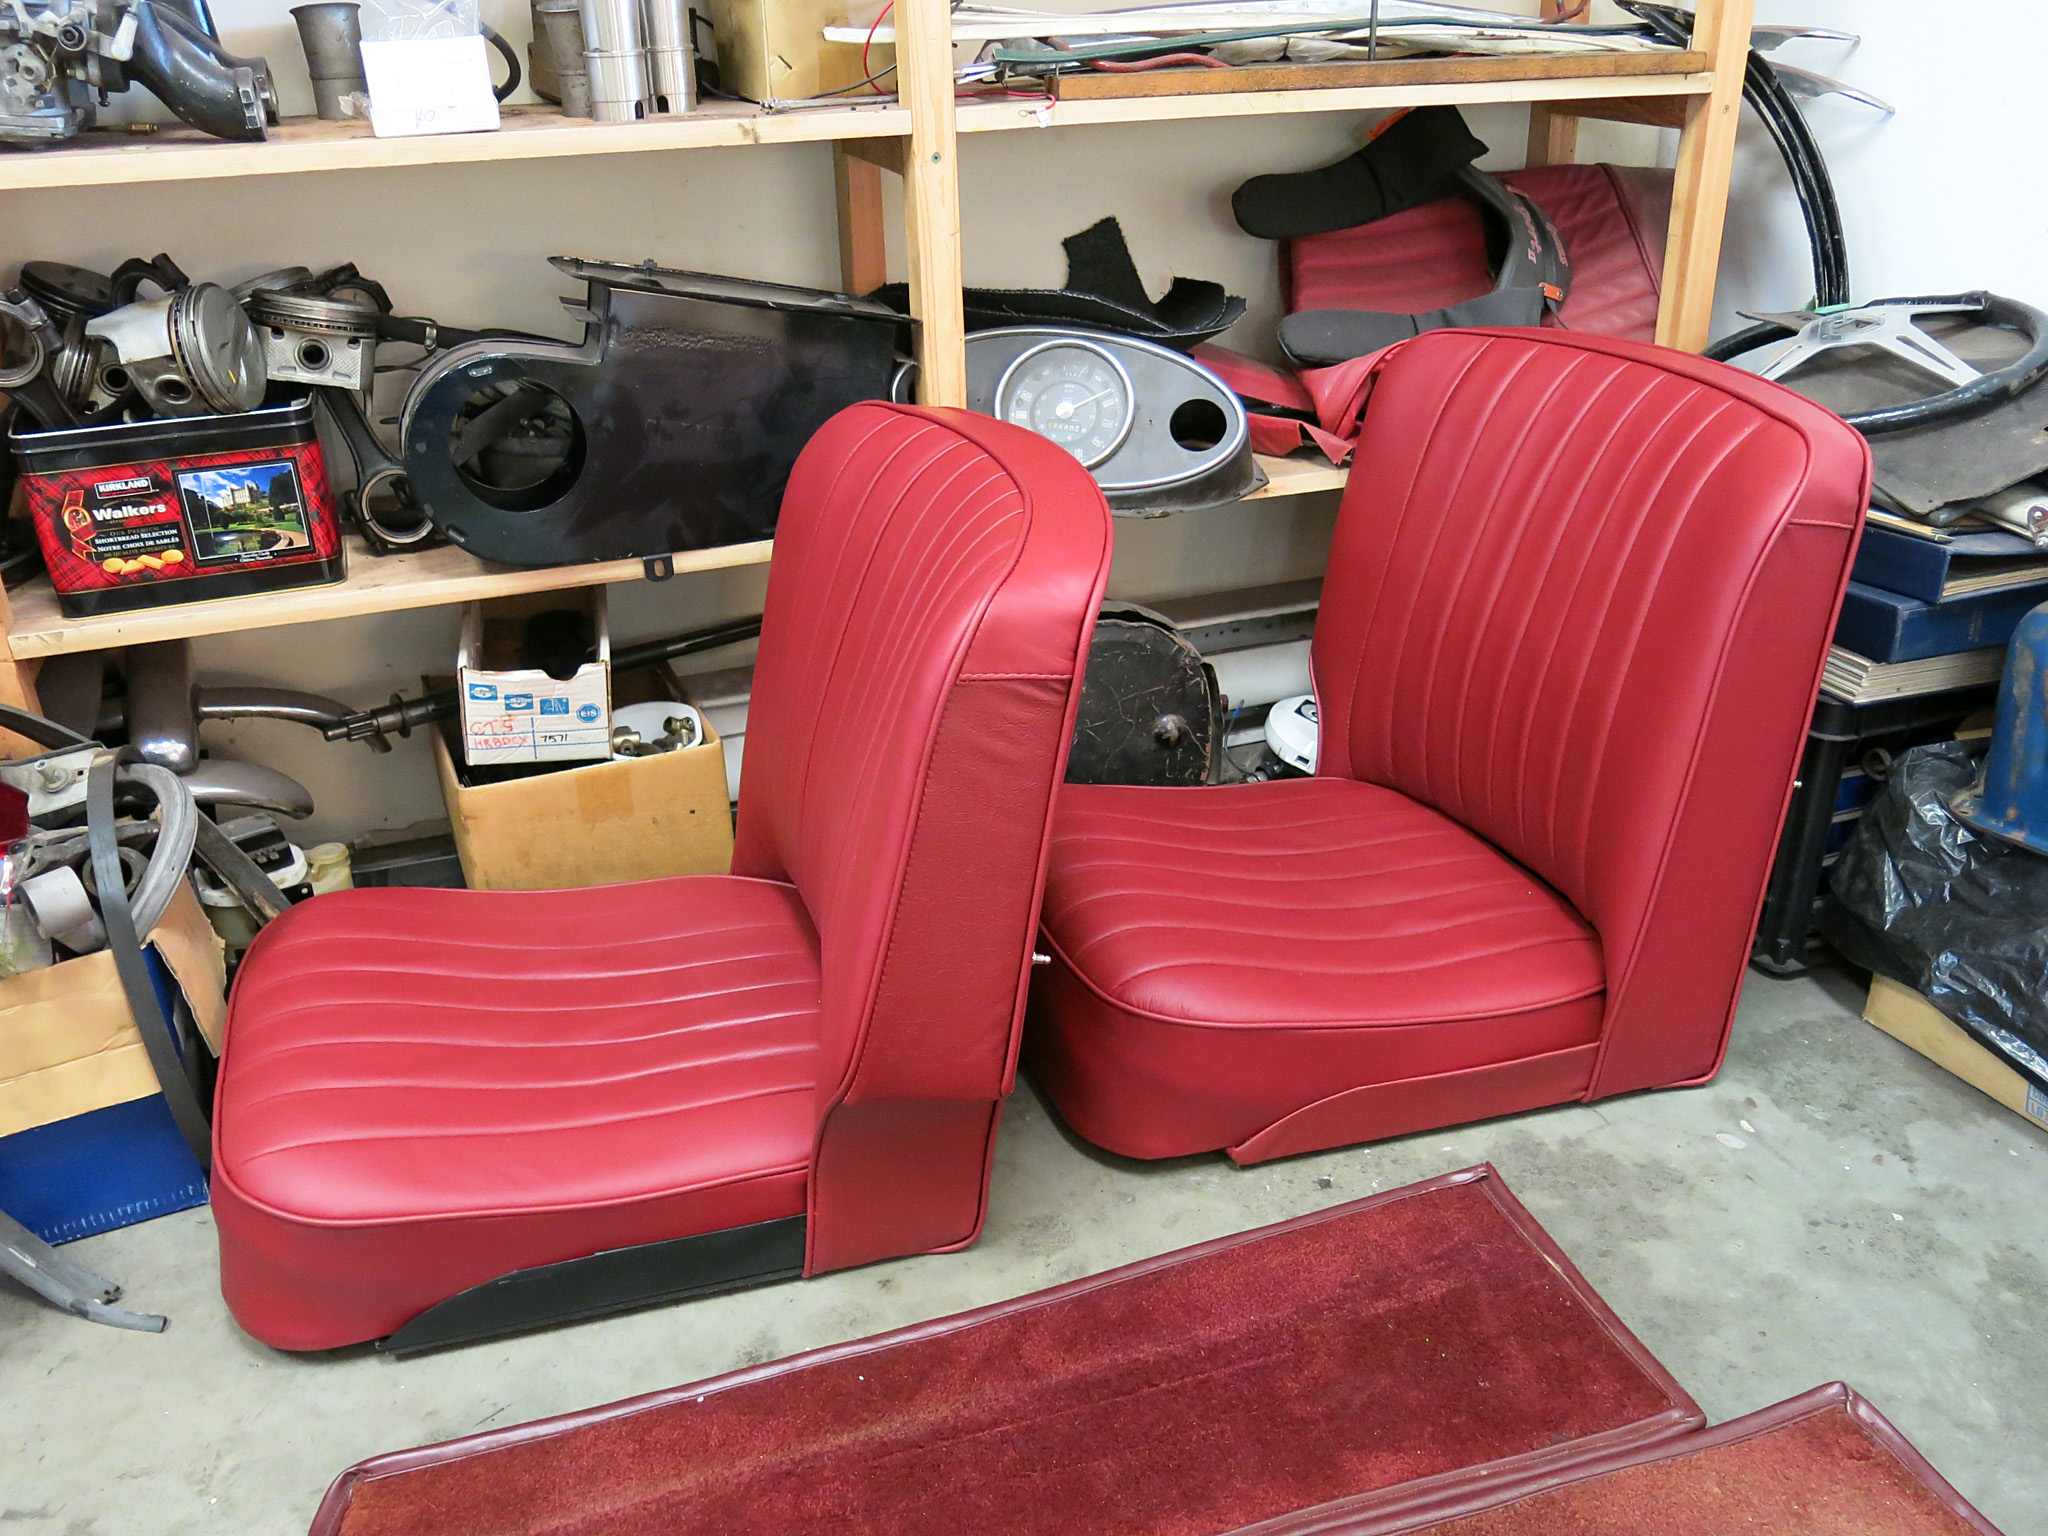
Our MG TF restoration is coming along nicely.
The suspension has been fitted including an MGA front disc setup.
With the marriage of the chassis and body recently completed, this will ever increasingly look like a proper sports car.

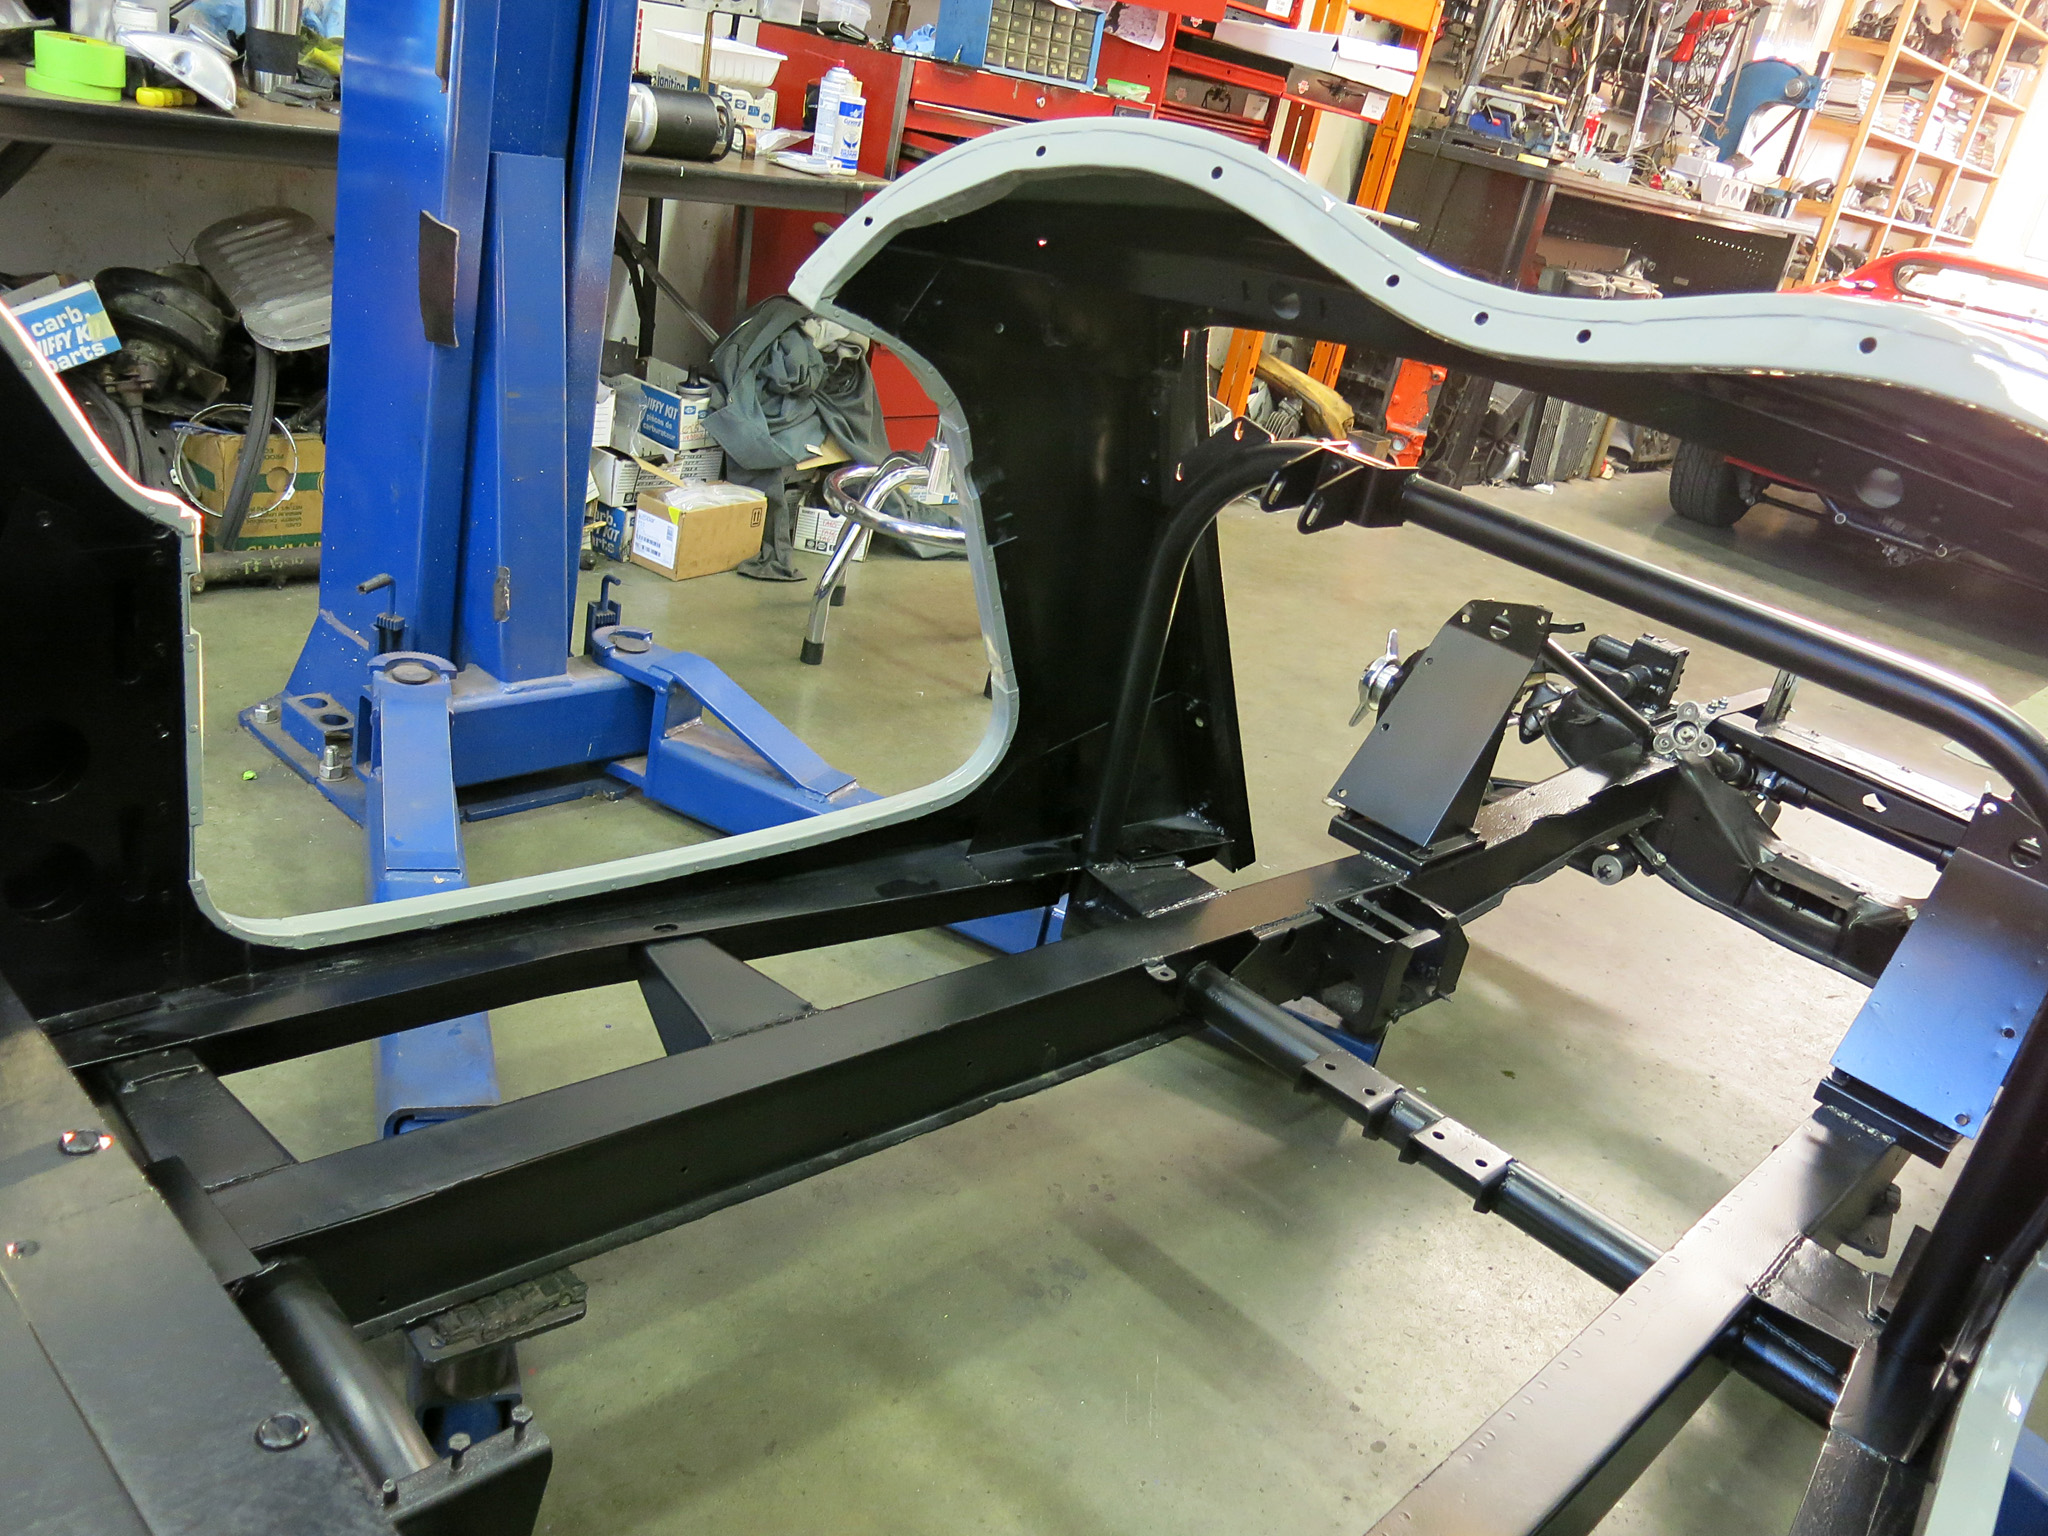
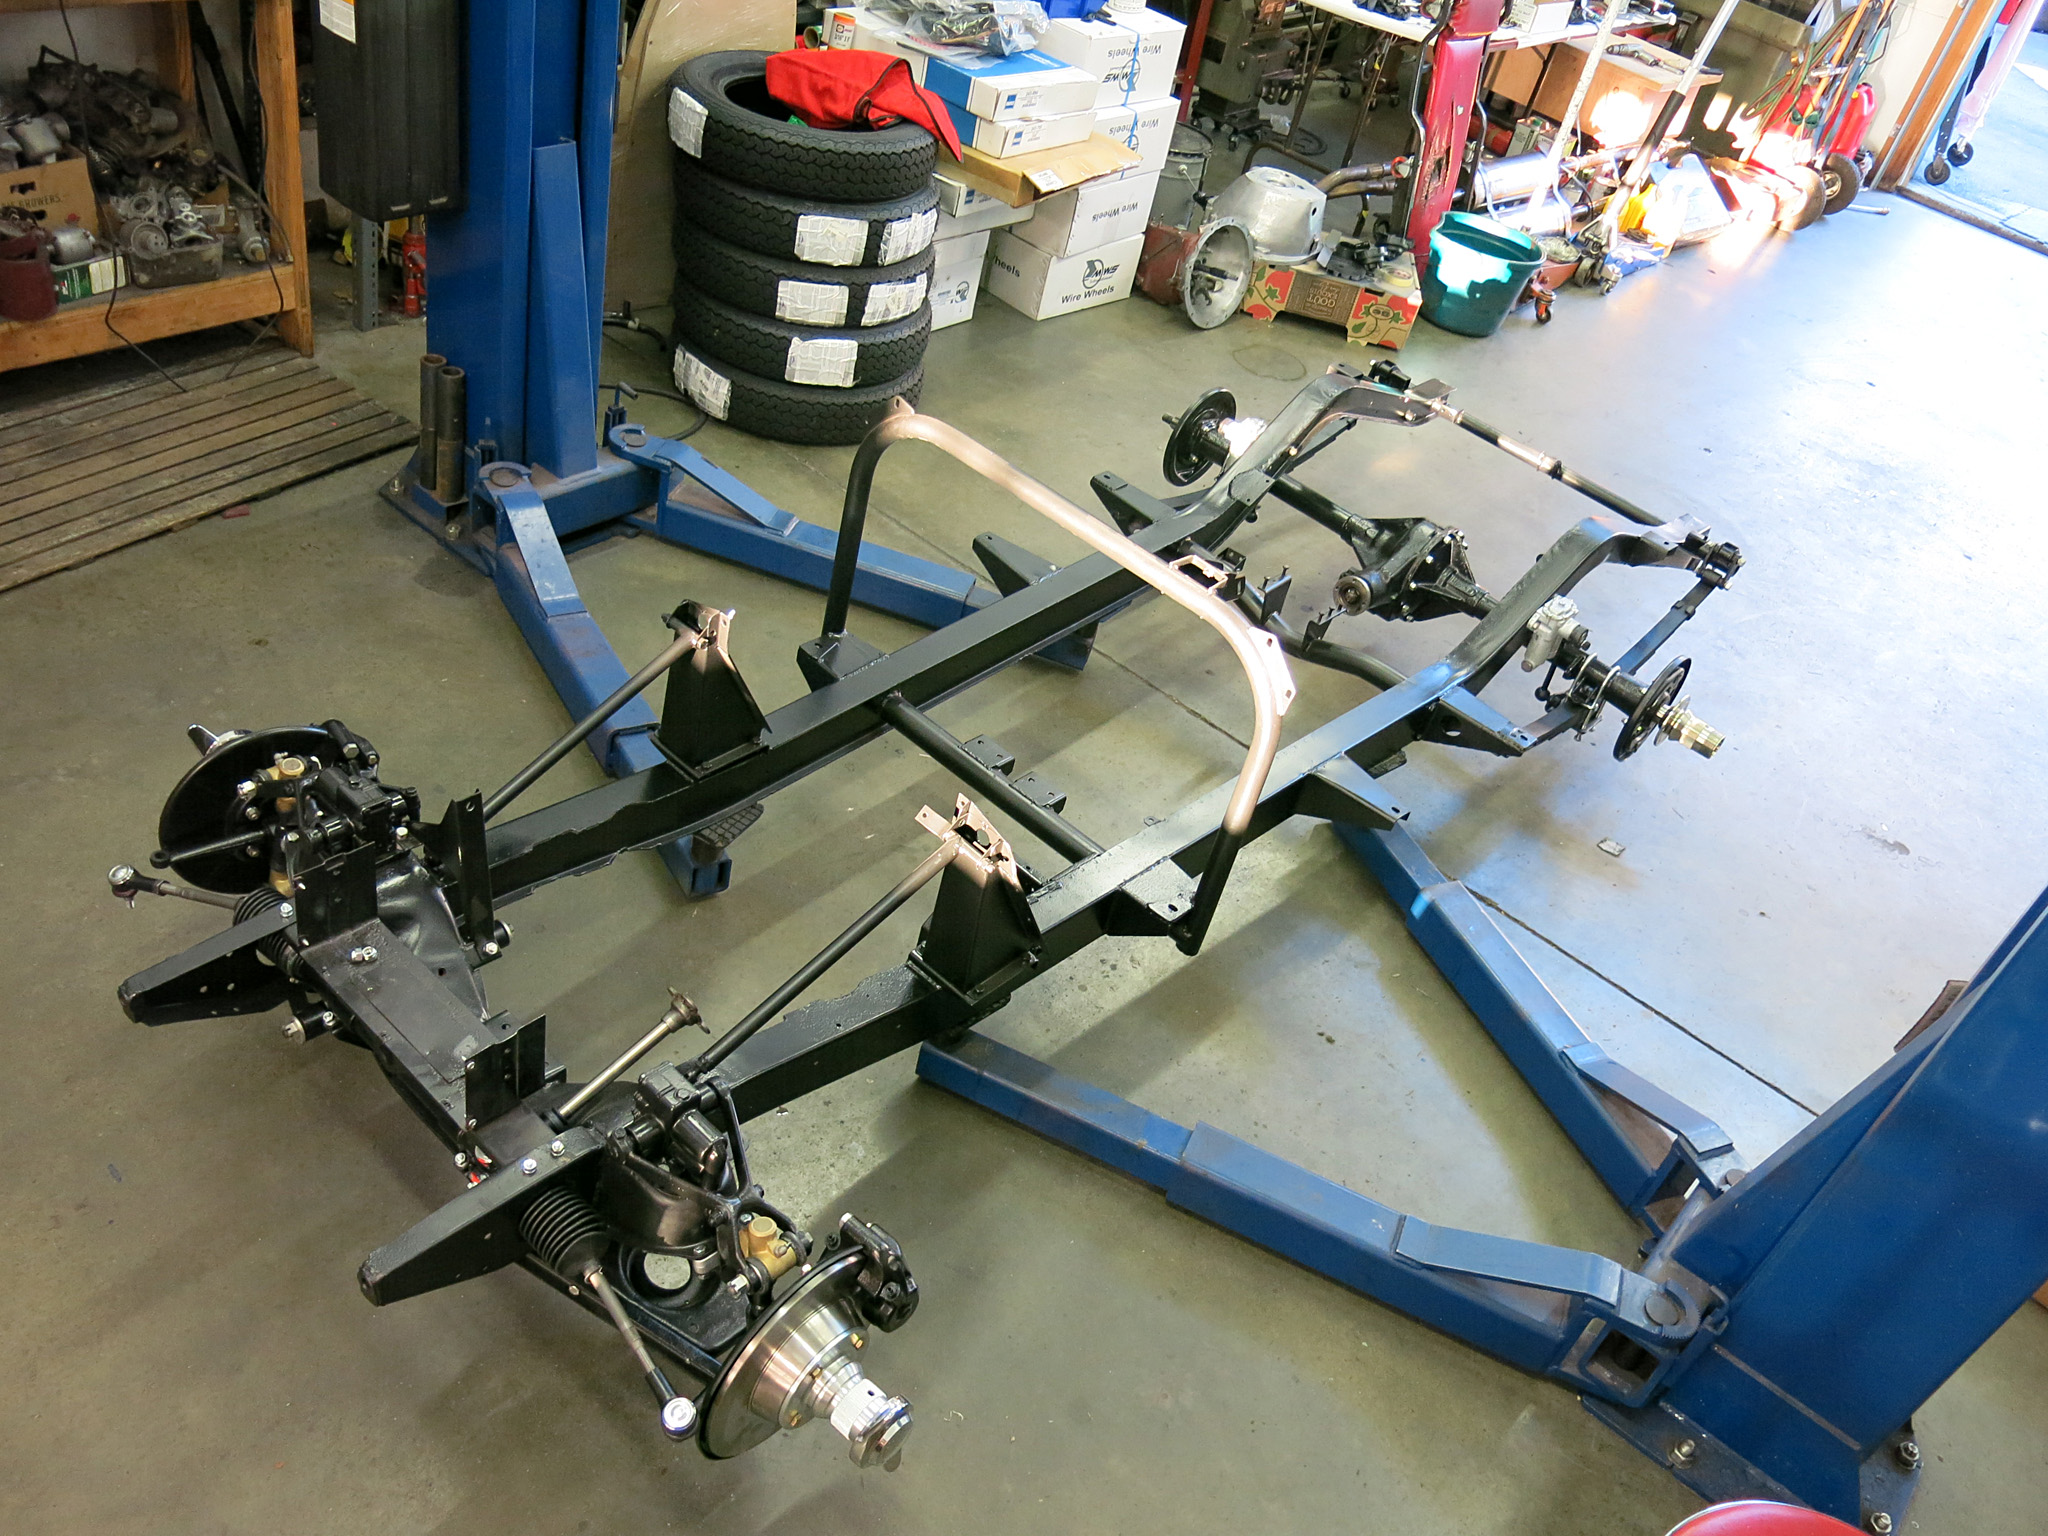
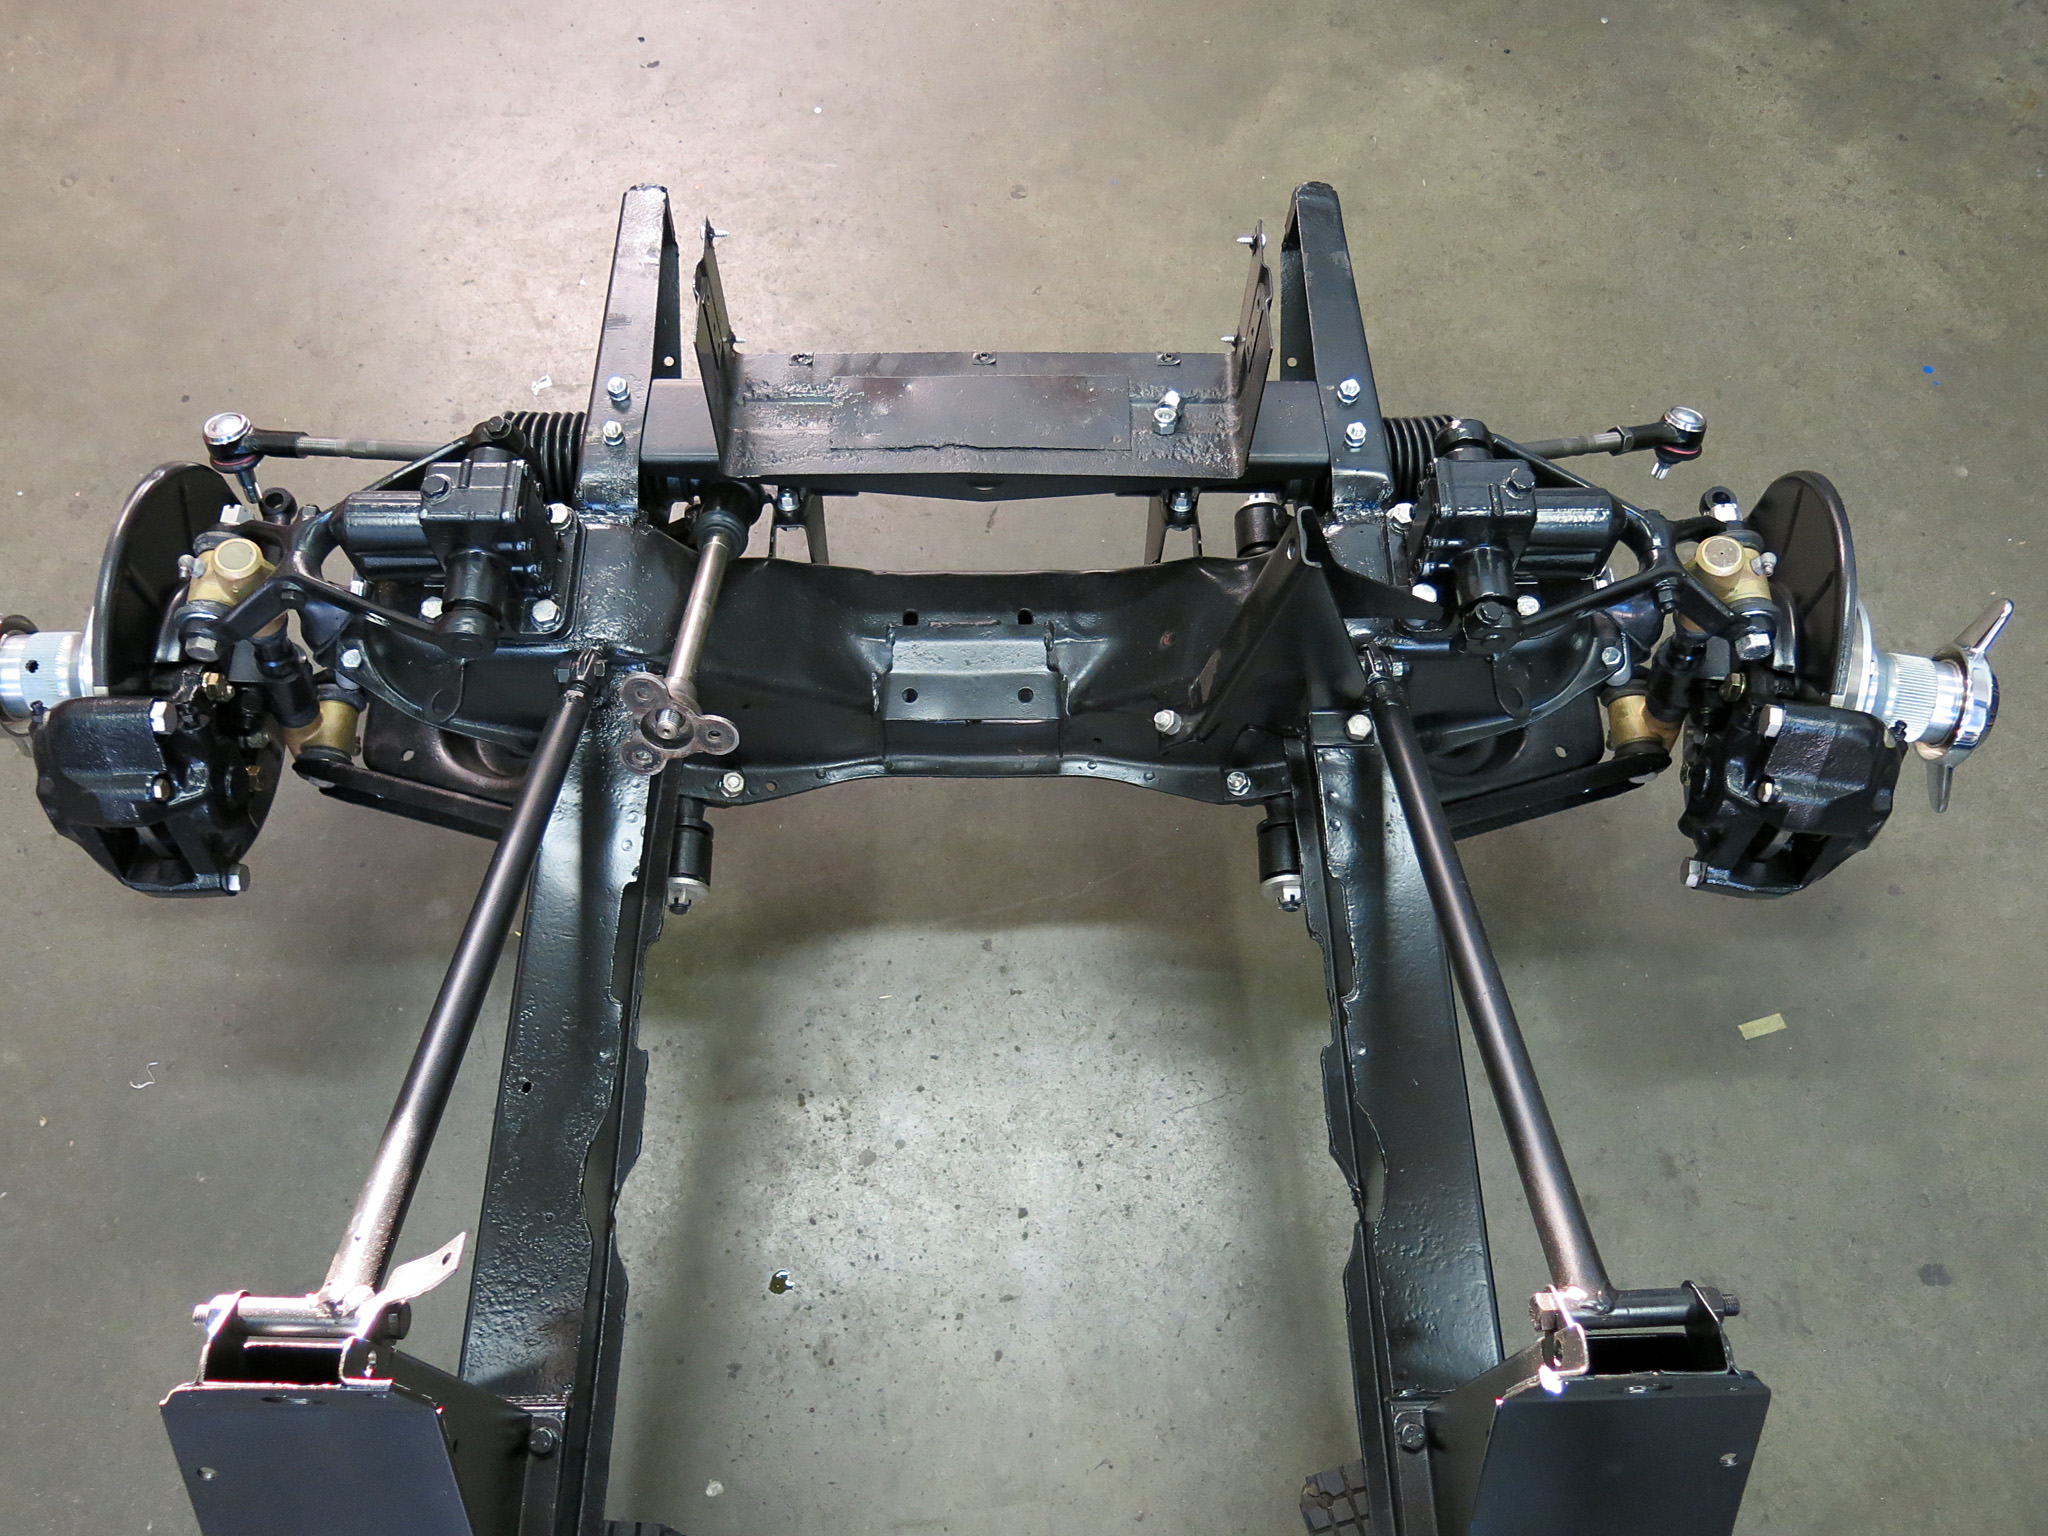
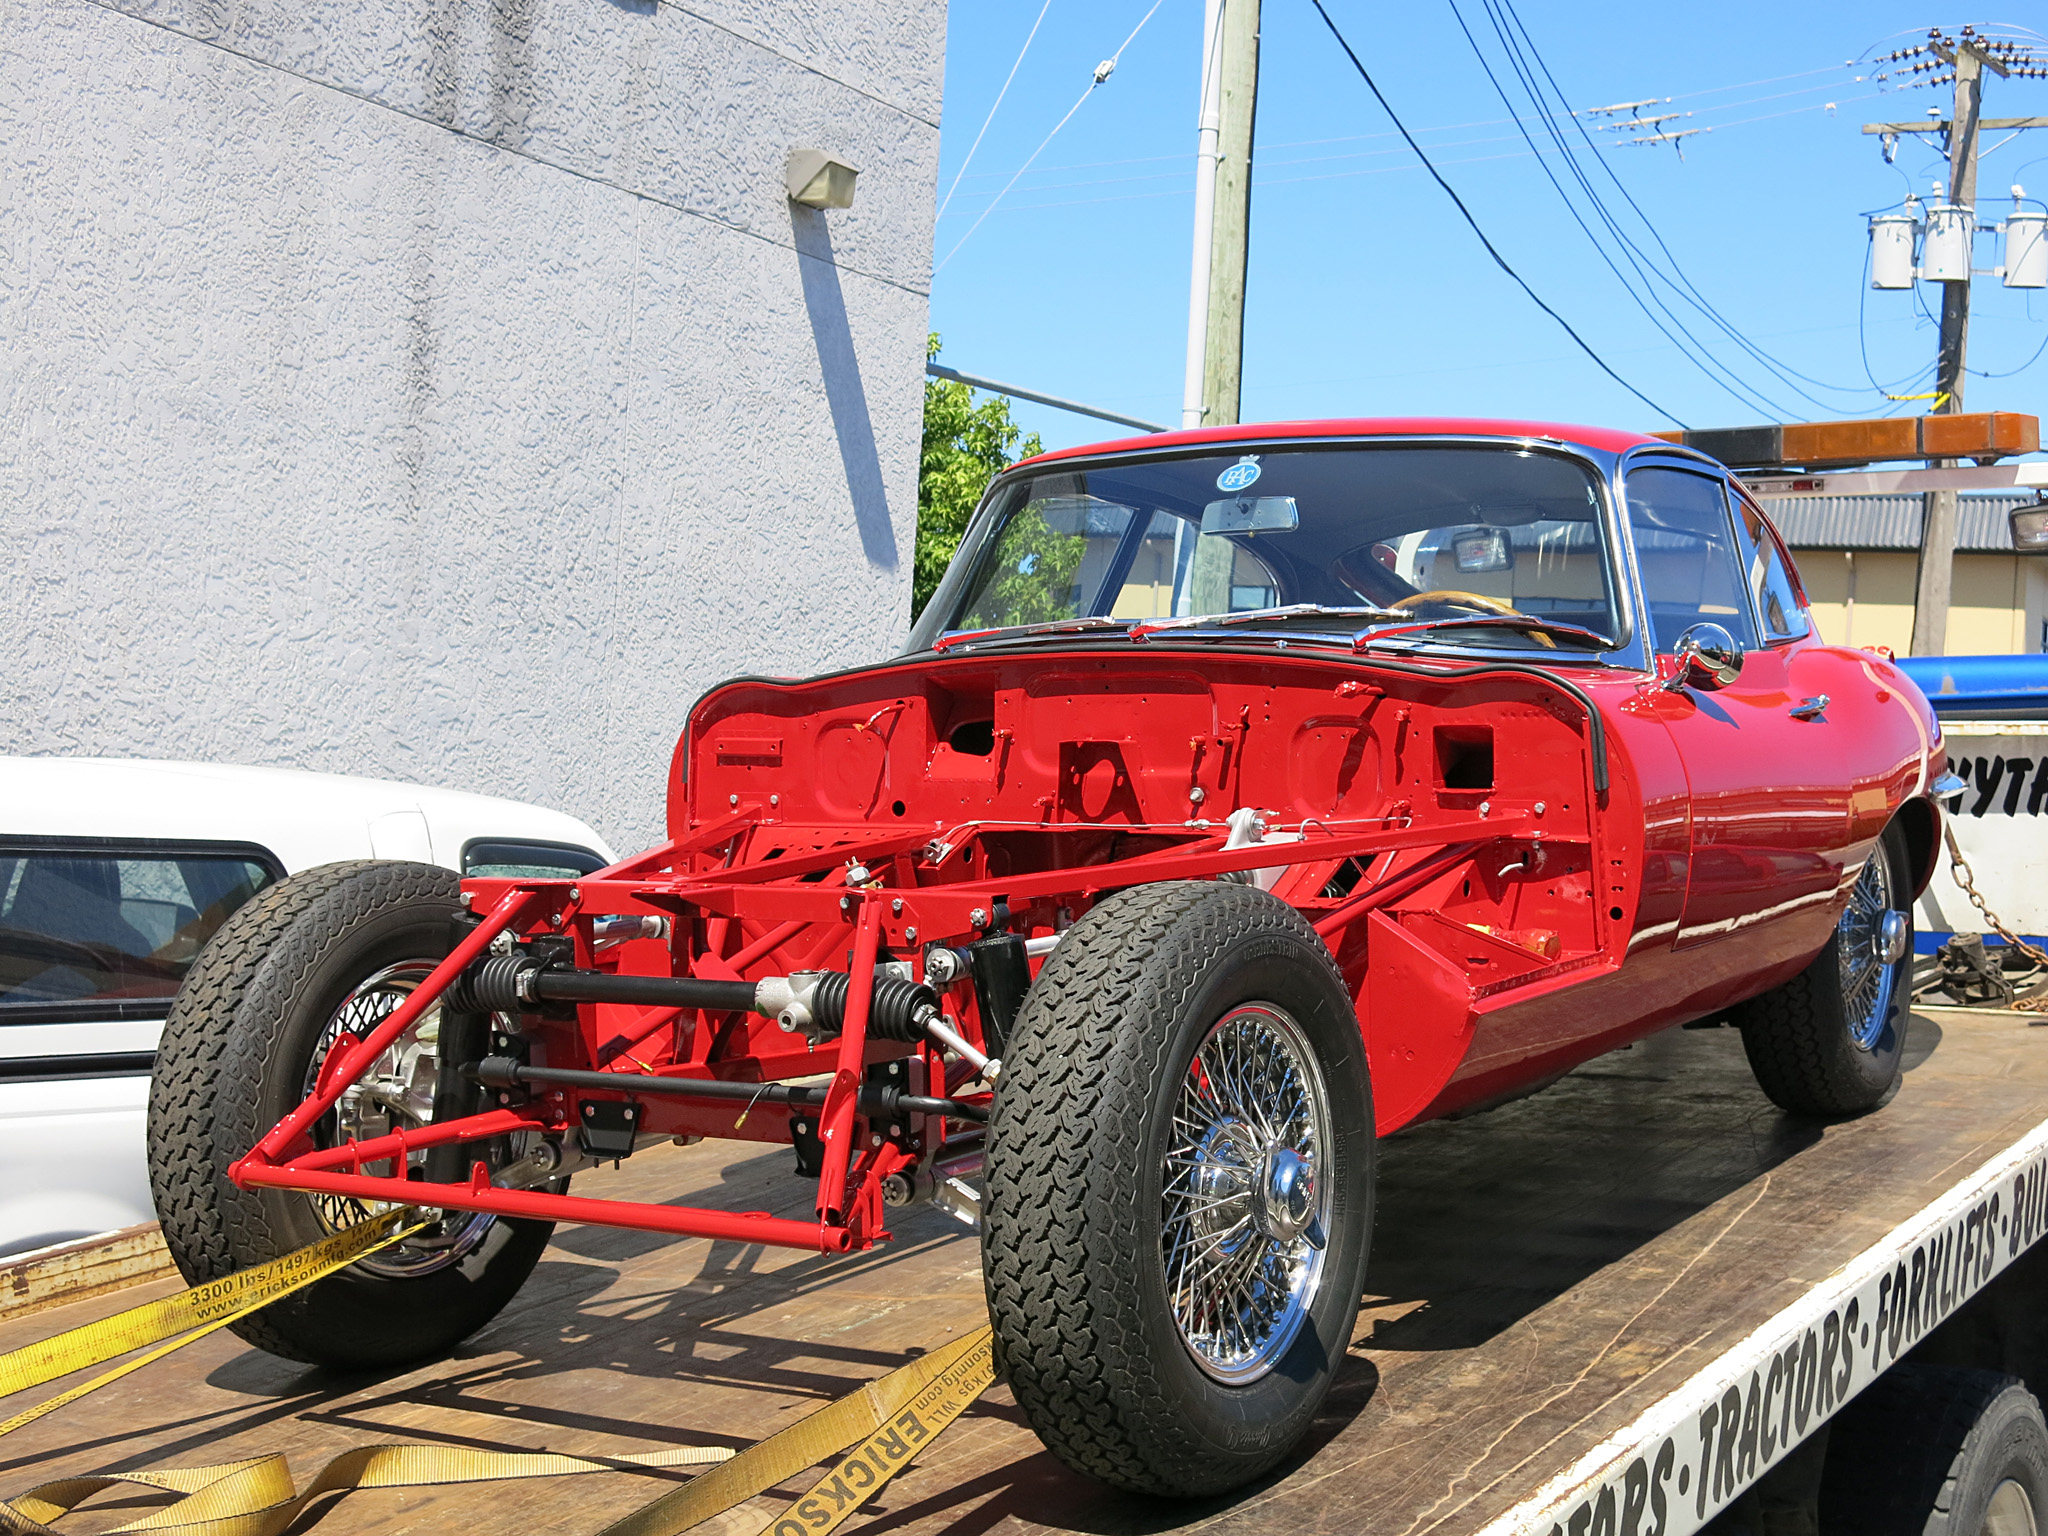
With the suspension now completely assembled, The Italian Job, our 1965 E-Type restoration, is coming along nicely and ready for phase two.
This week it was delivered back to our customer who will carry out some work and look after the car while we are away in Monterey.
The entire assemblage benefits from CAD plating and a high regard for finished fit.
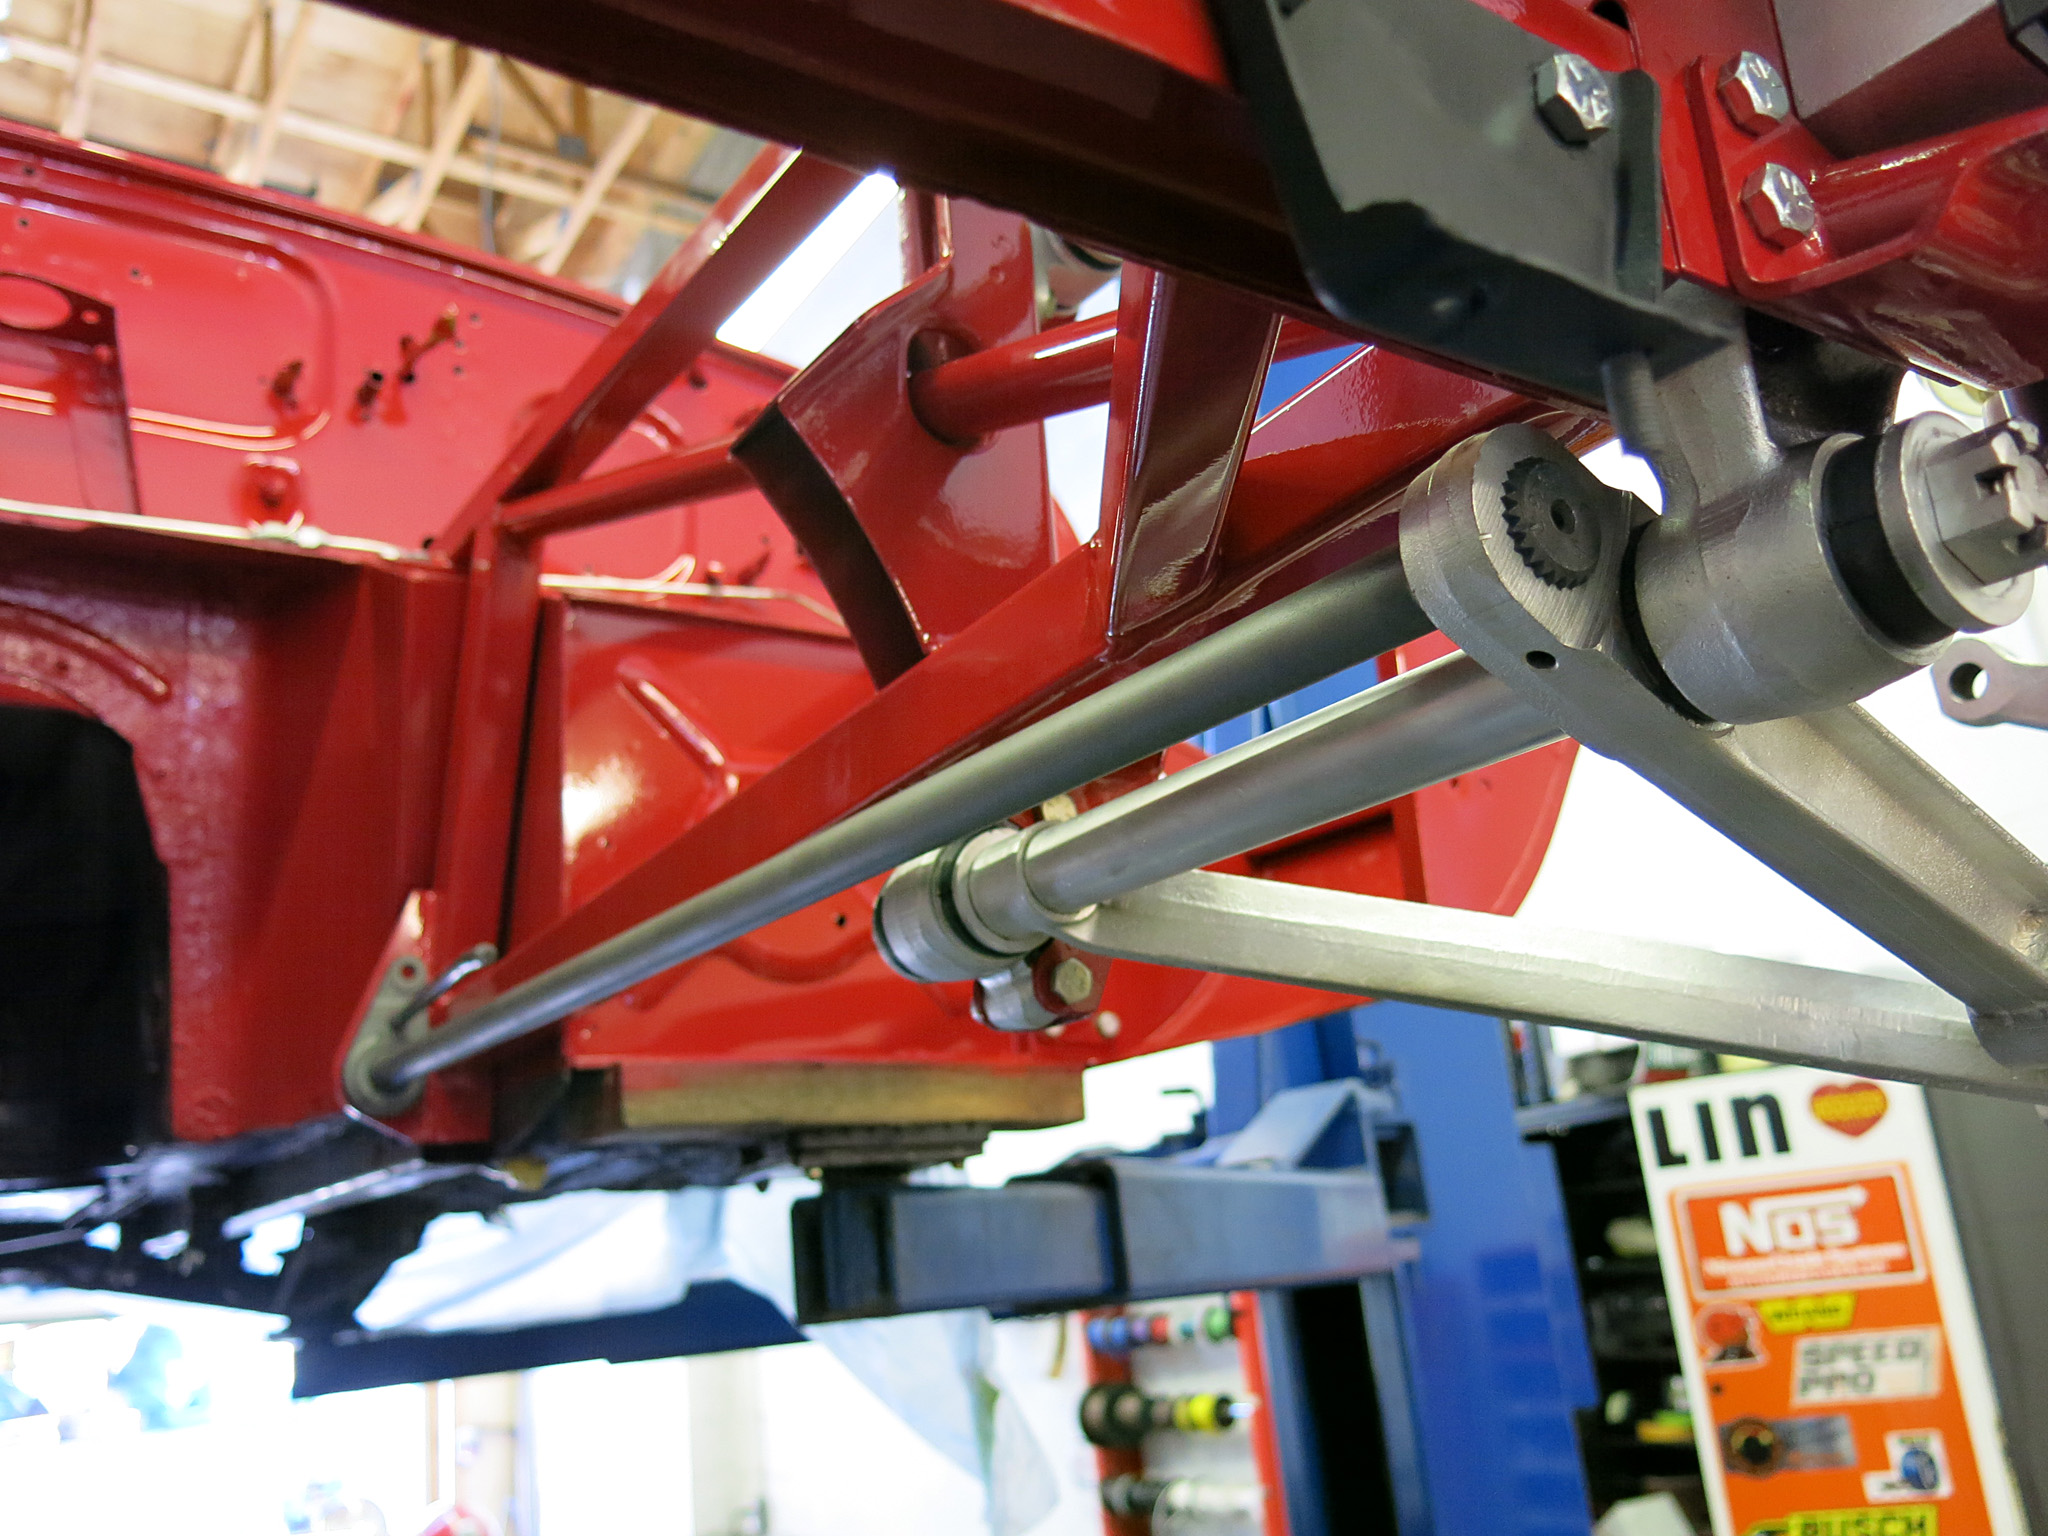
LH Torsion bar is installed to its factory original position.
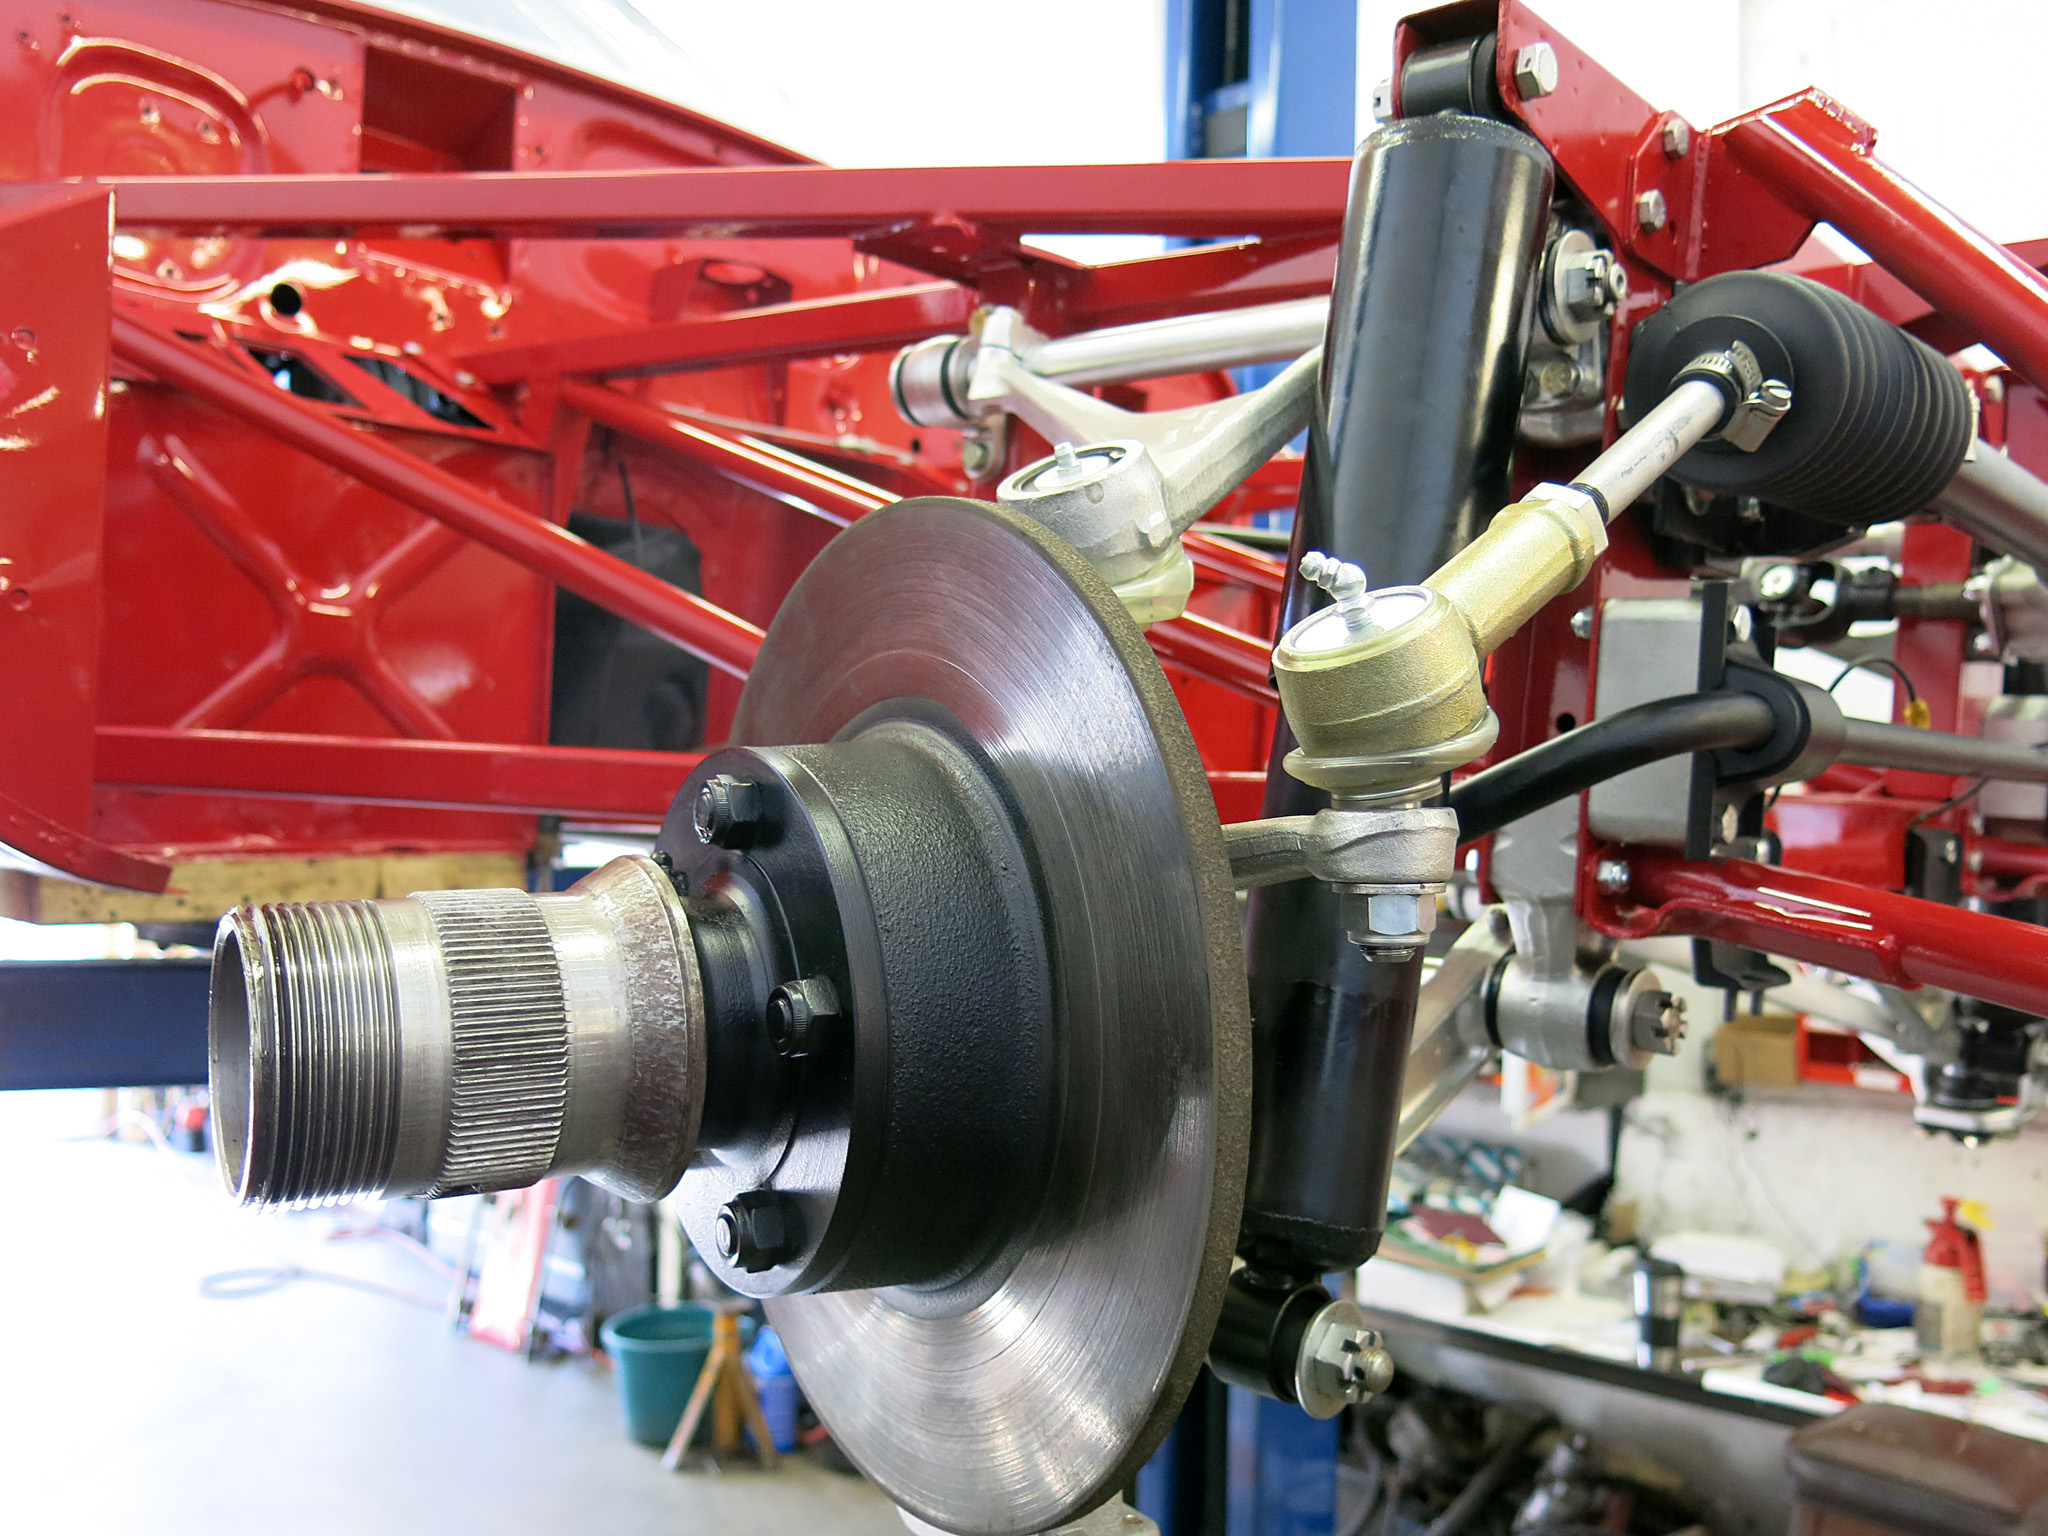
Hubs are on and the torsion bar energy is forcing the suspension towards earth.
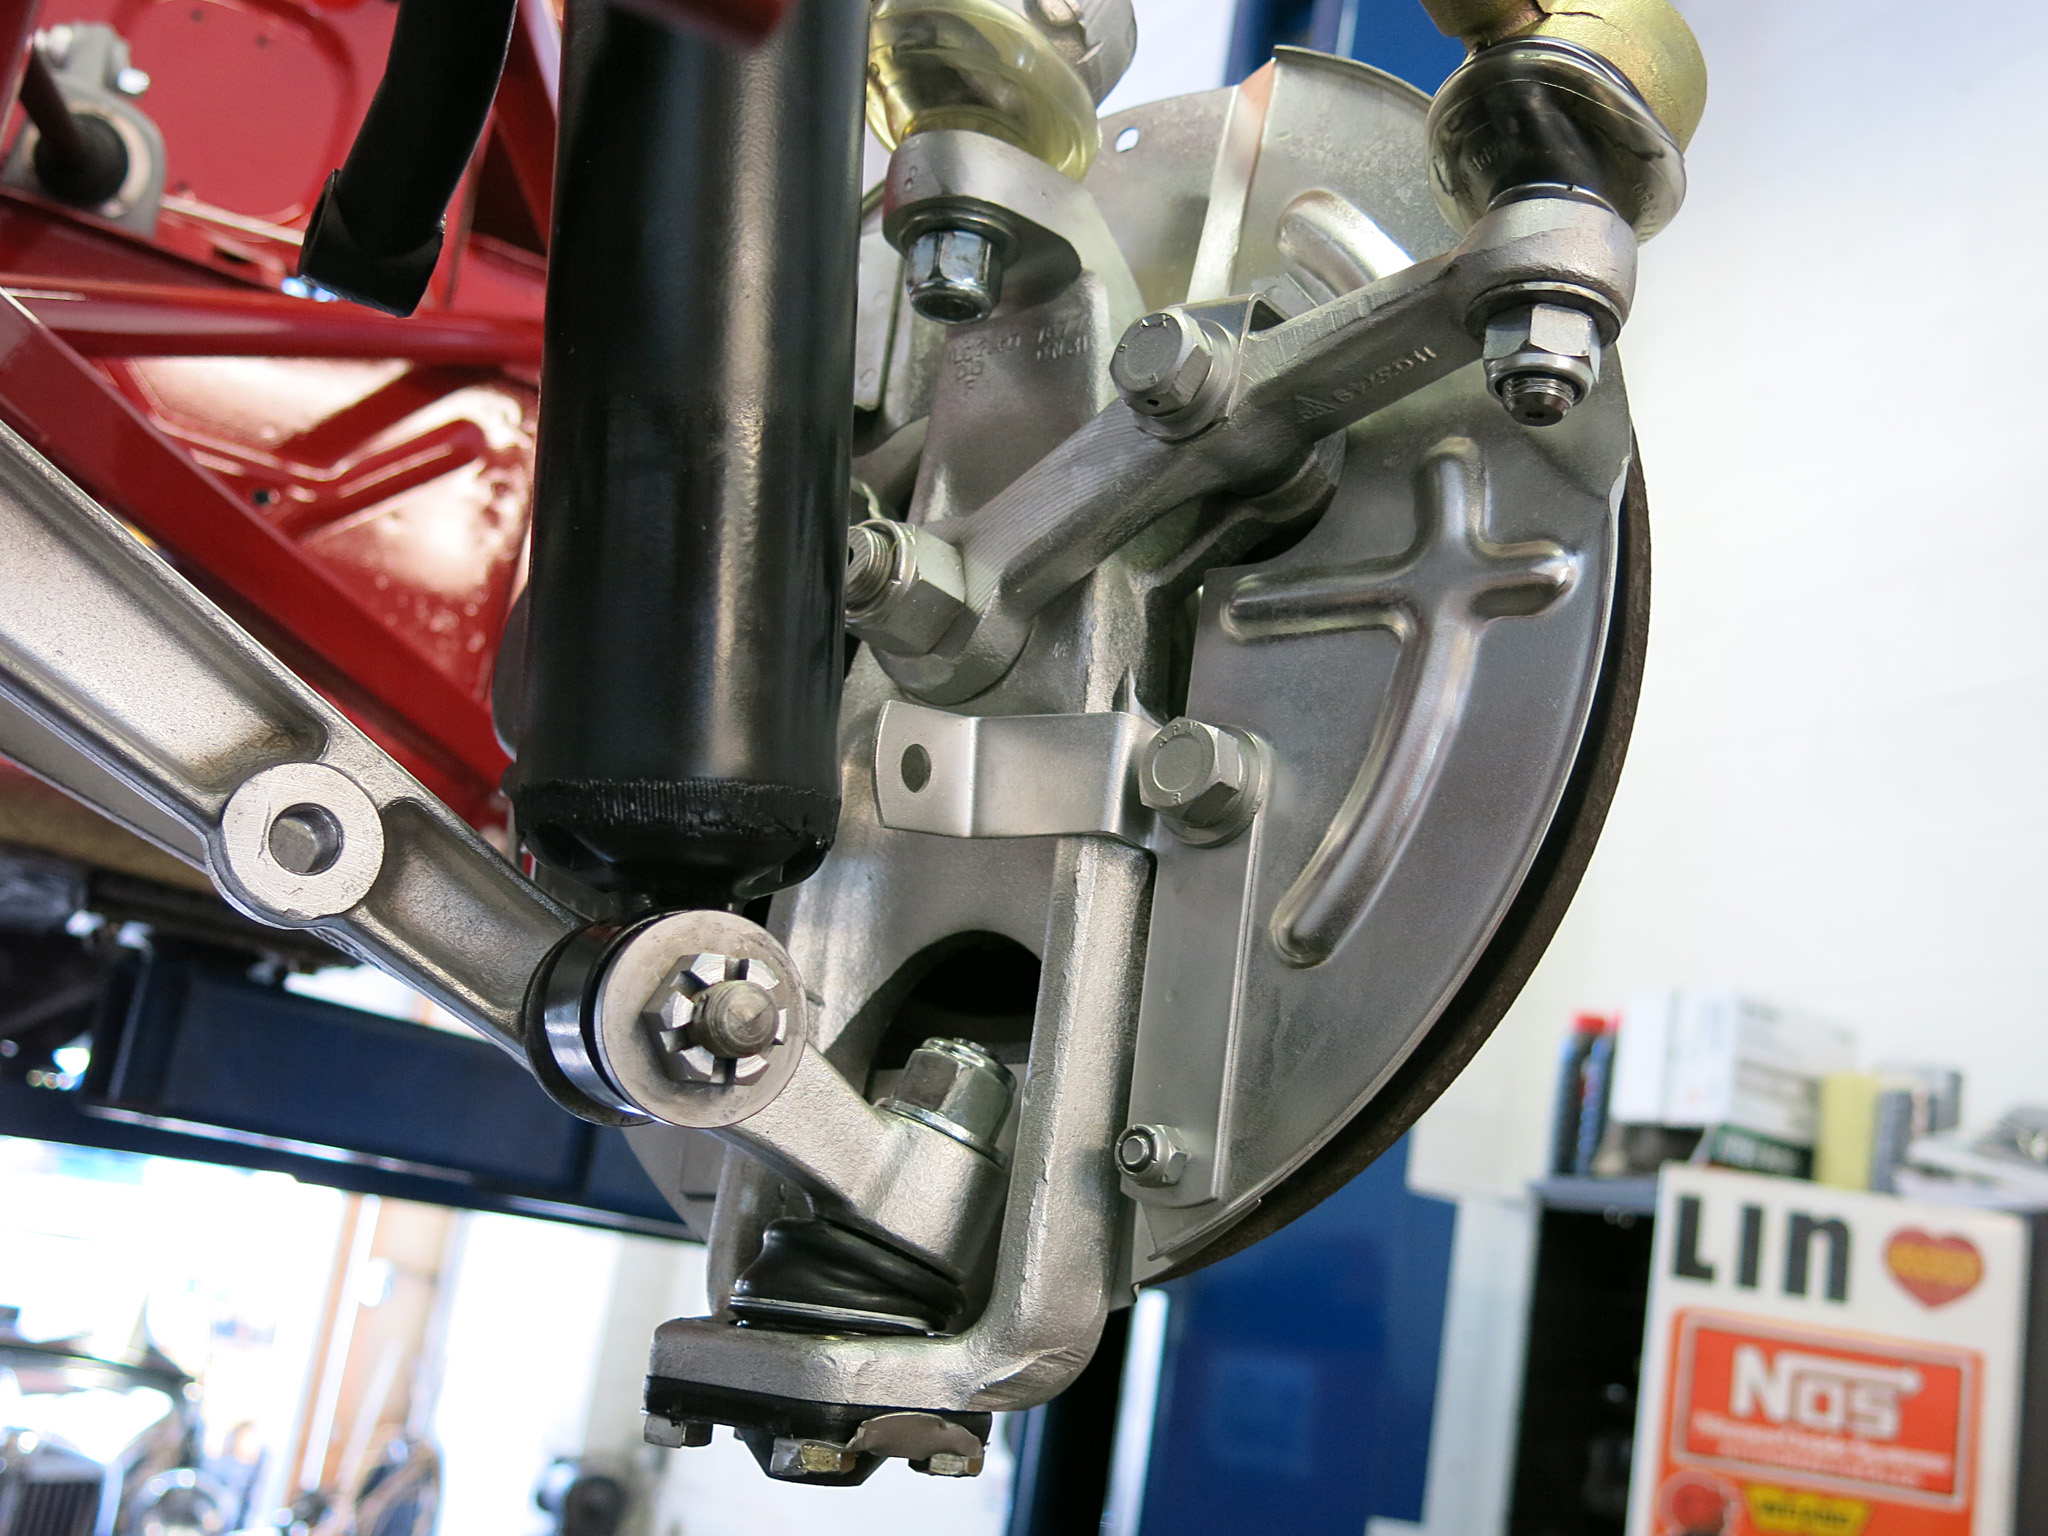
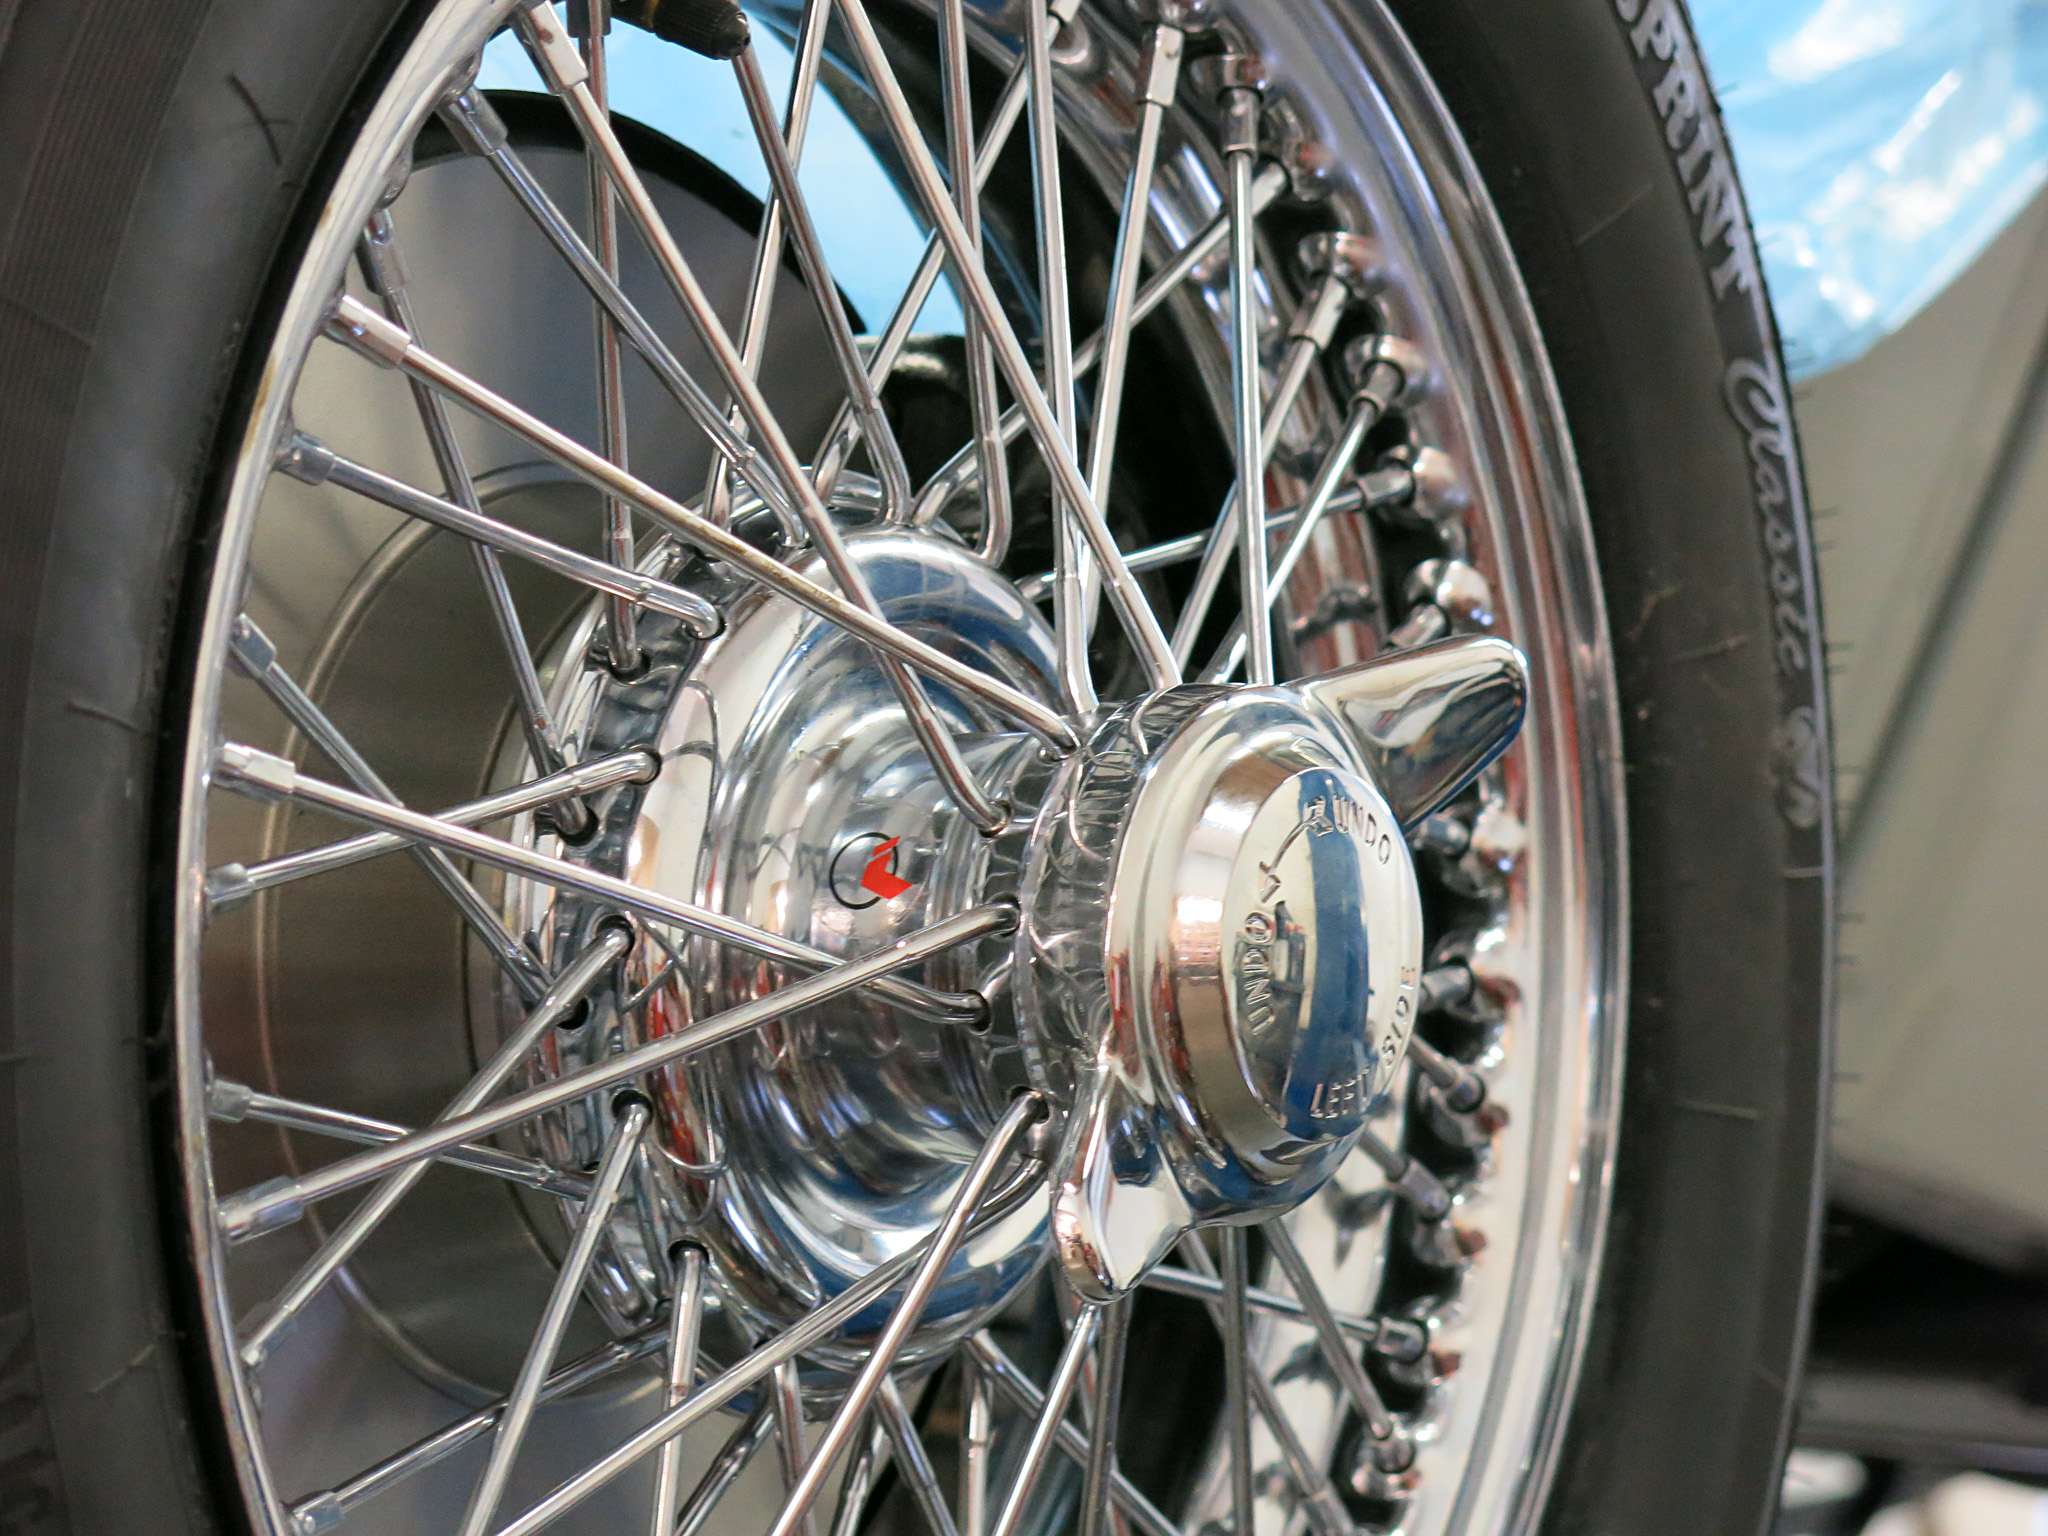
Fully plated stub axle carrier with matching guards, bolts, nyloc nuts and locking nuts look absolutely fabulous.
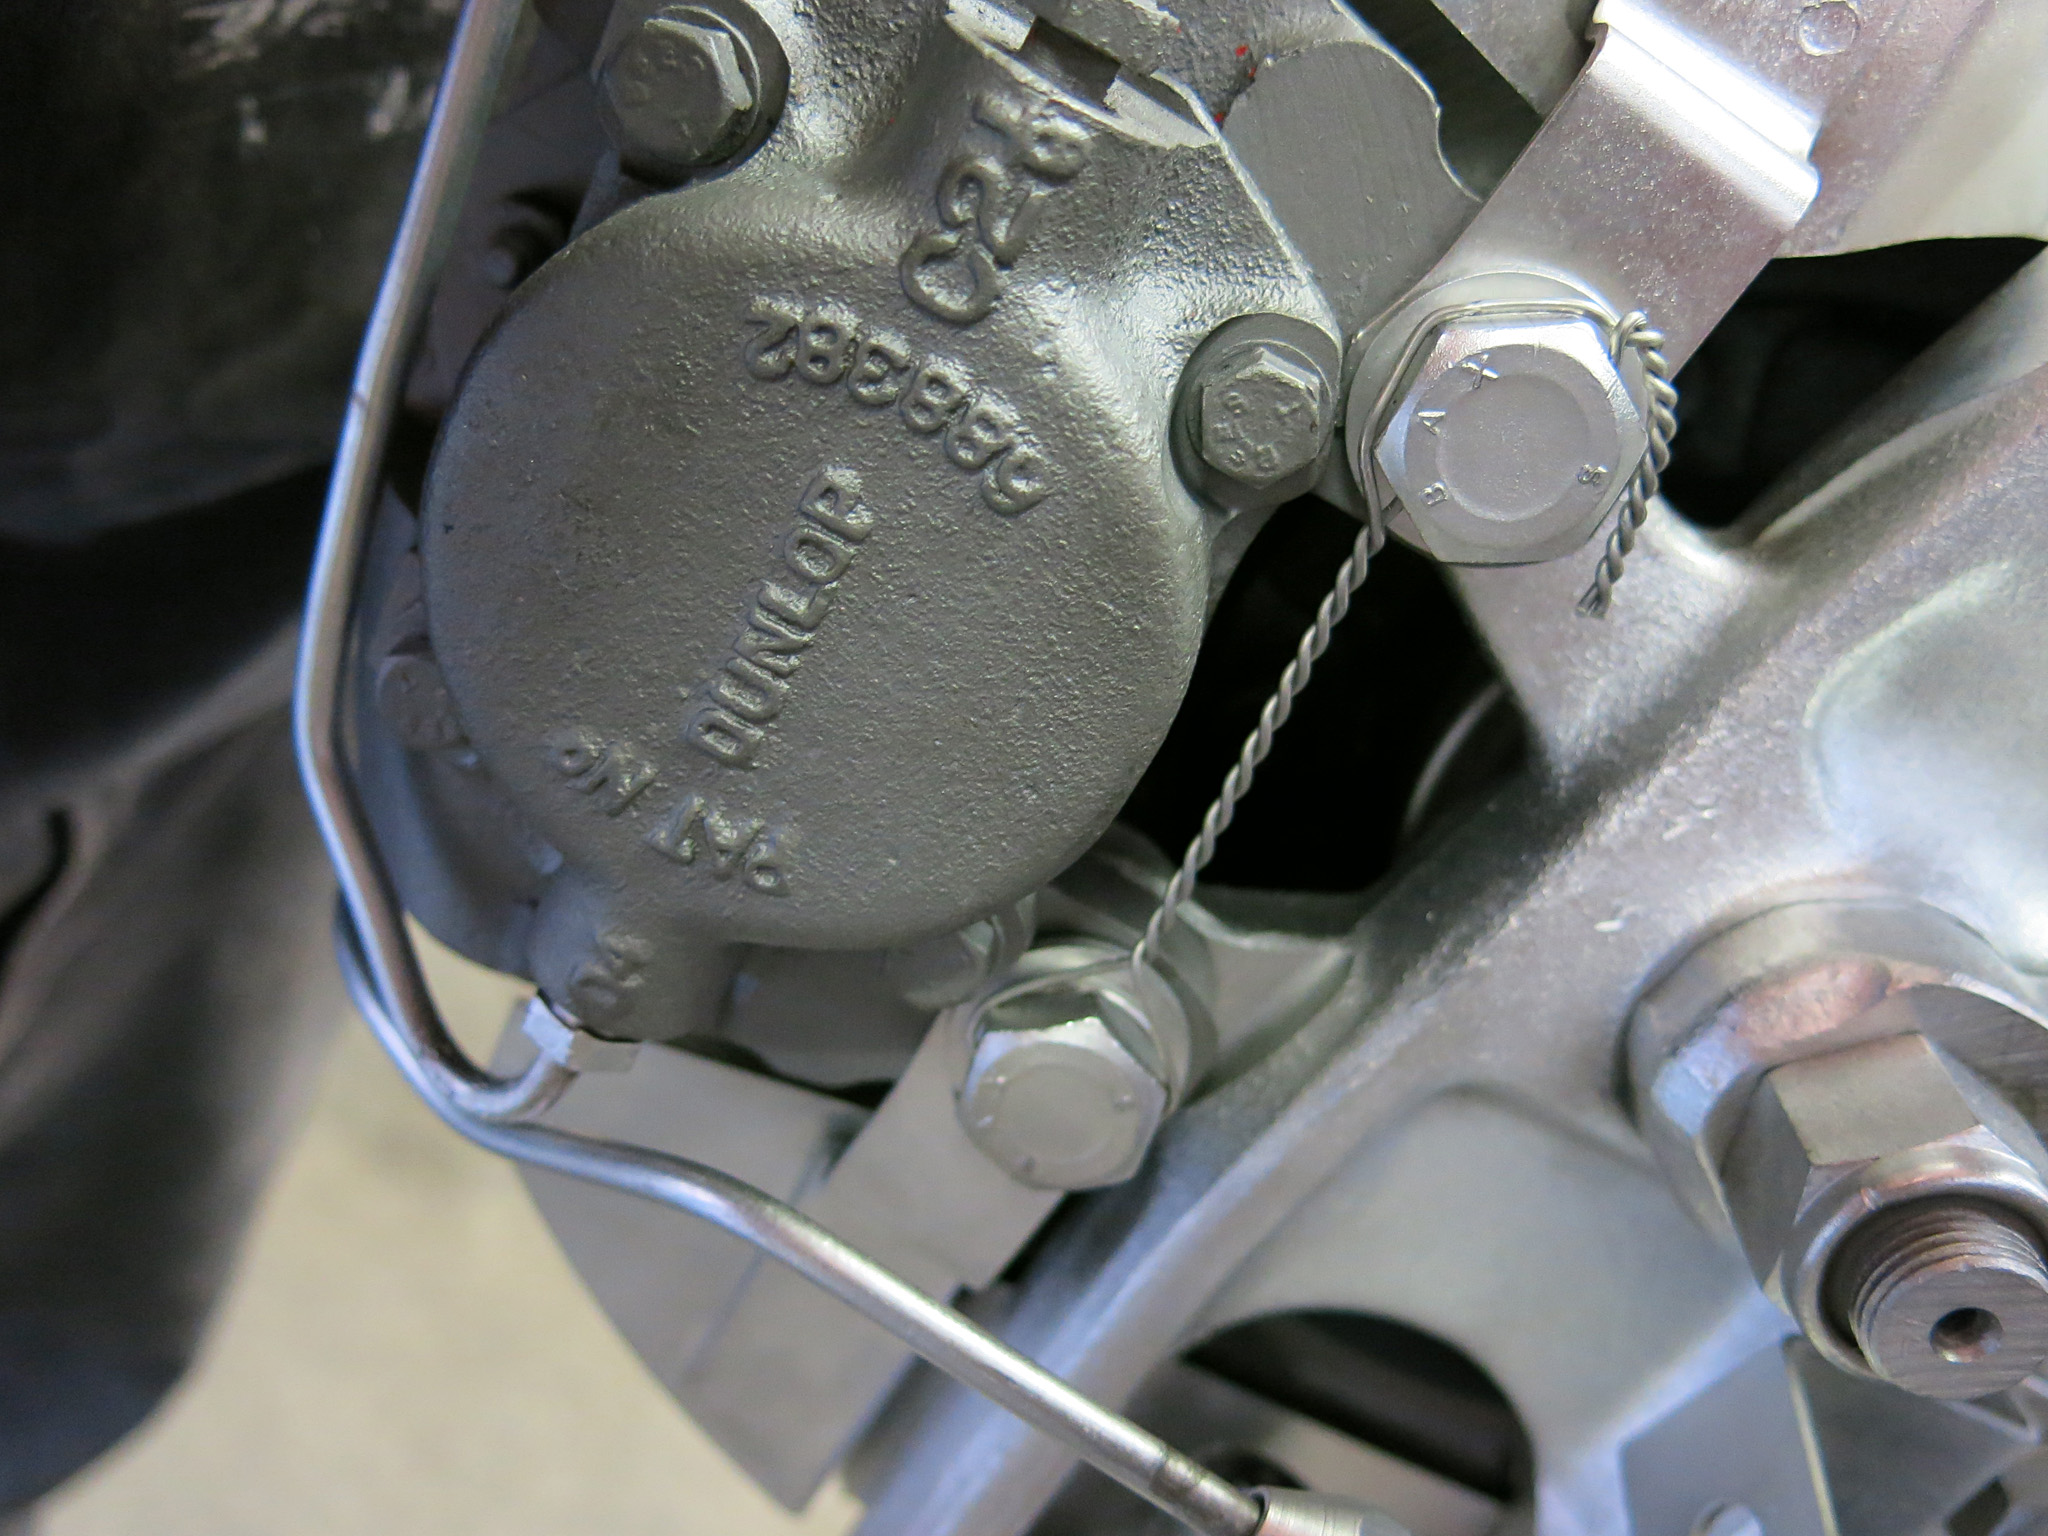
Twist Pliers and Lock Wire complete the look.
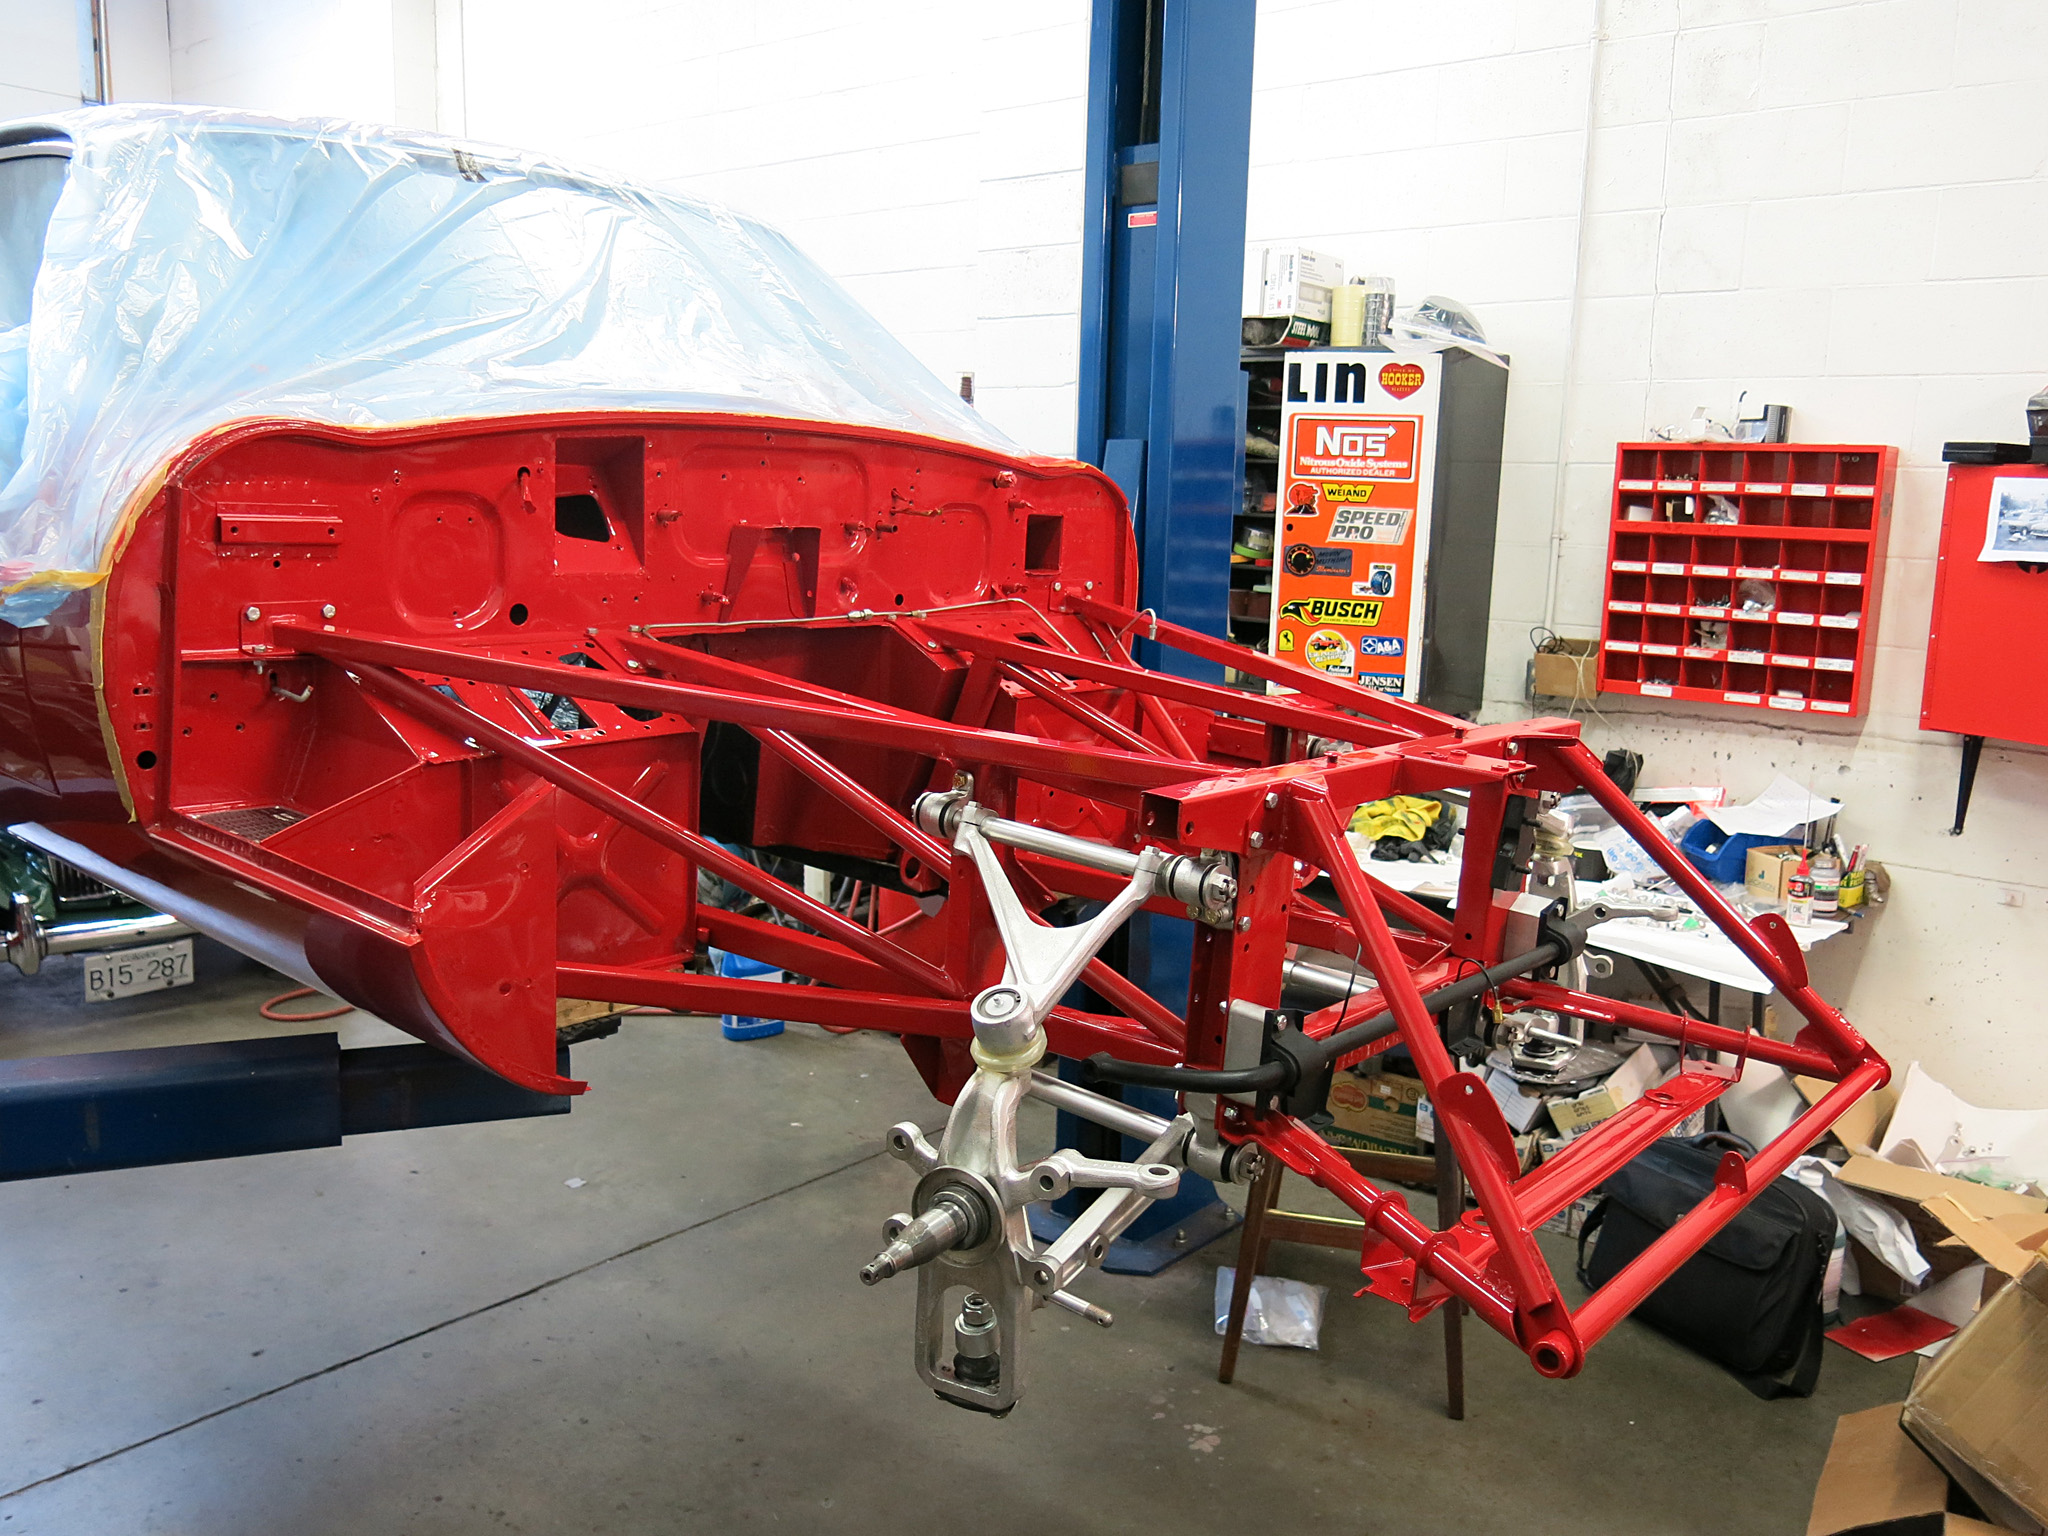
Worked part time this week on The Italian Job, our 1965 Jaguar E-Type restoration. Careful and correct assembly of the engine Reynolds 531 sub frames and pressed steel picture frame were completed, then work could begin on the suspension and steering rack. The project is now complete enough to pass through the wiring harness, attach the steering column and attach the wheel hubs to have a rolling restoration!
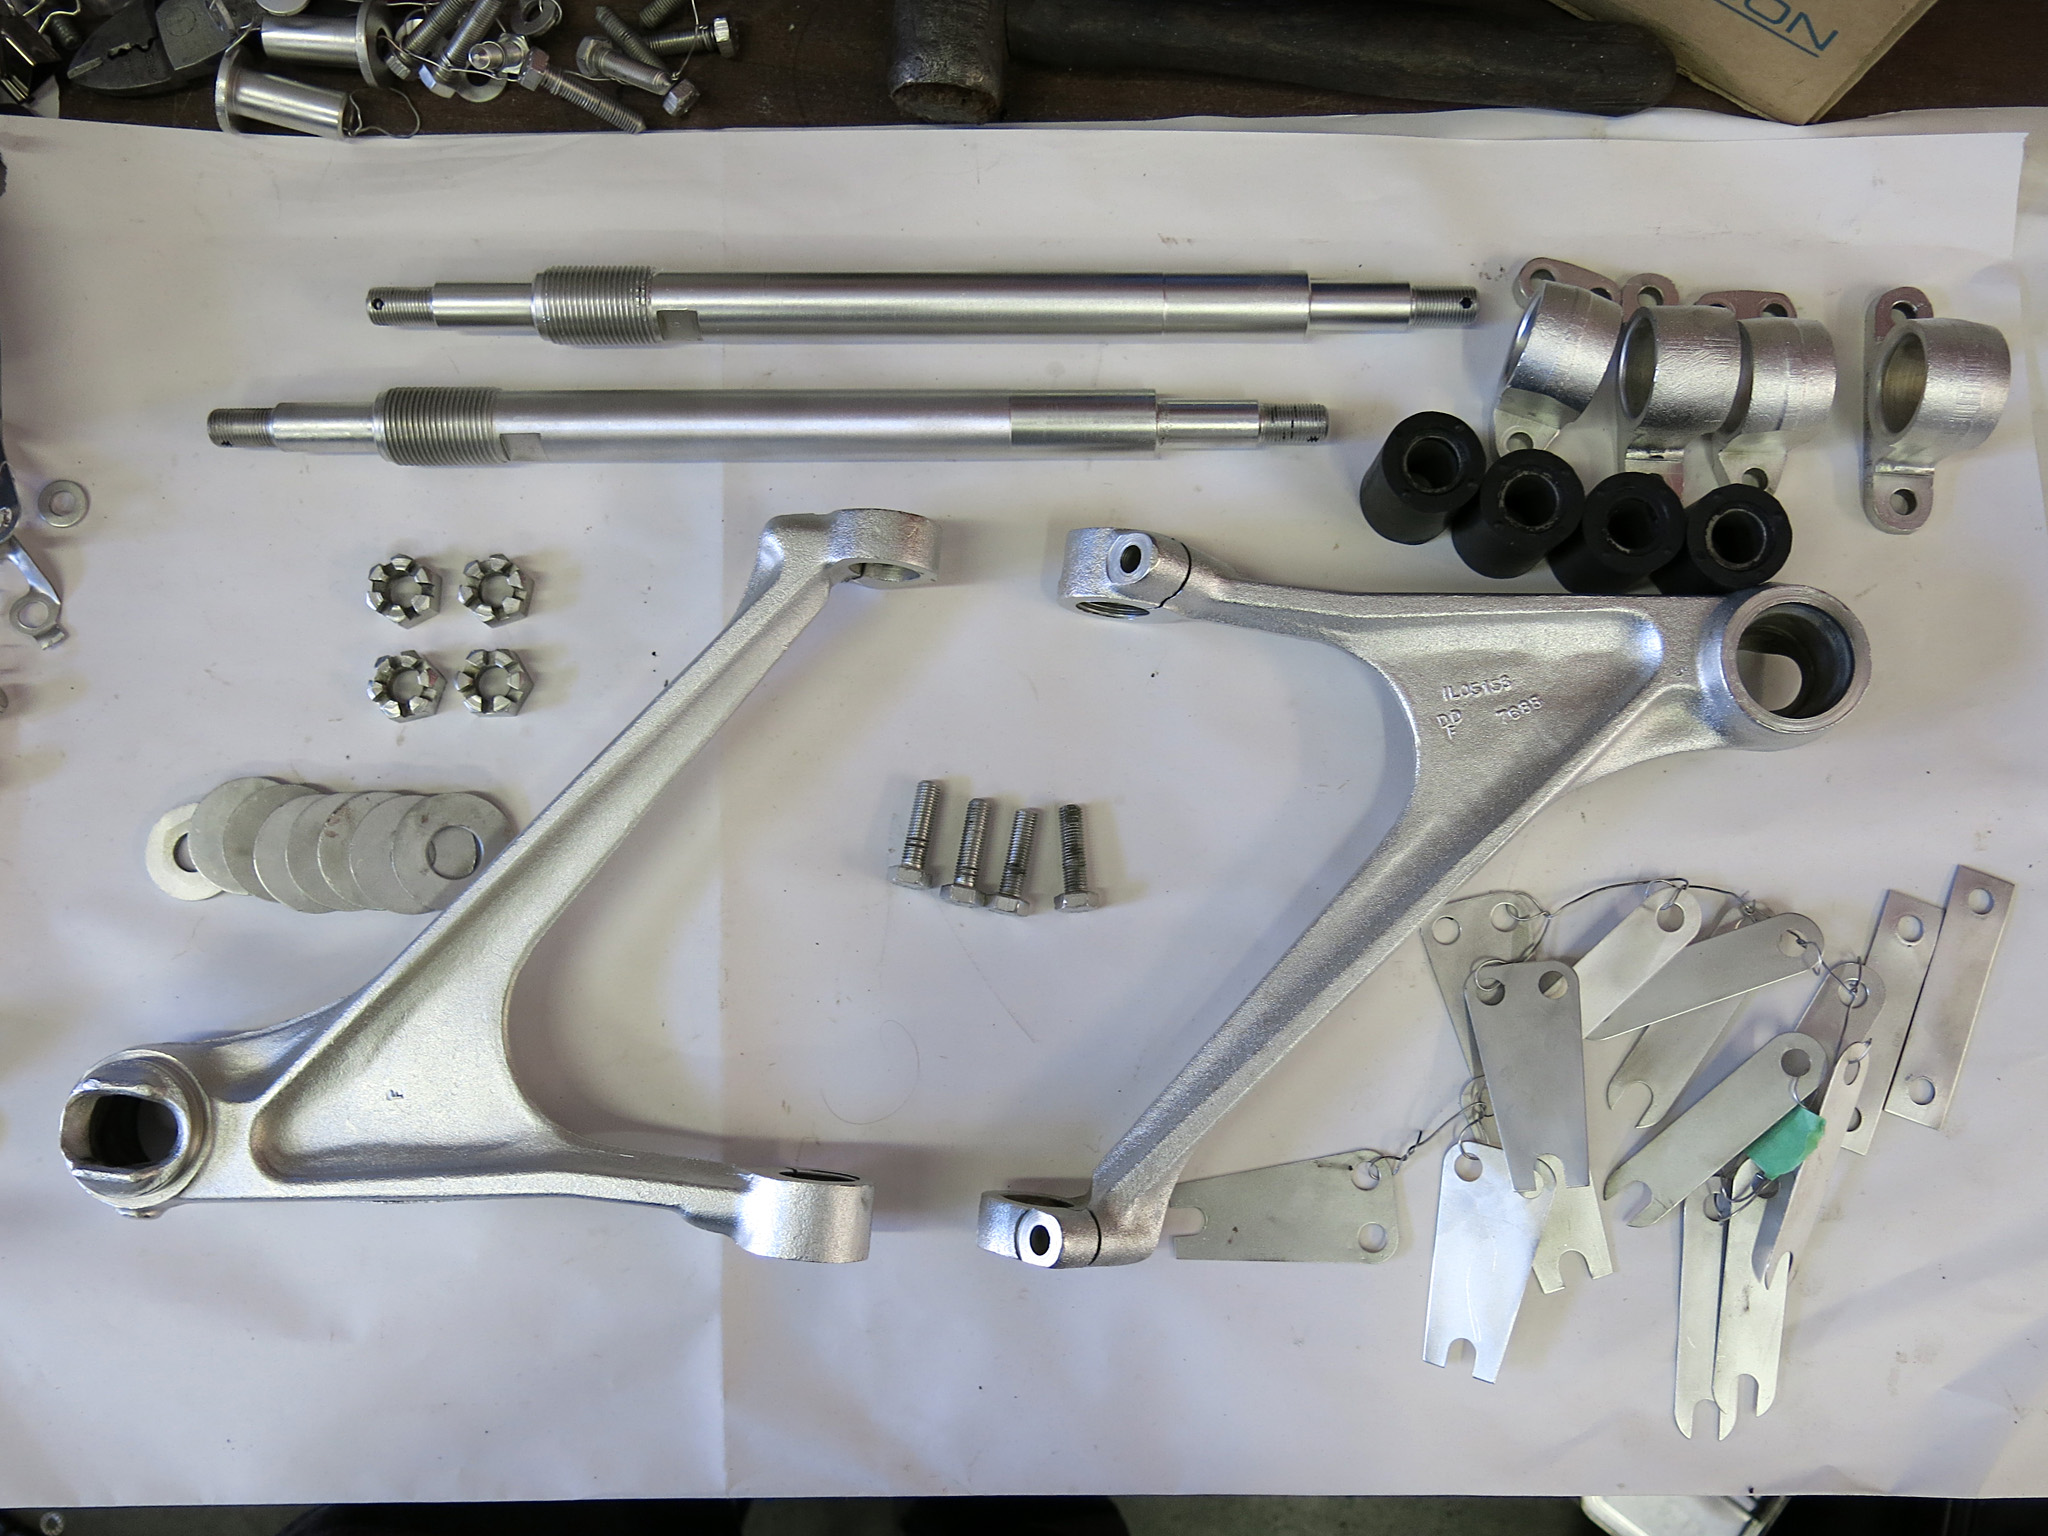
Plated pieces for the upper control arm were restored by Electroshine Metal Refinshers Ltd. Their fine work reveals all the intricate machining of these parts. These were CAD plated without ACID pickling to avoid embrittlement. Original finish from 1965 was bright silver zinc .
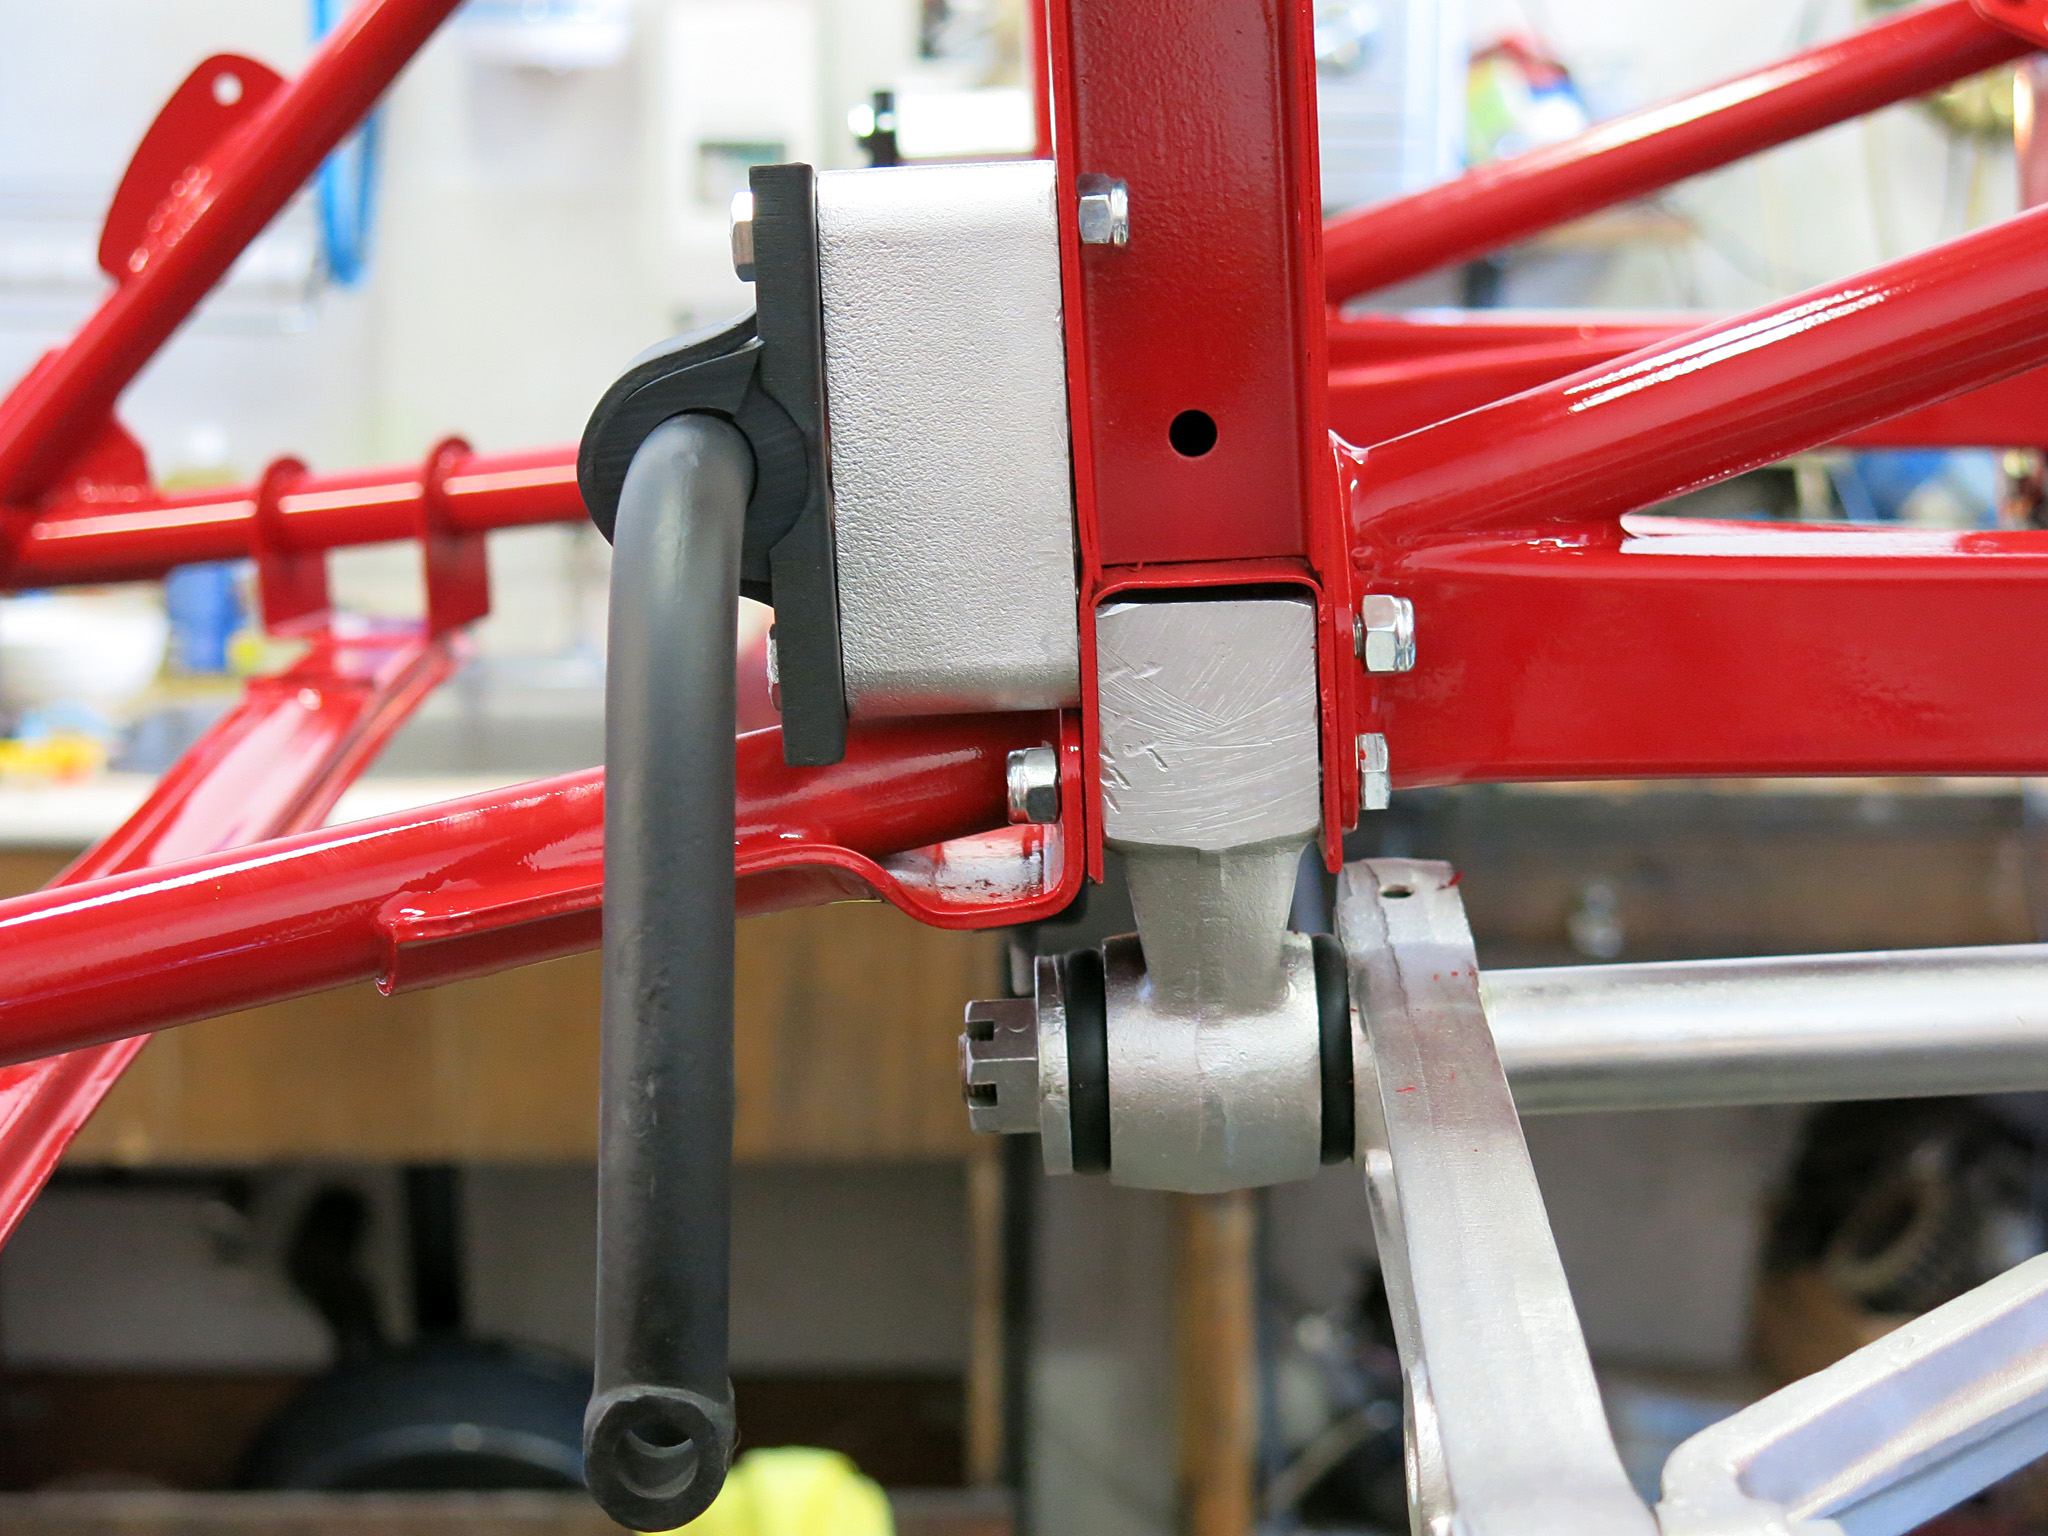
This image depicts the intricate sandwich around the picture frame with the long 4-inch sway bar bolts passing through 5 components.
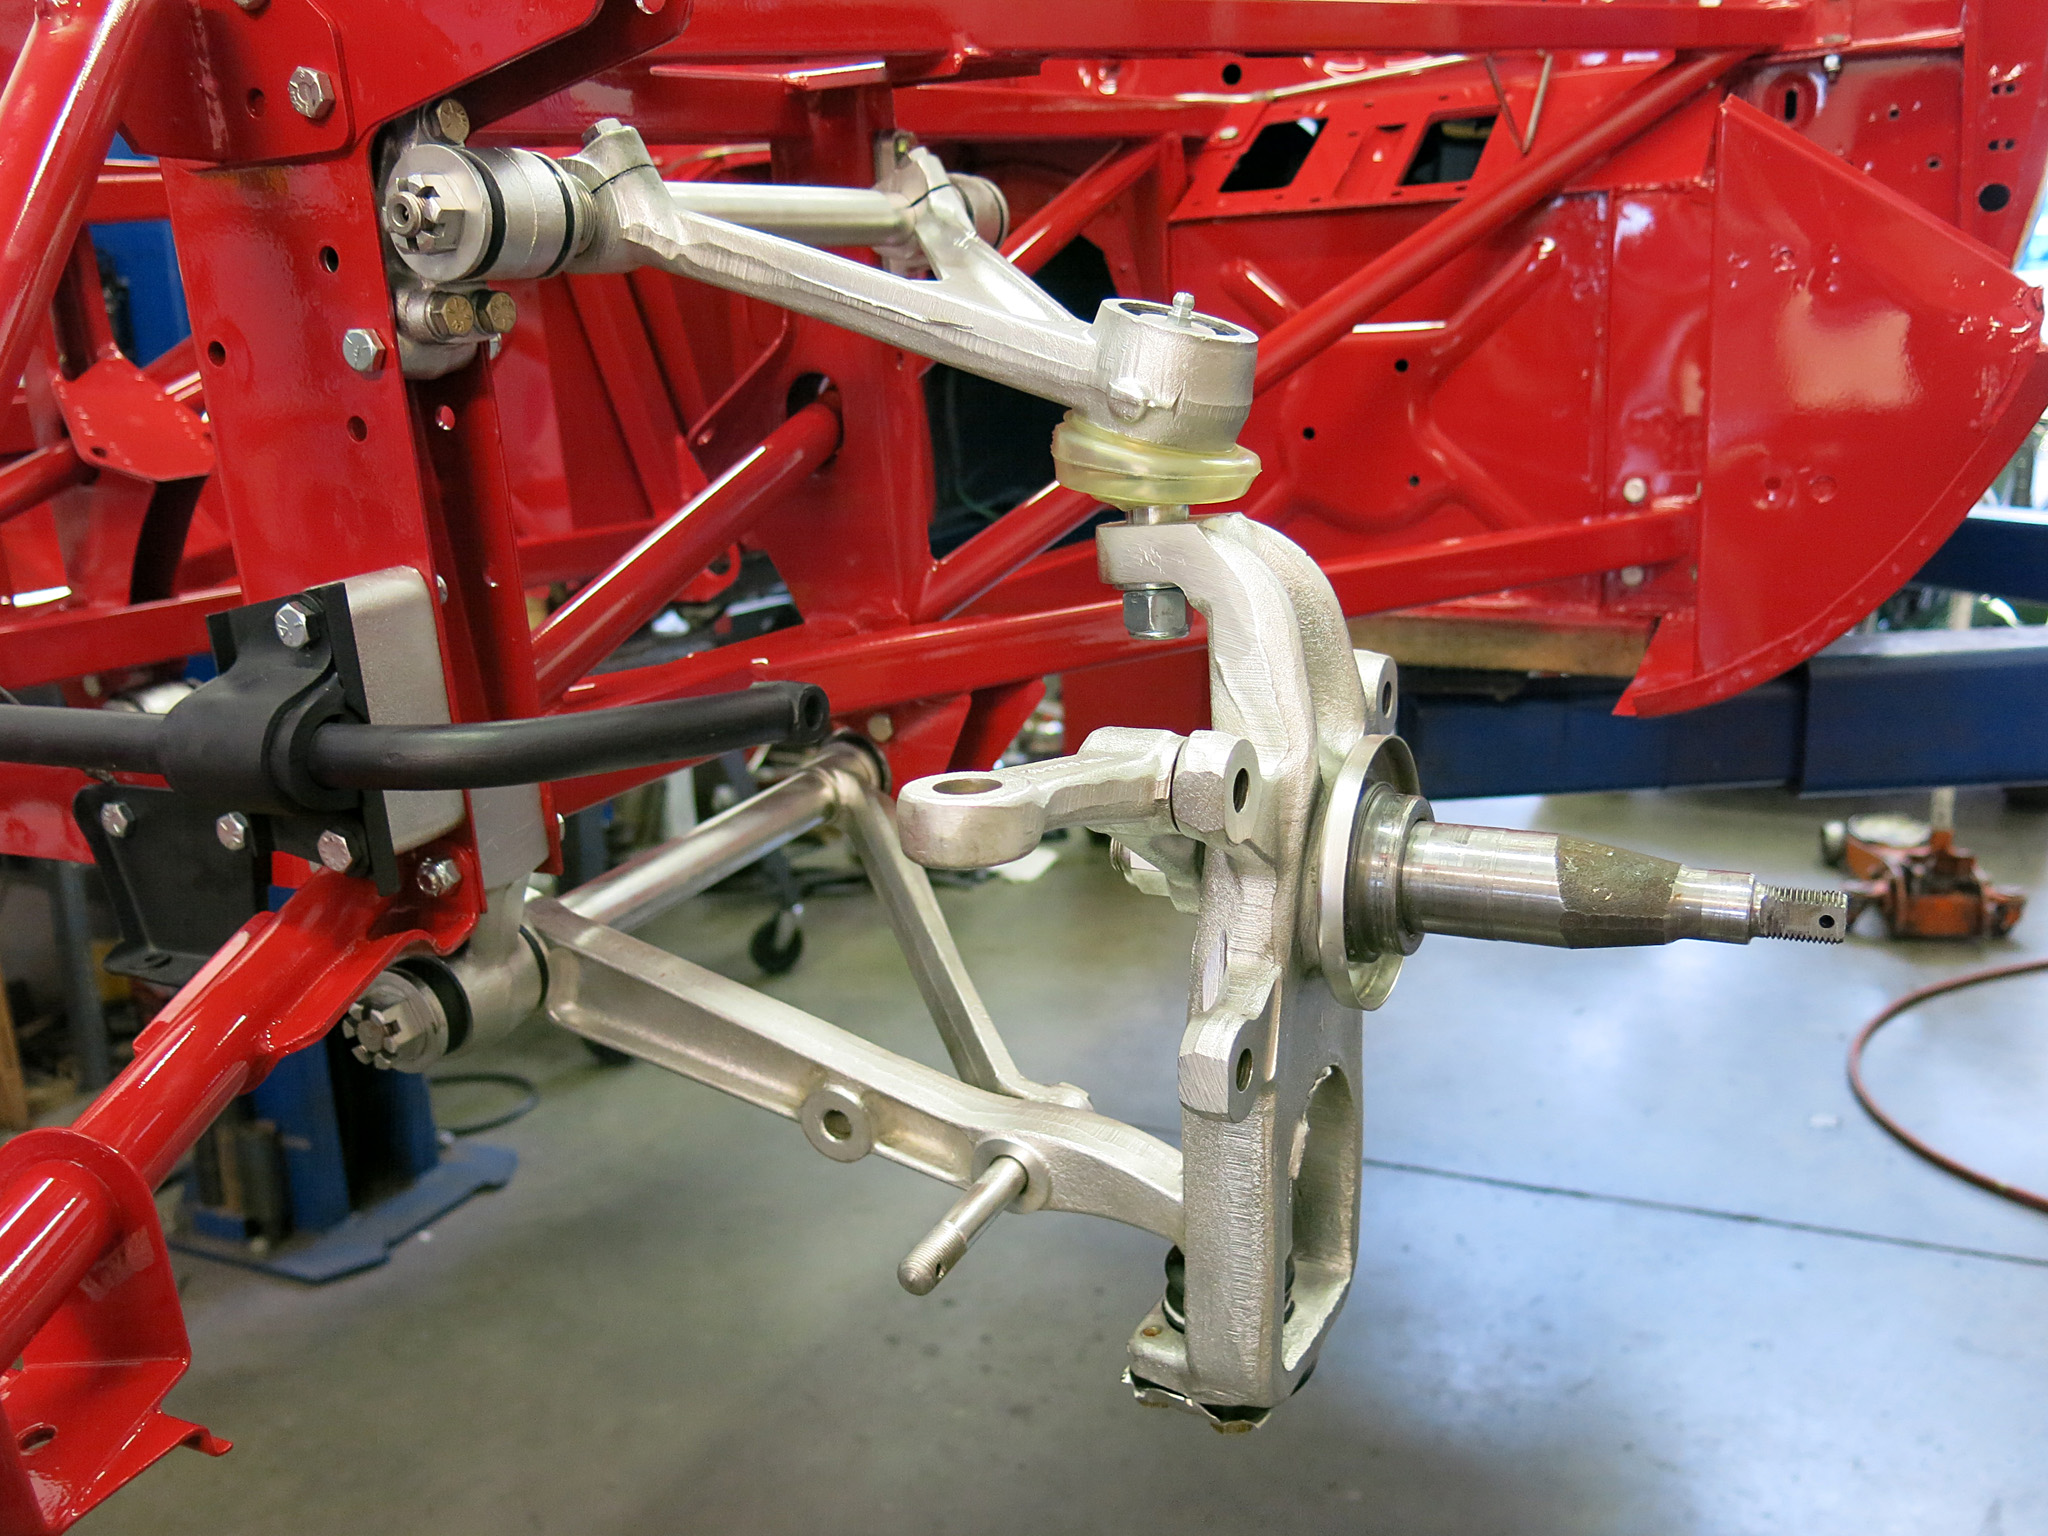
Nice image showing the plated control arms and stub axle carrier.
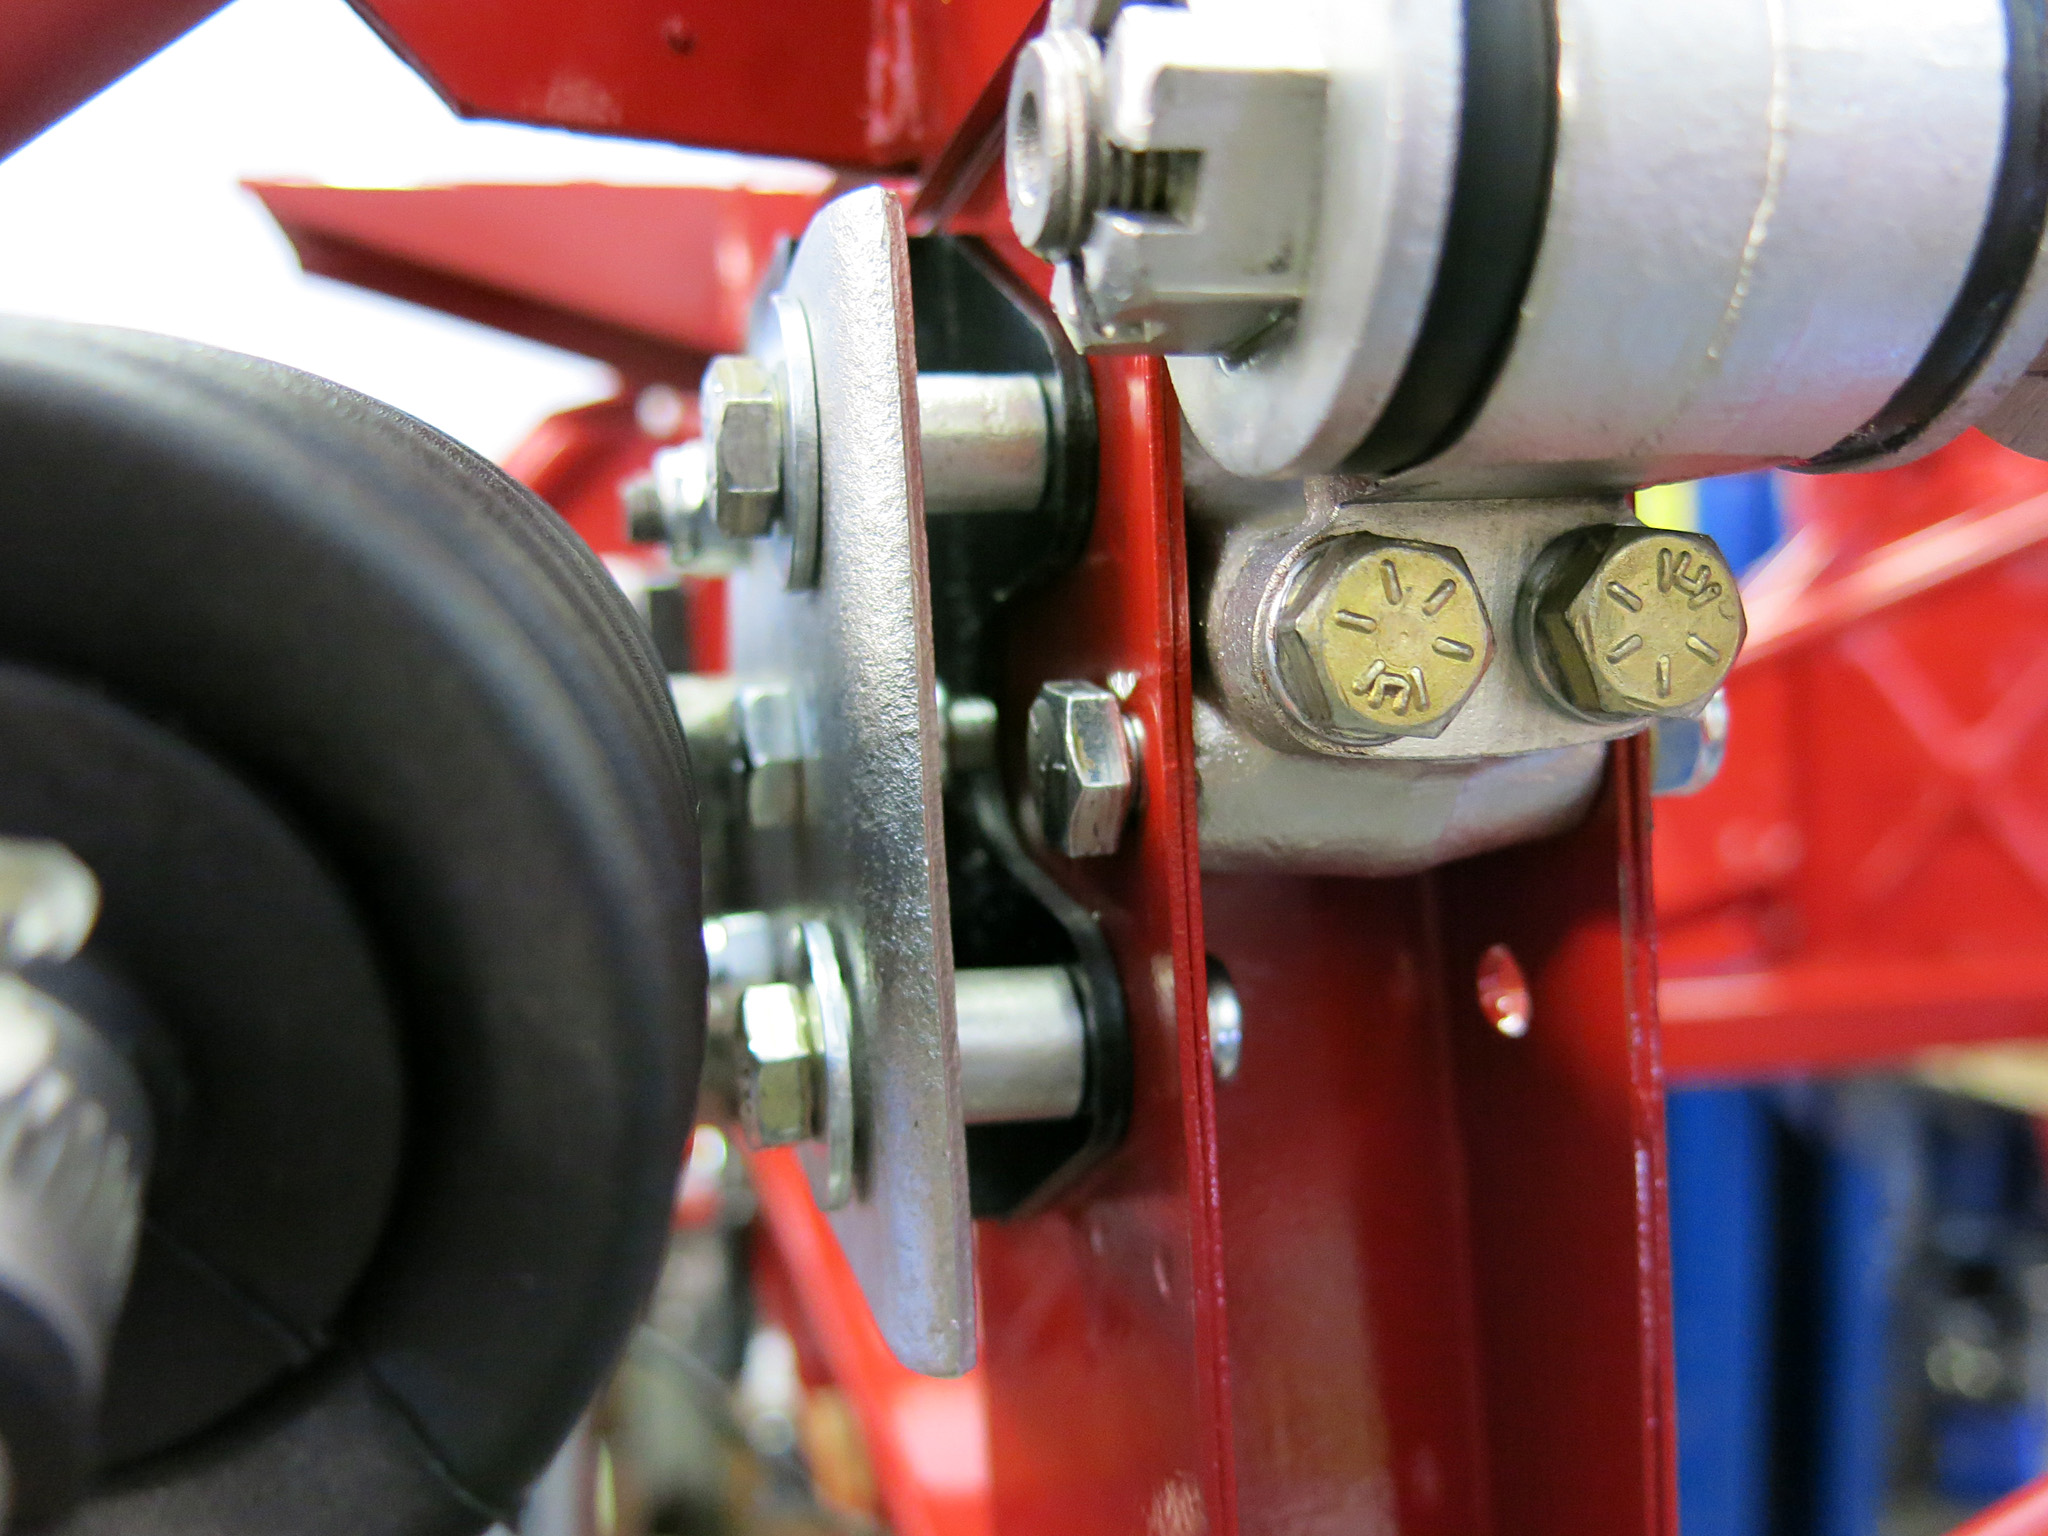
One of the most complex areas is around the steering rack which has 3 mount bolts and 2 limiting bolts sandwiched with the upper control arm bushing.


